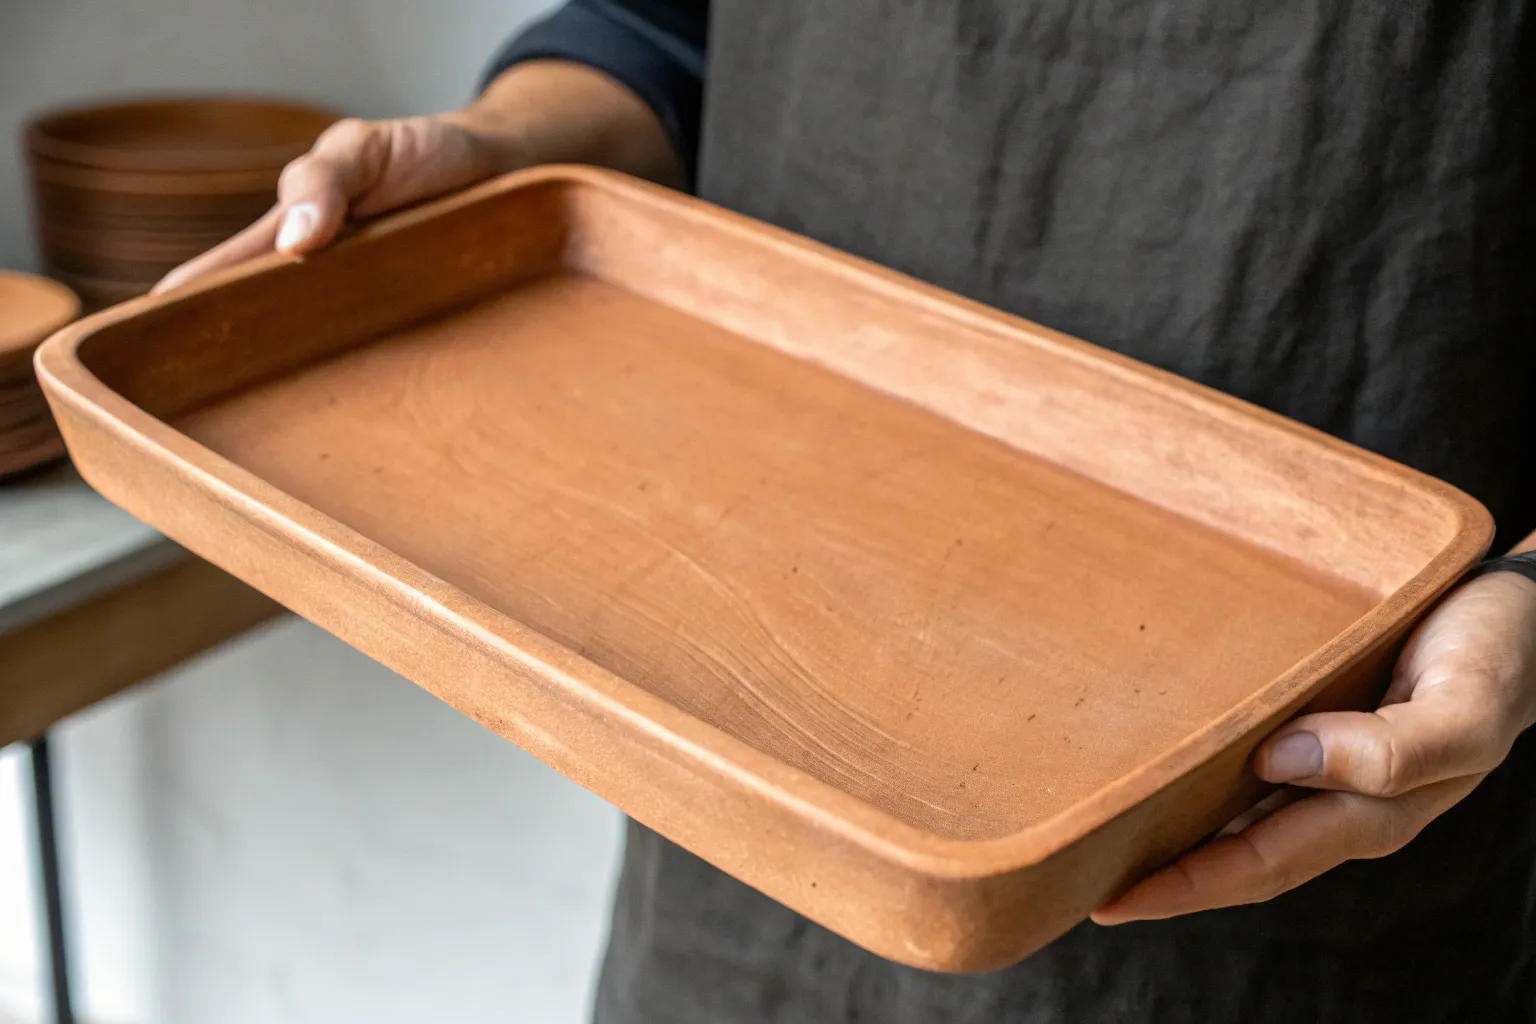
Creating beautiful, functional valet trays from clay transforms everyday organization into an expression of personal style. These sculptural pieces move beyond basic utility to become statement objects that enhance your home’s aesthetic.
Understanding Soft Clay for Sculptural Design
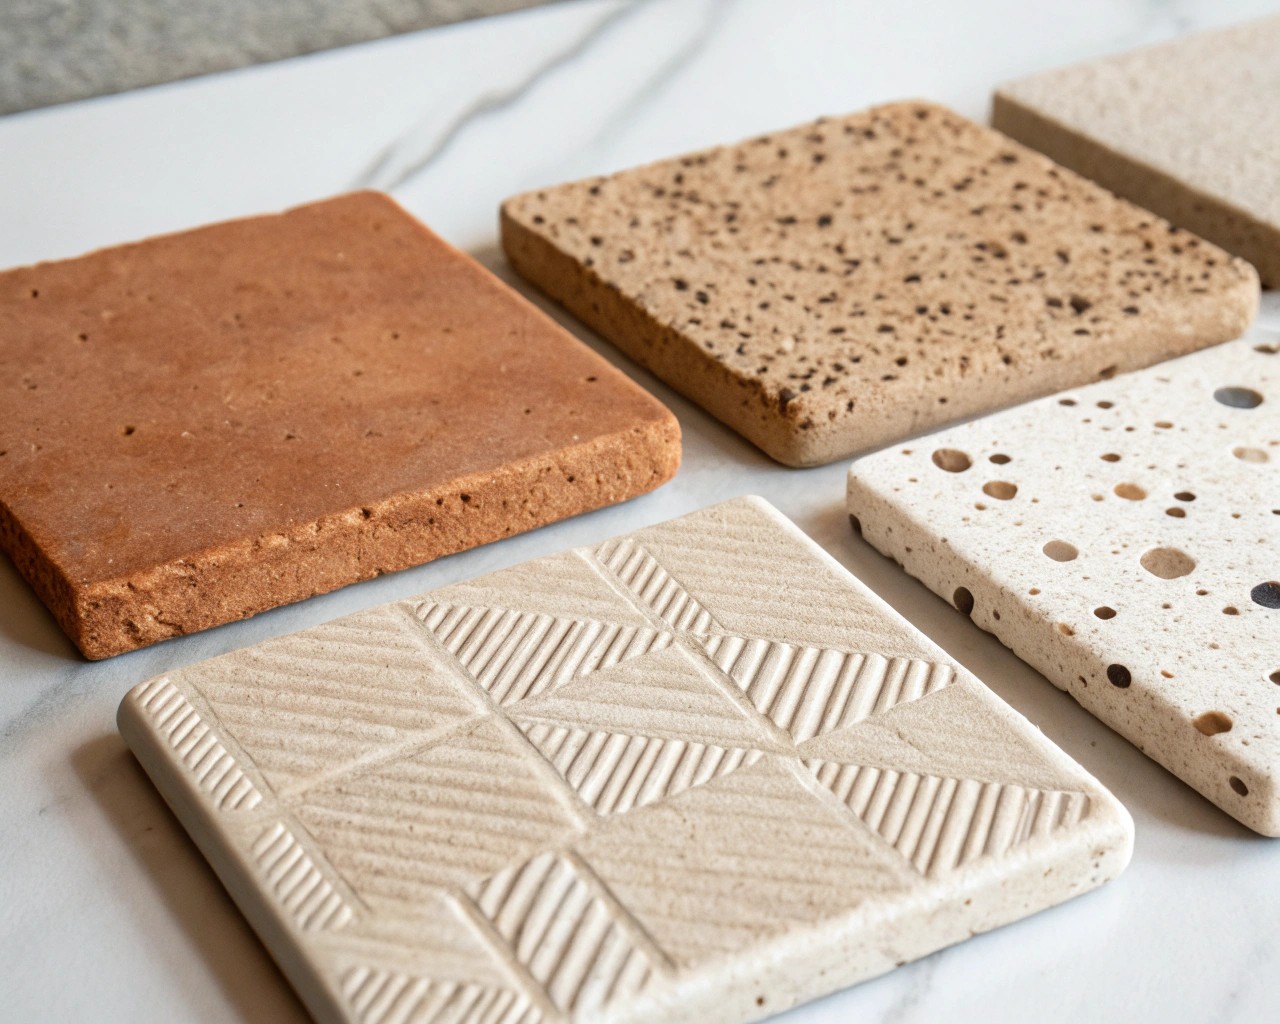
Clay Types for Valet Trays
Air-Dry Clay remains the most accessible option for home crafters. Brands like DAS, Crayola, and Creative Paperclay offer excellent workability without requiring kiln firing. These clays maintain pliability during construction while achieving durability when cured.
Traditional Soft Clay (earthenware or stoneware) provides superior texture options and firing capabilities for permanent pieces. When working with leather-hard consistency, you maintain structural integrity while preserving sculptural flexibility.
Working with Soft Slab Construction
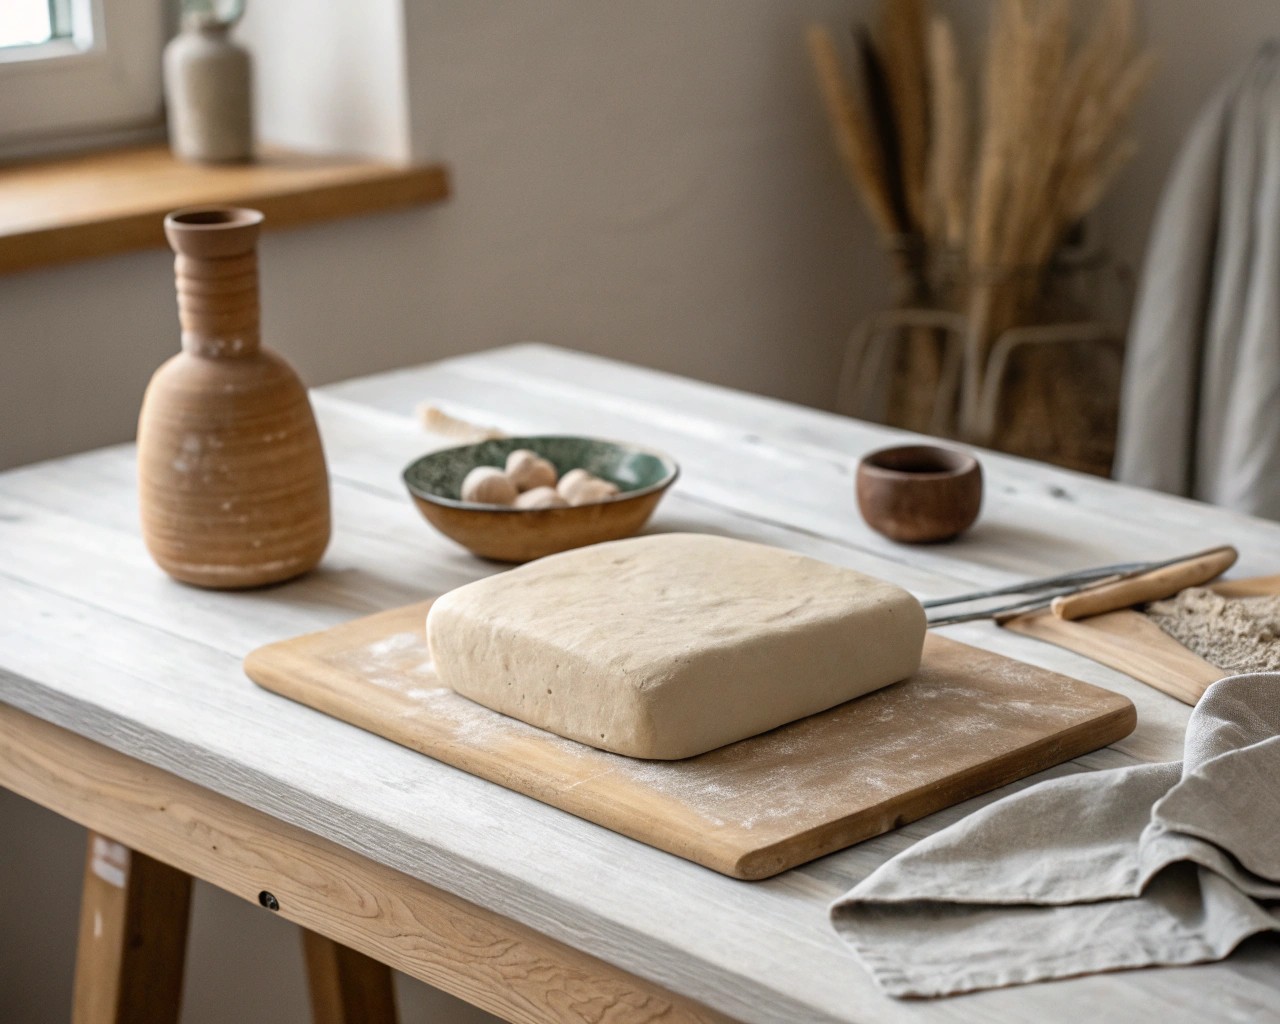
Soft slab construction offers maximum creative freedom for sculptural forms. The clay remains flexible enough to curve, bend, and shape while supporting its own weight. Key timing involves letting freshly rolled slabs firm just enough to handle without losing malleability—typically 5-15 minutes depending on humidity.
Design Principles for Sculptural Valet Trays
Moving Beyond Basic Forms
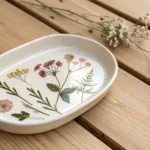
Organic Shapes draw inspiration from natural forms—leaf impressions, shell textures, or flowing water patterns create sophisticated surfaces. These designs integrate seamlessly with modern and traditional décor styles.
Geometric Abstraction employs clean lines with sculptural elements like subtle curves, angular cutouts, or layered planes. Consider diamond shapes, hexagonal forms, or asymmetrical compositions that maintain functional integrity.
Architectural Elements incorporate structural details like raised edges, stepped levels, or integrated dividers that serve both aesthetic and organizational purposes.
Proportion and Scale Guidelines
| Tray Type | Dimensions | Best Use |
|---|---|---|
| Bedside | 6″ x 4″ x 1″ | Jewelry, keys, coins |
| Entryway | 8″ x 6″ x 1.5″ | Keys, wallet, phone |
| Desk | 10″ x 8″ x 2″ | Office supplies, gadgets |
| Large Console | 12″ x 10″ x 2.5″ | Multiple items, decorative display |
Essential Tools and Materials
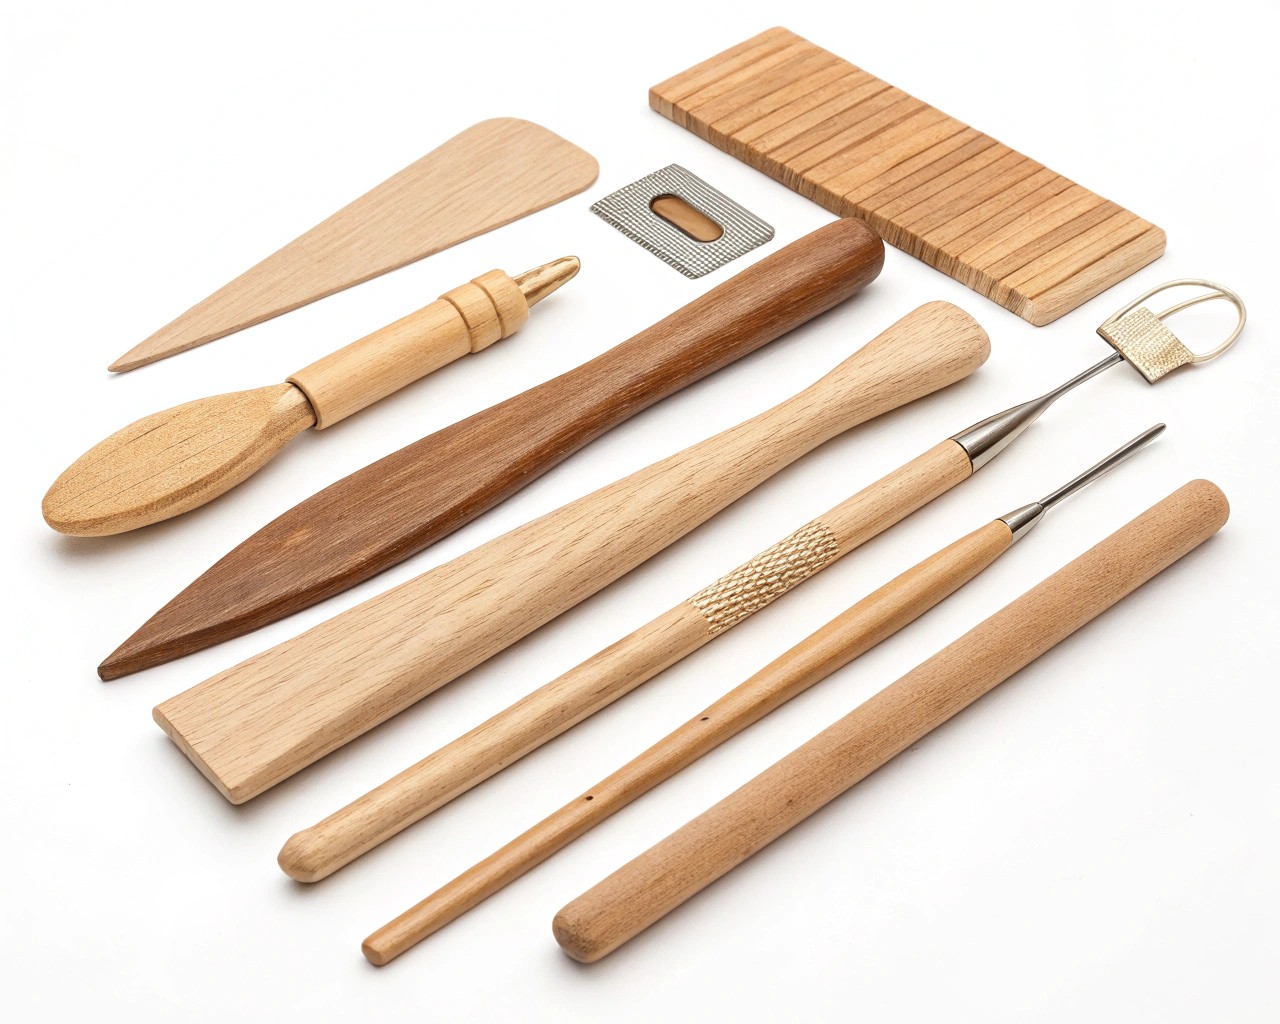
Basic Clay Working Kit
- Rolling tools: Canvas-covered rolling pin or large dowel
- Cutting implements: Wire clay cutter, craft knife, needle tool
- Shaping tools: Wooden ribs, rubber kidney tools, metal scrapers
- Texture creators: Natural sponges, fabric pieces, found objects
- Support materials: Foam blocks, wooden boards, canvas fabric
Texture and Surface Enhancement Tools
Household Items for Texture:
- Lace or mesh fabric for intricate patterns
- Kitchen utensils like forks, bottle brushes, or graters
- Natural materials such as leaves, shells, or bark
Professional Texture Tools:
- Texture wheels with various patterns
- Carved stamps or handmade impression tools
- Serrated scrapers for controlled line work
Step-by-Step Construction Process
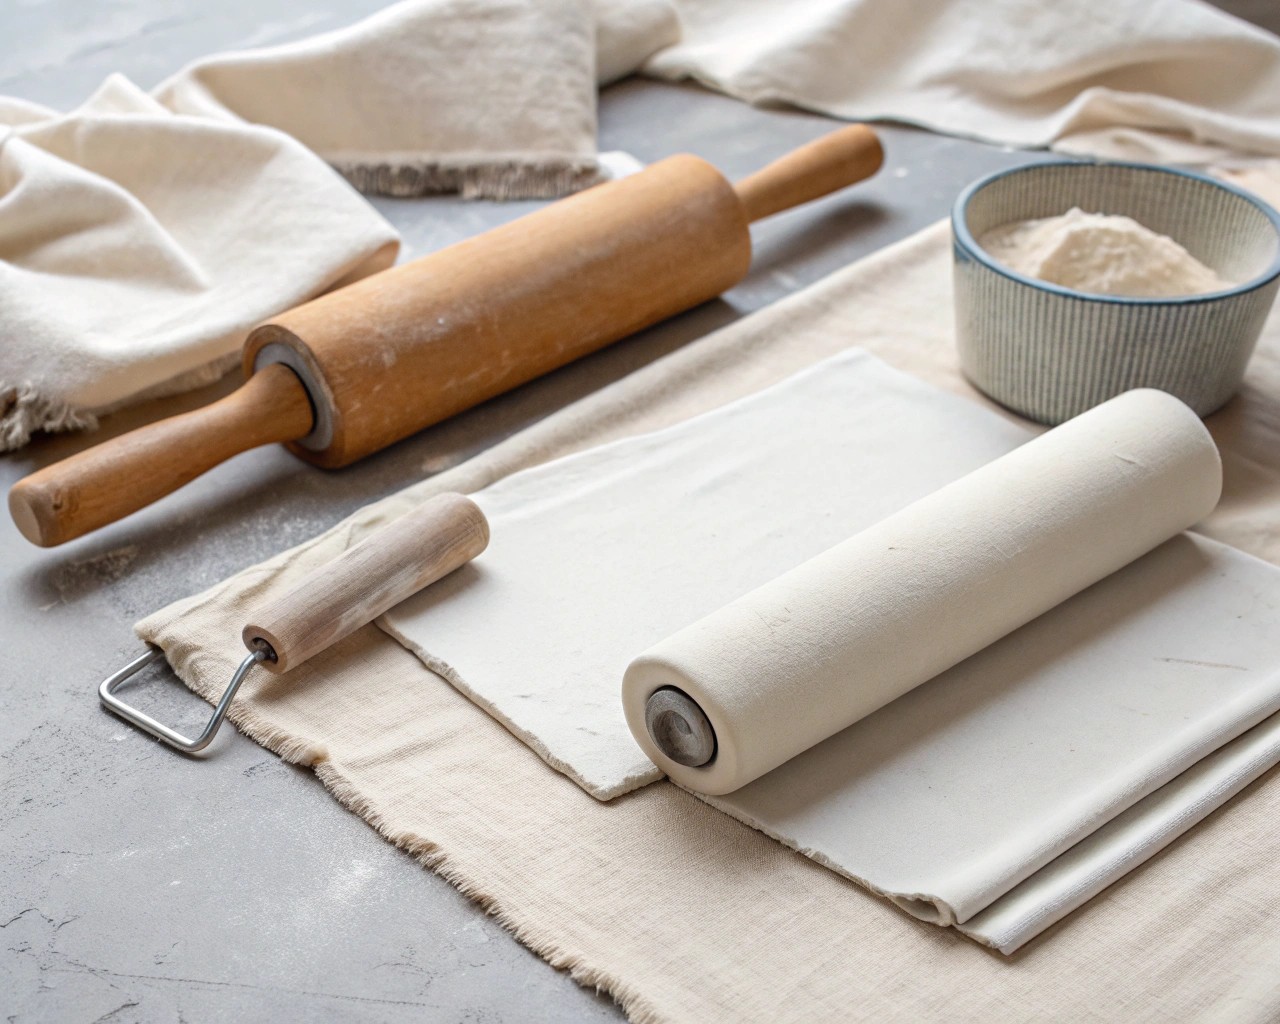
1. Clay Preparation and Slab Creation
Begin with properly conditioned clay at consistent moisture levels. Roll slabs between thickness guides (wooden strips) to ensure uniformity. I recommend ¼” thickness for structural stability while maintaining workability.
Work on canvas or fabric to prevent sticking while allowing easy repositioning. The fabric texture can add subtle surface interest to the tray’s bottom.
2. Template Design and Cutting
Create paper templates for consistent shapes. Consider these sculptural elements:
- Curved corners soften geometric forms
- Flowing edges mimic natural contours
- Integrated handles eliminate separate attachment points
- Subtle asymmetry adds visual interest without compromising function
Transfer templates carefully, leaving extra material for edge refinement.
3. Forming and Shaping Techniques
Hump Molding uses existing forms (bowls, containers) as supports while shaping. This method maintains consistent curves while allowing edge manipulation.
Free-Form Shaping creates unique sculptural elements. Support walls with foam during construction to prevent collapse. Work systematically, allowing each section to firm slightly before adding complexity.
Edge Treatment significantly impacts the final aesthetic:
- Soft, rounded edges create contemporary appeal
- Sharp, defined edges emphasize geometric design
- Scalloped or undulating edges add organic character
4. Surface Texture Application
Apply textures while clay remains soft but stable. Layer multiple techniques for complexity:
- Base texture using fabric or natural materials
- Linear elements with tools or stamps
- Accent details for focal points or pattern breaks
Remember that glazing or finishing will enhance texture visibility, so subtle impressions often appear more pronounced in the final piece.
5. Joining and Assembly
For multi-part designs, score joining surfaces and apply slip for strong bonds. Compress joints thoroughly and smooth transitions to maintain sculptural flow.
Support structures during drying prevent warping:
- Foam blocks under projecting elements
- Fabric hammocks for curved sections
- Gradual drying under loose plastic covering
Advanced Sculptural Techniques
Creating Visual Interest Through Levels
Stepped Surfaces introduce architectural depth. Build up sections using additional clay layers, maintaining smooth transitions between levels.
Recessed Areas create natural organization zones. Carve shallow depressions for specific items like rings or coins, integrating function with form.
Incorporating Negative Space
Cutout Elements lightens visual weight while maintaining structural integrity. Plan openings carefully to avoid weakening critical support areas.
Through-Holes can serve functional purposes (cord management) while adding sculptural interest. Sand smooth after initial drying for professional finish.
Color and Surface Planning
Monochromatic Approaches emphasize form over surface decoration. Consider subtle color variations through clay blending or graduated finishing.
Accent Strategies use color sparingly to highlight textural elements or functional zones. Metallic accents can elevate simple forms into sophisticated pieces.
Finishing and Curing Processes
Air-Dry Clay Finishing
Allow complete drying over 3-5 days in stable conditions. Accelerated drying may cause cracking, particularly in thicker sections.
Surface Preparation:
1. Light sanding with fine-grit paper (220-400)
2. Dust removal with tack cloth
3. Sealer application for durability
Professional Finishing Options
Paint Systems:
- Acrylic base coats for color consistency
- Detail work with artist-quality pigments
- Protective topcoats (matte, satin, or gloss options)
Alternative Finishes:
- Wax treatments for subtle luster
- Metallic leaf applications for luxury appeal
- Textured spray finishes for contemporary effects
Design Inspiration and Style Integration
Contemporary Minimalist Approach
Clean geometric forms with subtle texture create sophisticated accent pieces. Focus on proportion and negative space rather than surface complexity.
Consider monochromatic color schemes that complement existing décor while maintaining sculptural presence.
Organic Modern Aesthetic
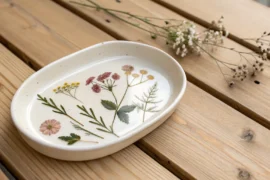
Natural forms and earth-toned finishes bridge contemporary and traditional styles. Incorporate botanical impressions or flowing curves that reference landscape elements.
Art Deco Revival
Bold geometric patterns with metallic accents create statement pieces. Angular forms and stepped profiles echo architectural details while maintaining functional utility.
Troubleshooting Common Issues
Preventing Cracking During Drying
- Maintain consistent thickness throughout the piece
- Cover with plastic during initial drying phase
- Support projecting elements to prevent stress concentration
- Allow gradual moisture loss over several days
Achieving Clean Edges
Use templates consistently and refine cuts with sharp tools. Slightly dampen edges during final smoothing for professional appearance.
Managing Complex Textures
Apply textures progressively, allowing each layer to set slightly before adding detail. This prevents texture compression and maintains definition.
Maintenance and Longevity
Protective Care
Sealed air-dry clay pieces require minimal maintenance. Dust regularly with soft brushes and avoid prolonged moisture exposure.
Repair Techniques
Minor chips can be filled with matching clay mixture and paint. More significant damage may require partial reconstruction using original techniques.
Creating sculptural valet trays from soft clay combines functional design with artistic expression. These pieces elevate everyday organization while reflecting personal aesthetic preferences. The techniques outlined here provide foundation for developing unique designs that enhance any living space while serving practical organizational needs.
Whether pursuing minimalist geometry or organic flowing forms, the key lies in balancing sculptural ambition with functional requirements. Each piece becomes both useful object and decorative element, transforming routine organization into mindful design practice.
