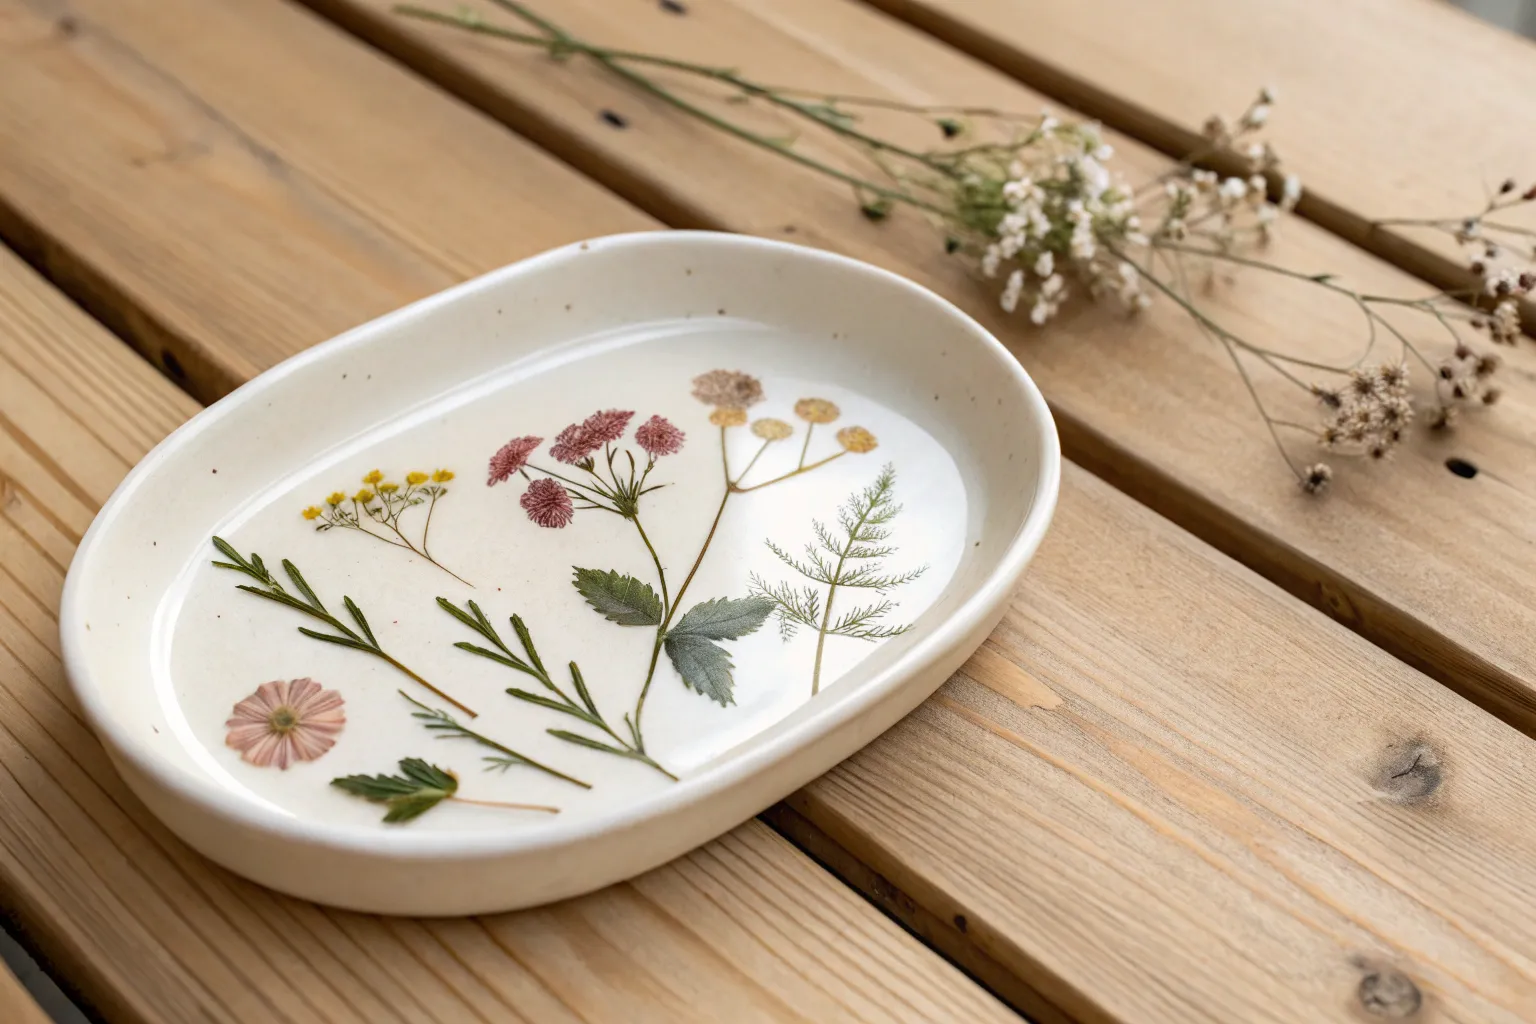
There’s something magical about preserving nature’s fleeting beauty in a functional piece that becomes part of your daily ritual. Creating pressed flower clay trinket dishes combines the meditative art of flower pressing with the satisfying tactile experience of working with clay, resulting in unique pieces that carry both aesthetic appeal and personal meaning.
Understanding Your Materials: The Foundation of Success
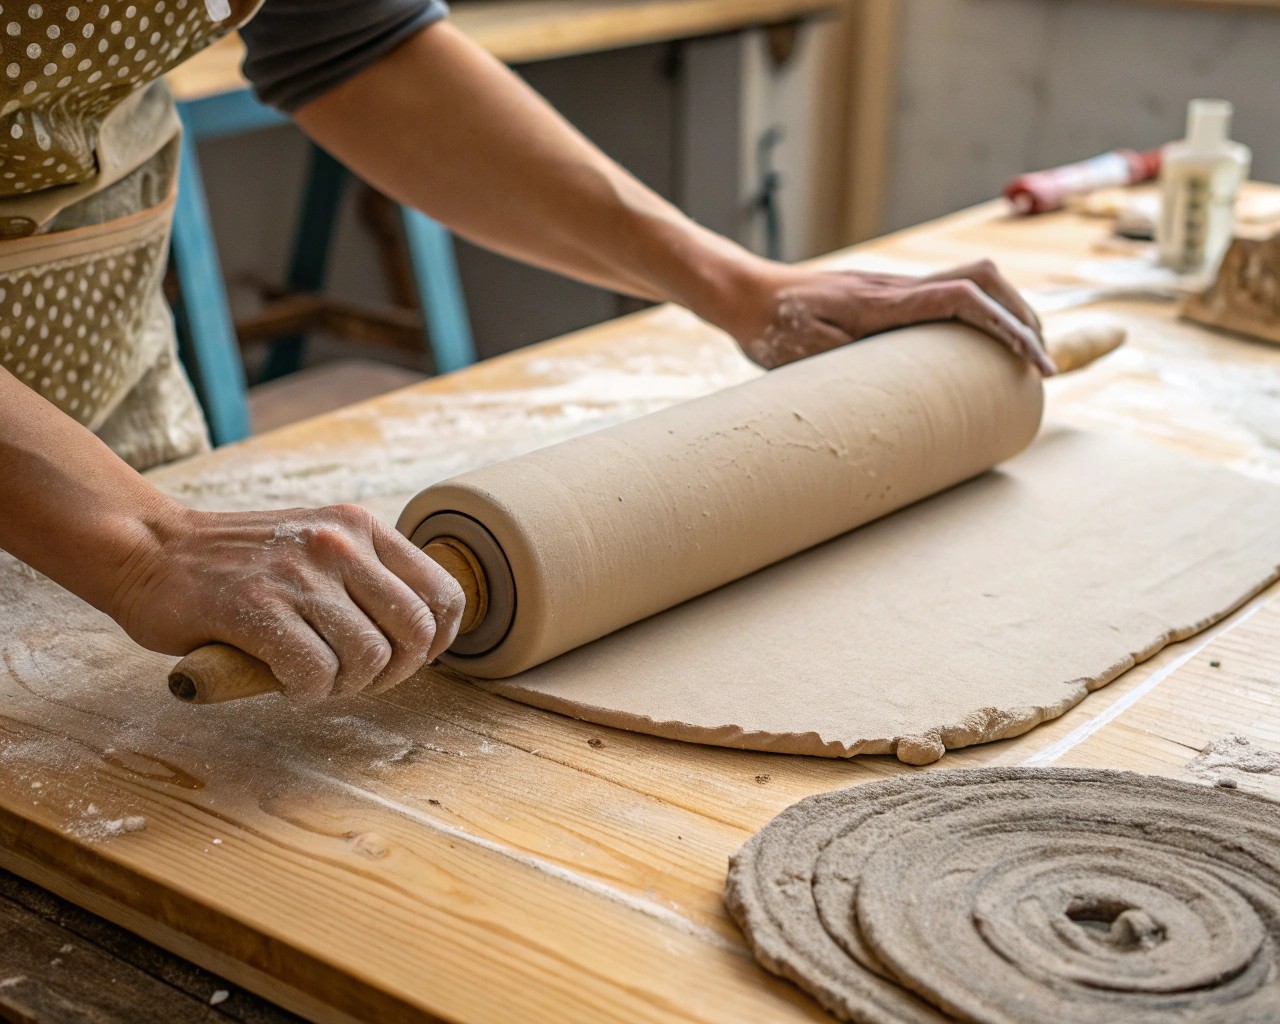
The choice between air dry clay and polymer clay significantly impacts your project’s outcome, working time, and final durability. Air dry clay offers accessibility and forgiveness—perfect for beginners or those wanting a more relaxed crafting experience. I prefer it for its natural texture and the fact that you can work at your own pace without worrying about timing. The clay remains workable for extended periods and dries naturally over 24-72 hours, depending on thickness and humidity.
Polymer clay, while requiring an oven for curing, provides superior durability and a professional finish. It maintains flexibility during work and becomes waterproof once baked, making it ideal if you want your trinket dish to withstand daily use in humid environments like bathrooms.
Key Material Specifications:
- Thickness: Maintain 1/4 inch throughout for optimal strength and even drying
- Size: 4-6 inch diameter works well for most trinket dish applications
- Quantity: Approximately 1-2 oz of clay per dish, depending on size
The Art and Science of Flower Pressing
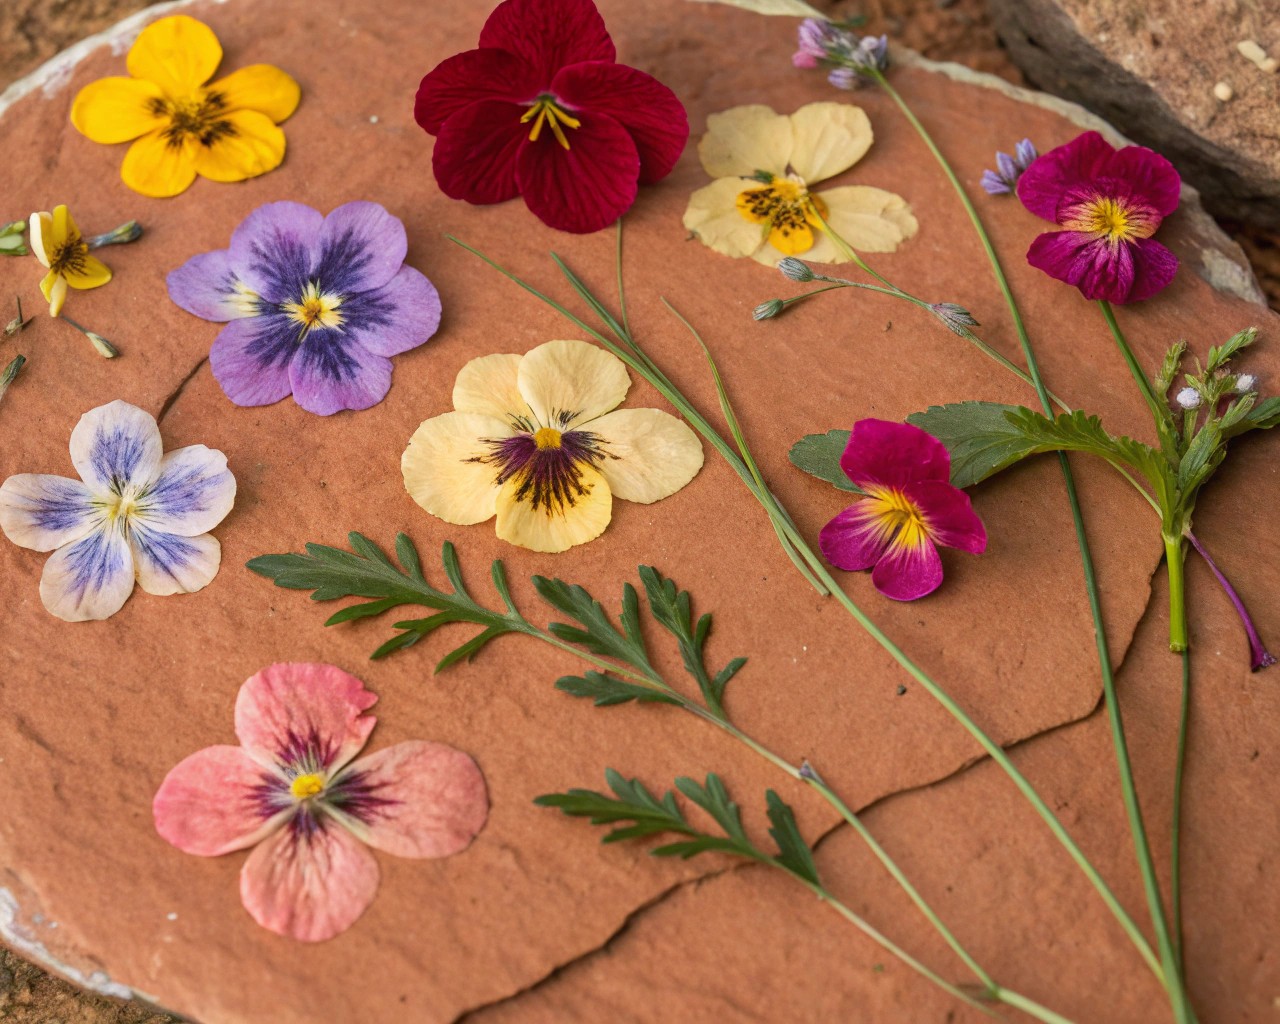
Successful pressed flowers are the heart of this project, and timing is everything. The optimal window for pressing occurs when flowers are at peak bloom but before any wilting begins—typically mid-morning after dew has evaporated but before the afternoon sun fades colors.
Flower Selection Strategy
The most successful pressed flowers share specific characteristics: flat or naturally thin petals, low moisture content, and strong pigmentation that resists fading. Pansies consistently deliver excellent results due to their naturally flat structure and vibrant colors that maintain intensity throughout the pressing process. Daisies and cosmos provide classic appeal with their simple, symmetrical forms, while violets add delicate detail perfect for intricate compositions.
Technical Pressing Methods:
Traditional Book Method: Place flowers between absorbent paper and press between heavy book pages for 1-2 weeks. This method produces the most natural-looking results but requires patience.
Microwave Method: For faster results, place flowers between ceramic tiles with paper towels and microwave in 30-second intervals at medium power. This technique works particularly well for delicate flowers that might deteriorate during longer pressing periods.
Silica Gel Method: While primarily used for three-dimensional preservation, silica gel can create pressed flowers in 3-7 days while maintaining exceptional color retention.
Creating Your Trinket Dish: Step-by-Step Process
Phase 1: Clay Preparation and Shaping
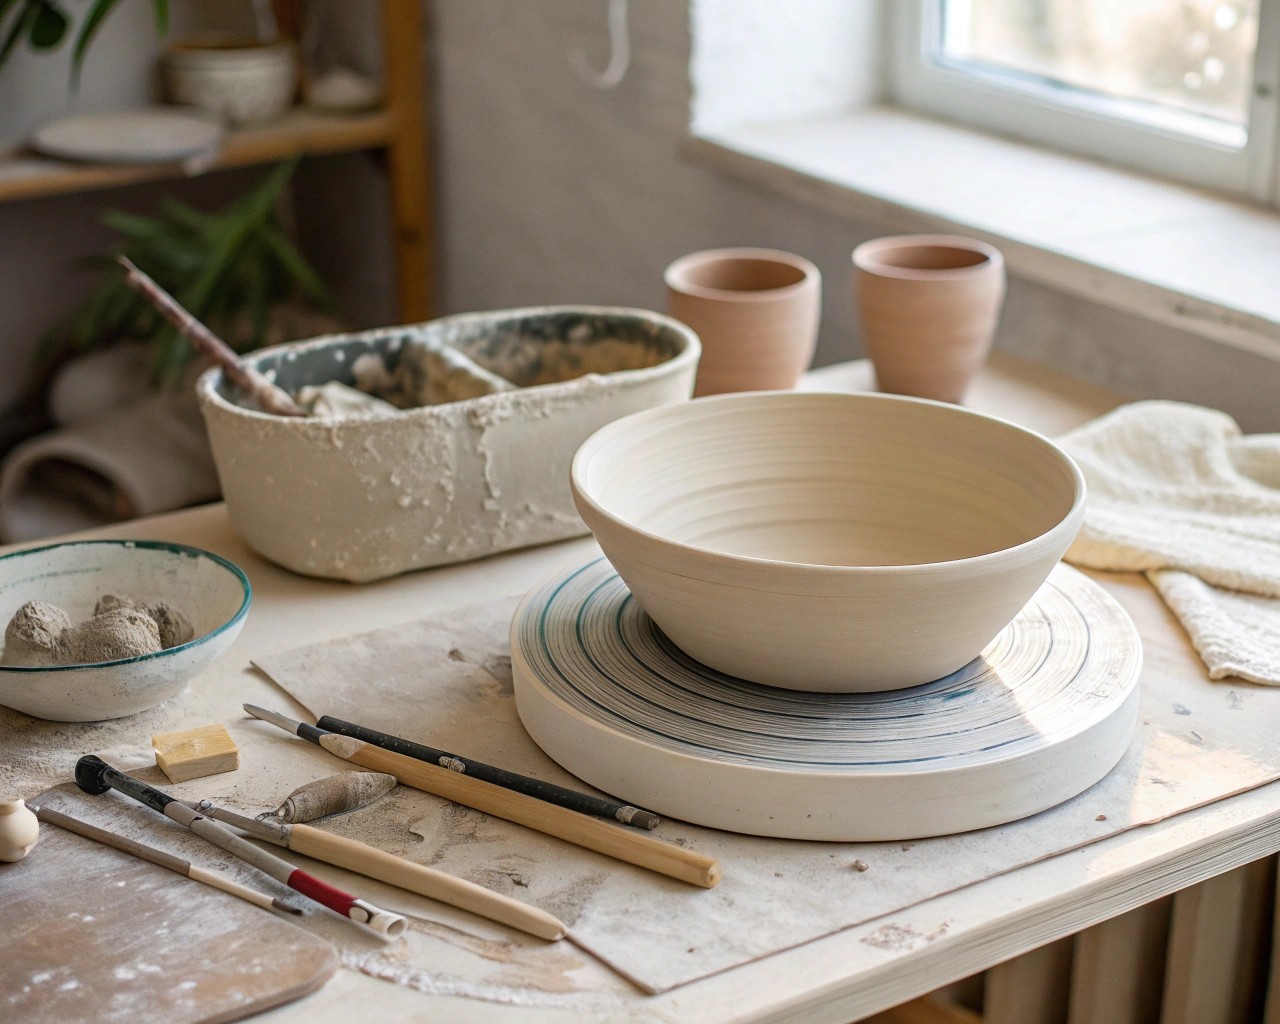
Begin by conditioning your clay through thorough kneading—this process eliminates air bubbles that could cause cracking during drying. I’ve found that working the clay for 10-15 minutes creates the ideal consistency. Roll the clay to a uniform 1/4 inch thickness using guide strips or spacers to ensure consistency.
For shaping, the inverted bowl method provides the most consistent results. Place your rolled clay over an inverted oven-safe bowl, gently pressing to create the dish form. The key is working gradually and evenly to prevent thin spots or tears. Trim edges with a sharp knife, leaving about 1/2 inch extra material that you’ll clean up after initial shaping.
Phase 2: Flower Integration Techniques
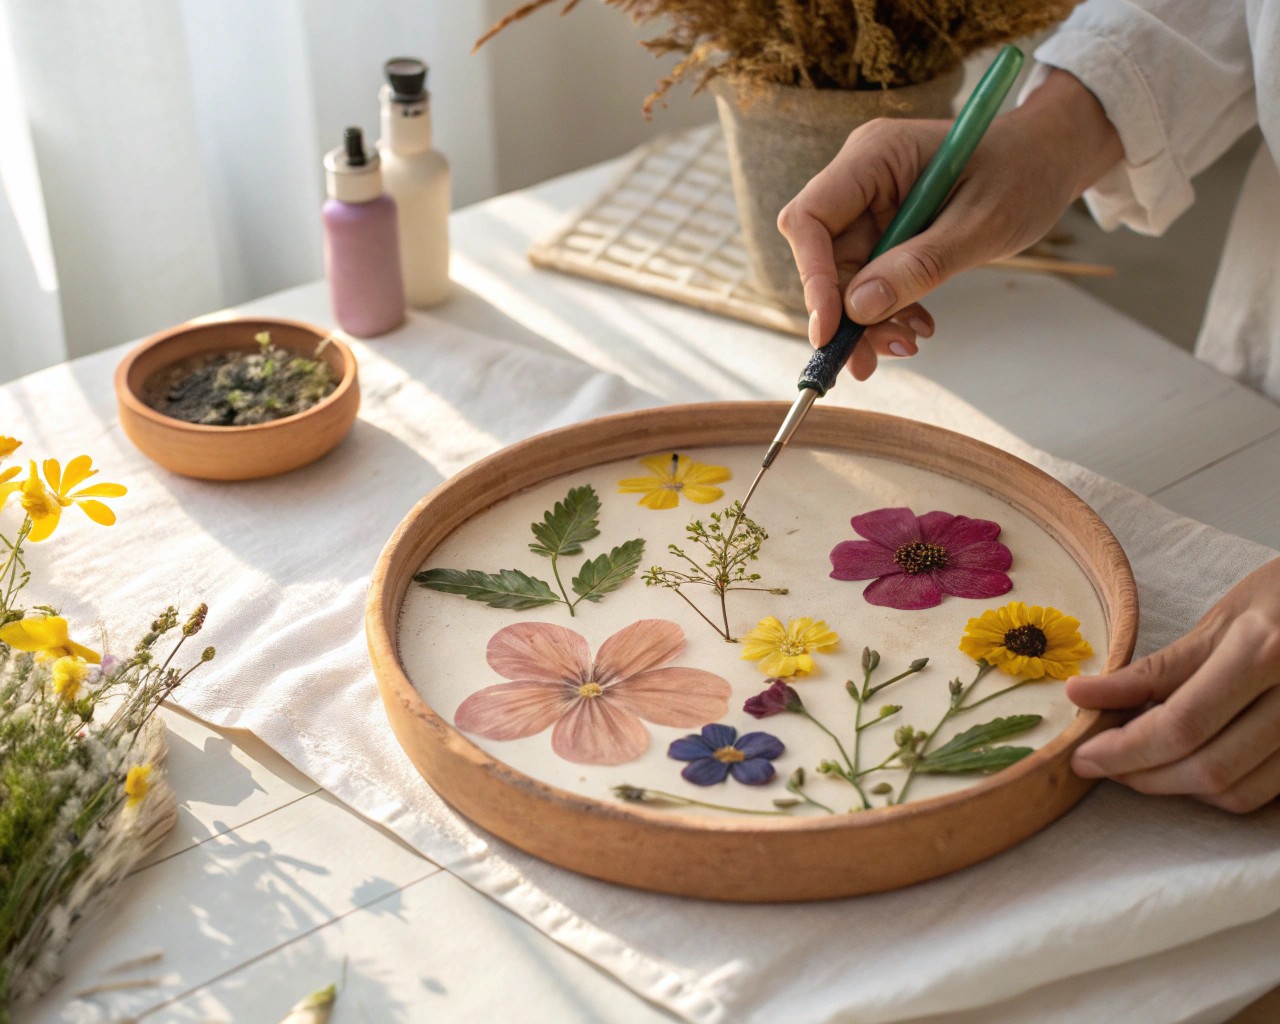
The integration of pressed flowers requires careful consideration of both aesthetics and adhesion. Before applying any medium, arrange your flowers on the clay surface to visualize the final composition. Consider balance, color harmony, and the natural flow of your botanical elements.
I prefer the two-step adhesion method: apply a thin layer of Mod Podge to the clay surface, position the flowers with tweezers for precise placement, then seal with another thin layer once everything is positioned. This technique prevents the flowers from shifting during the sealing process while ensuring complete encapsulation.
Critical Timing: Work in sections to prevent the Mod Podge from becoming tacky before flower placement. If you’re working with multiple flowers, position the largest elements first, then fill in with smaller details.
Phase 3: Curing and Finishing
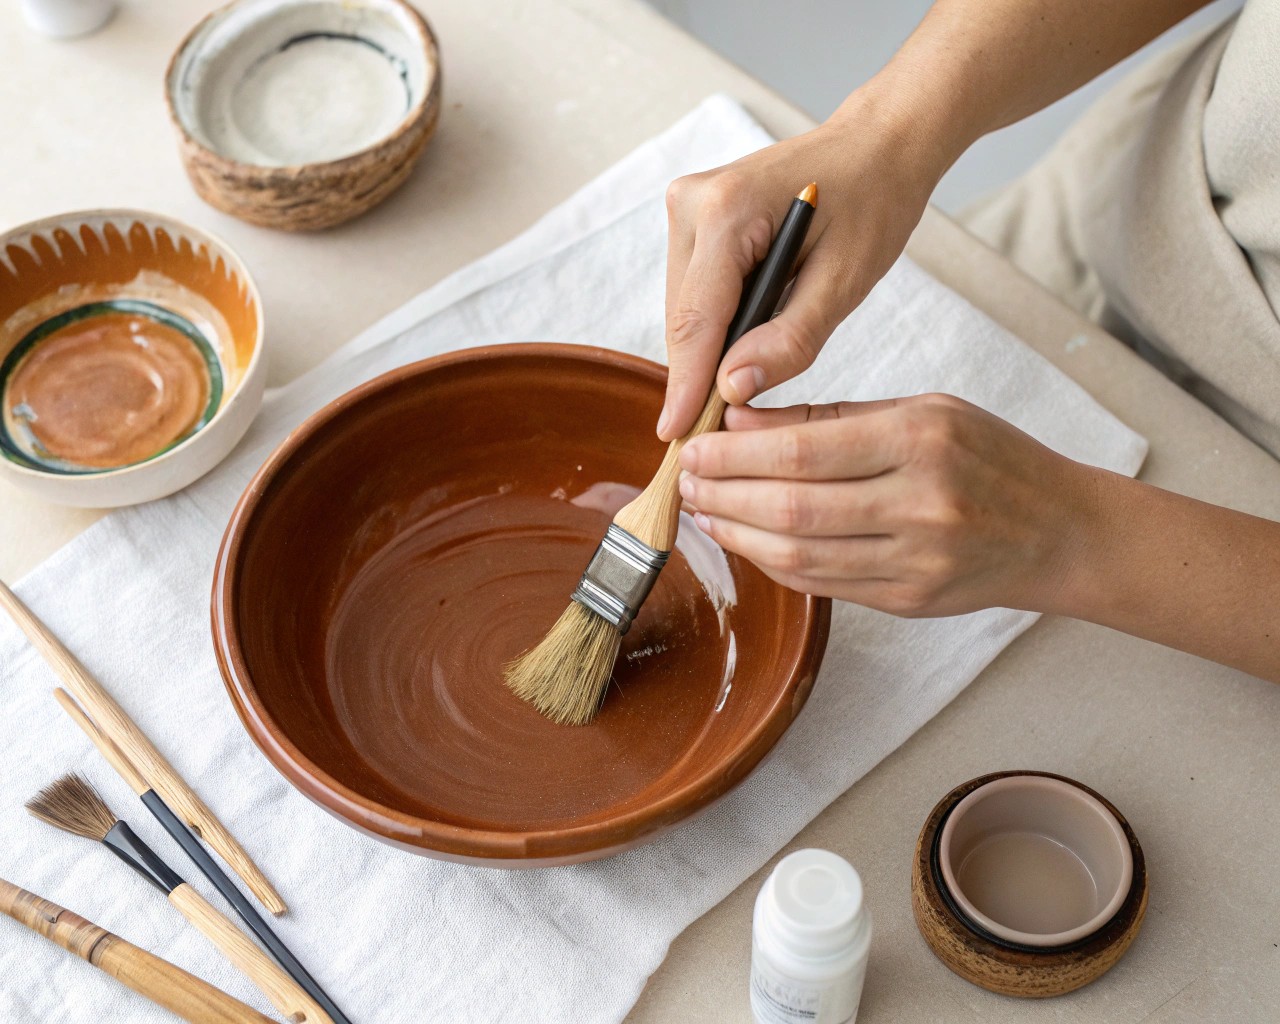
For air dry clay projects, patience during the drying phase prevents cracking and ensures structural integrity. Place the dish in a well-ventilated area away from direct sunlight and heating sources. The gradual moisture release over 24-72 hours creates stronger molecular bonds within the clay structure.
Polymer clay requires precise temperature control—275°F for 15-30 minutes depending on thickness. Use an oven thermometer to verify accuracy, as temperature fluctuations can cause brittleness or incomplete curing.
Troubleshooting and Quality Control
Common Issues and Solutions
Flower Discoloration: Brown edges typically indicate excessive moisture during pressing or incomplete drying before application. Always ensure flowers feel papery and crisp before use.
Clay Cracking: Usually results from uneven thickness, rapid drying, or insufficient clay conditioning. Maintain consistent thickness and control drying environment.
Poor Adhesion: Occurs when clay surface isn’t properly prepared or when working with incompatible materials. Light sanding of cured polymer clay improves Mod Podge adhesion.
Professional Finishing Techniques
The final sealing step transforms your piece from craft project to professional-looking functional art. Multiple thin coats of sealant provide better results than single thick applications. For air dry clay, I recommend three thin coats of Mod Podge, allowing complete drying between applications. This creates a durable, water-resistant surface suitable for daily use.
Consider the functional requirements when selecting your finish. Glossy finishes highlight the pressed flowers’ details and colors, while matte finishes provide a sophisticated, understated appearance that complements minimalist décor styles.
Design Philosophy and Personalization
The beauty of pressed flower trinket dishes lies in their ability to capture personal narratives. Wedding bouquet petals create meaningful keepsakes that preserve the emotional resonance of special occasions. Garden flowers document seasonal changes and connect us to the natural rhythms of our immediate environment.
When designing your composition, consider the Japanese principle of wabi-sabi—finding beauty in imperfection and impermanence. The slight variations in flower shapes, the subtle color differences, and the organic irregularities create visual interest that mass-produced items cannot replicate.
Functional Applications and Care
Your finished trinket dish serves multiple purposes throughout the home. In bedrooms, they provide elegant storage for jewelry and watches while adding natural beauty to nightstands. Bathroom applications benefit from the sealed surface that resists humidity while organizing small items like hair accessories or cotton pads.
For longevity, avoid placing the dish in direct sunlight, which can fade pressed flowers over time. Clean gently with a damp cloth rather than submerging in water, even with sealed surfaces. With proper care, your pressed flower trinket dish will maintain its beauty and functionality for years while continuing to evoke the memory of the flowers’ original bloom.
The intersection of botanical preservation and functional ceramics creates objects that transcend mere utility—they become daily reminders of nature’s ephemeral beauty, captured and transformed into something both practical and profoundly personal.

