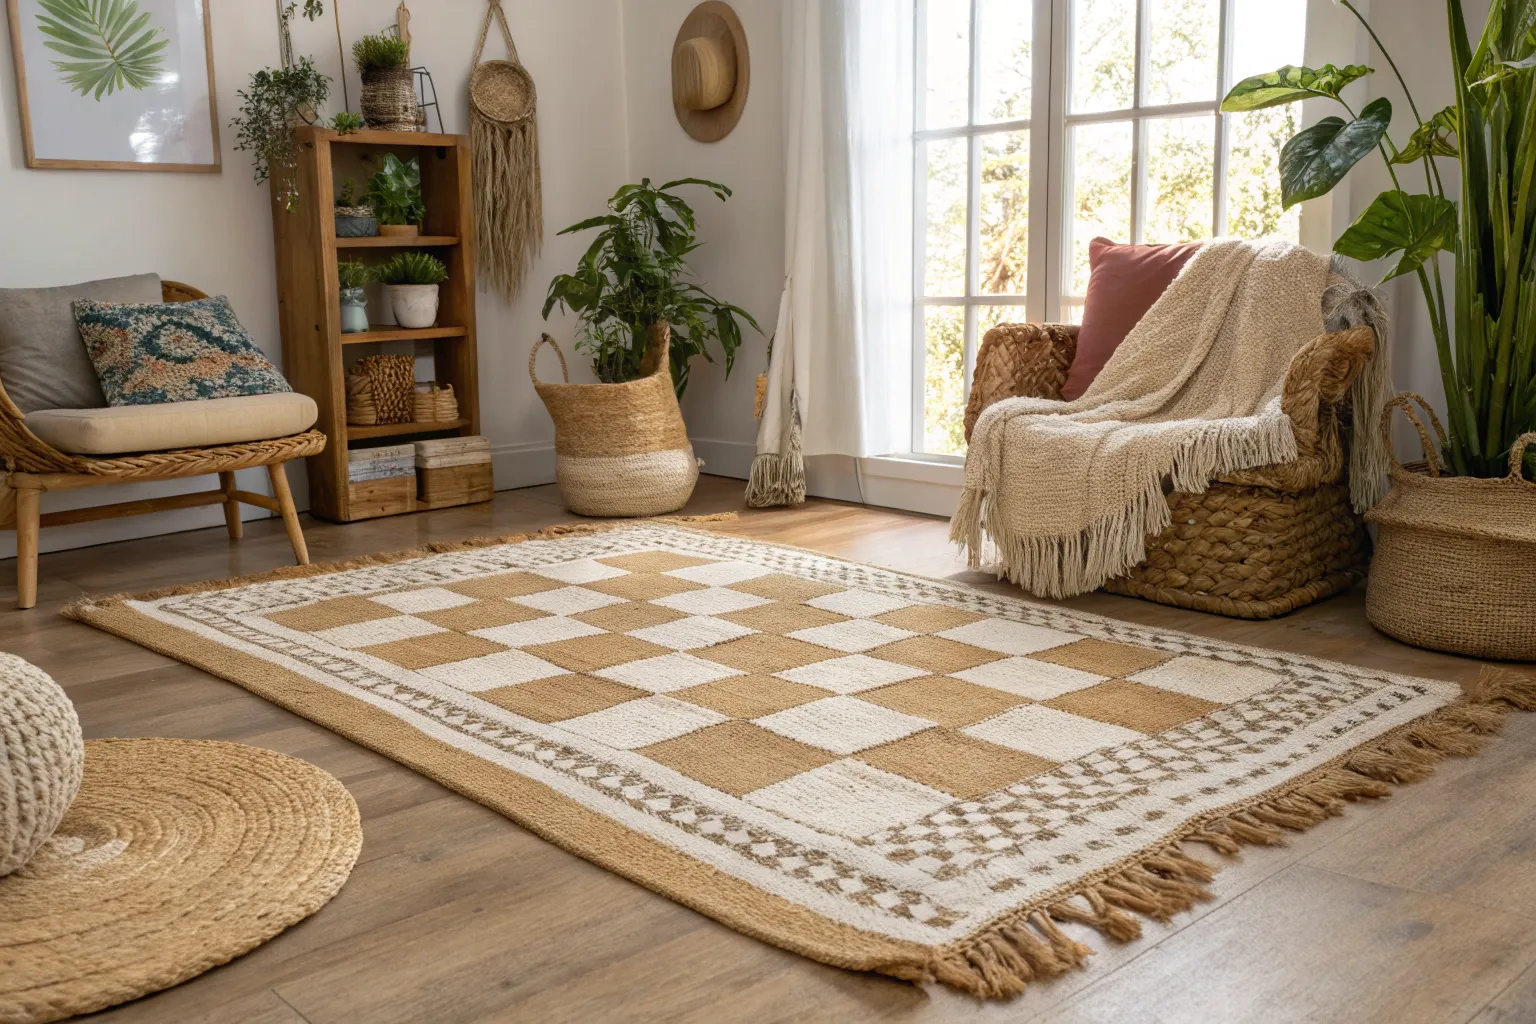
Creating a custom checkered rug through painting transforms ordinary natural fiber rugs into personalized design statements. I’ve witnessed countless DIY enthusiasts achieve stunning results with this approachable technique, turning plain jute or sisal rugs into eye-catching focal points that rival expensive designer pieces.
Why Paint Your Own Checkered Rug?
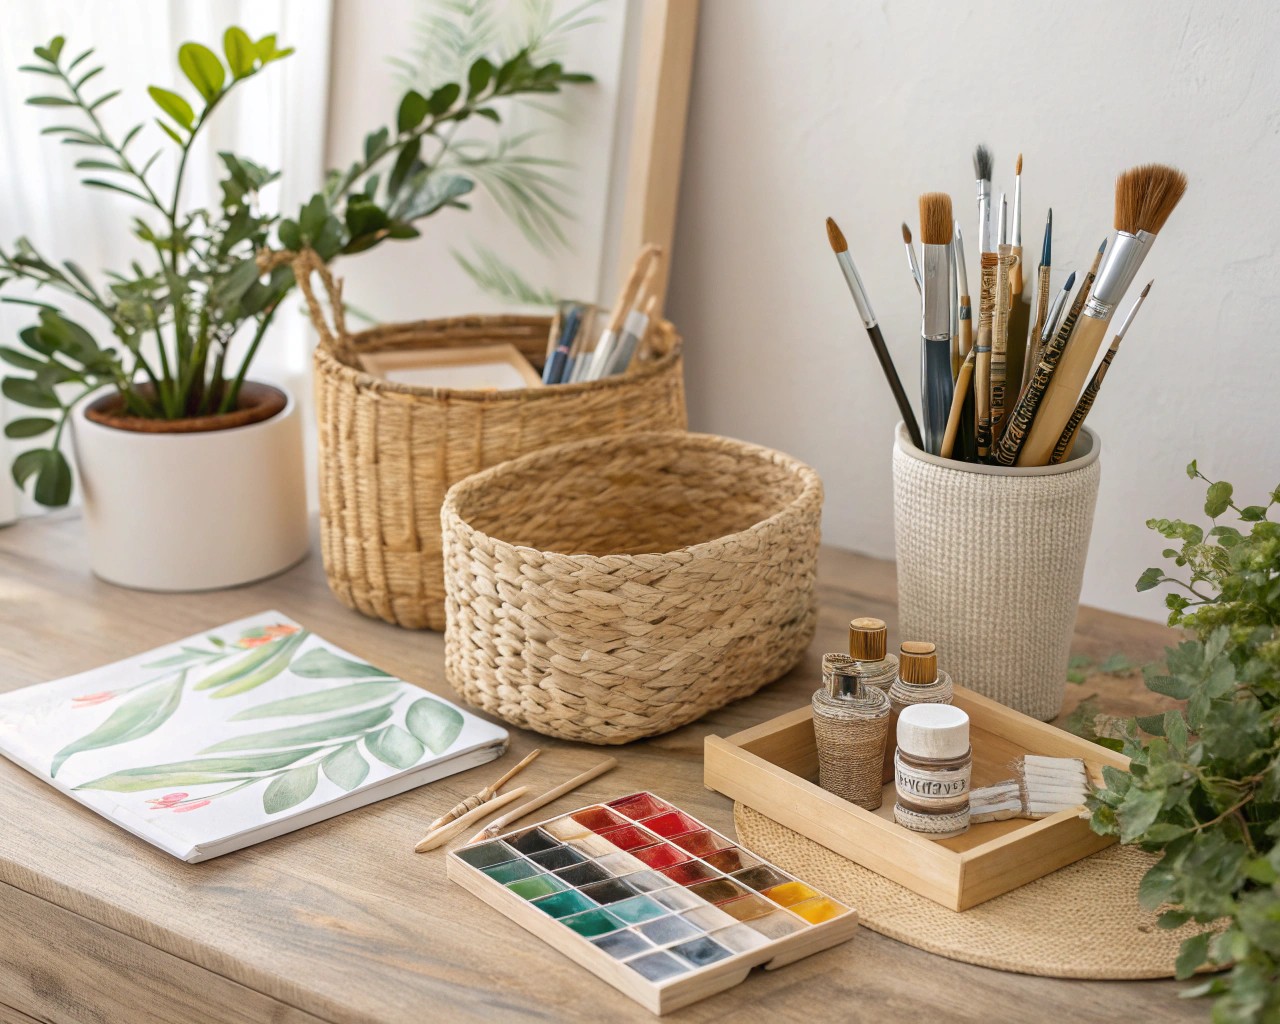
The appeal of DIY painted checkered rugs extends far beyond cost savings, though you’ll certainly appreciate spending $20 instead of $200-$800 for similar store-bought versions. The true magic lies in creative control—you can customize colors, square sizes, and patterns to perfectly complement your space while working with sustainable natural materials.
Key Benefits at a Glance
- Budget-friendly: Transform existing rugs for under $30
- Customizable: Choose any color combination to match your décor
- Sustainable: Upcycle older rugs instead of discarding them
- Quick project: Complete in 2-4 hours plus drying time
- Durable results: Properly mixed paint-softener combinations maintain flexibility
Essential Materials and Tools
Base Materials
| Item | Purpose | Selection Tips |
|---|---|---|
| Natural fiber rug | Foundation surface | Choose jute, sisal, or cotton; avoid synthetic fibers |
| Latex paint | Primary coloring agent | Interior paint works well; exterior paint for high-traffic areas |
| Clear fabric softener | Paint modifier | Creates flexible, soft-to-touch finish |
Tools and Supplies
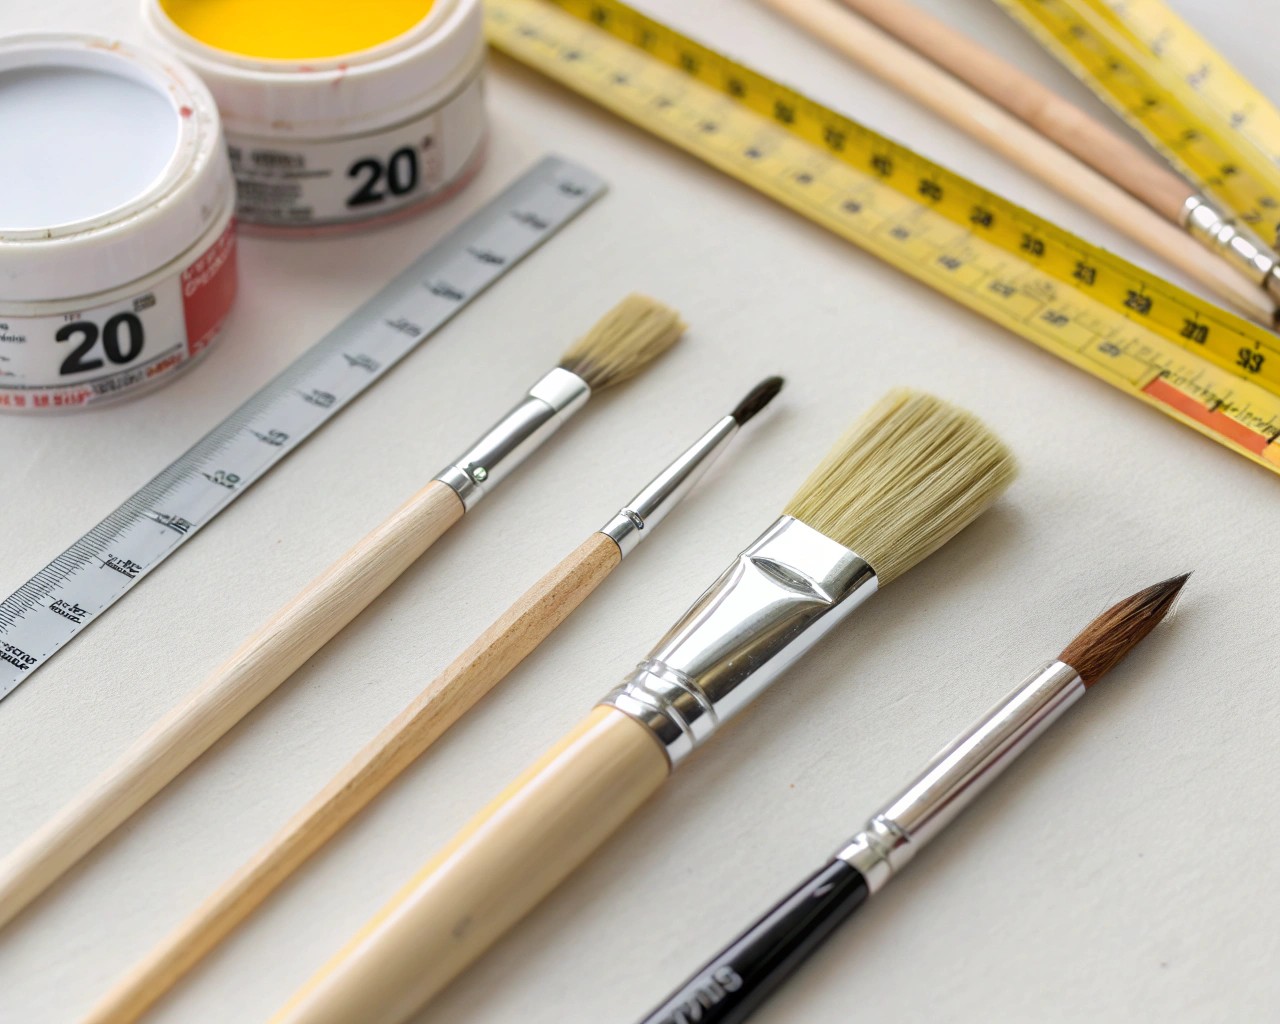
- Measuring tape and ruler: For creating precise grid patterns
- Posterboard or cardboard: Template creation for consistent squares
- Painter’s tape: Optional for crisp edges (though hand-held templates work better on textured surfaces)
- Paint brushes: Various sizes for detailed work
- Small mixing containers: For paint-softener combinations
- Drop cloths: Protect surrounding areas
- Scissors: Cutting templates and cleanup
The Science Behind Paint-Softener Mixing
The key to successful rug painting lies in understanding how fabric softener transforms regular latex paint. When combined in proper ratios, fabric softener prevents paint from hardening, maintaining the rug’s natural texture while ensuring color penetration into natural fibers.
Mixing Ratios That Work
Based on extensive testing by DIY experts, these ratios deliver optimal results:
- Standard formula: 1 part paint : 1 part fabric softener
- Softer finish: 1 part paint : 1.5 parts fabric softener
- Higher coverage: 1.5 parts paint : 1 part fabric softener
Pro tip: Mix only what you need for immediate use—the paint-softener combination doesn’t store well long-term.
Step-by-Step Application Process
Phase 1: Planning Your Pattern
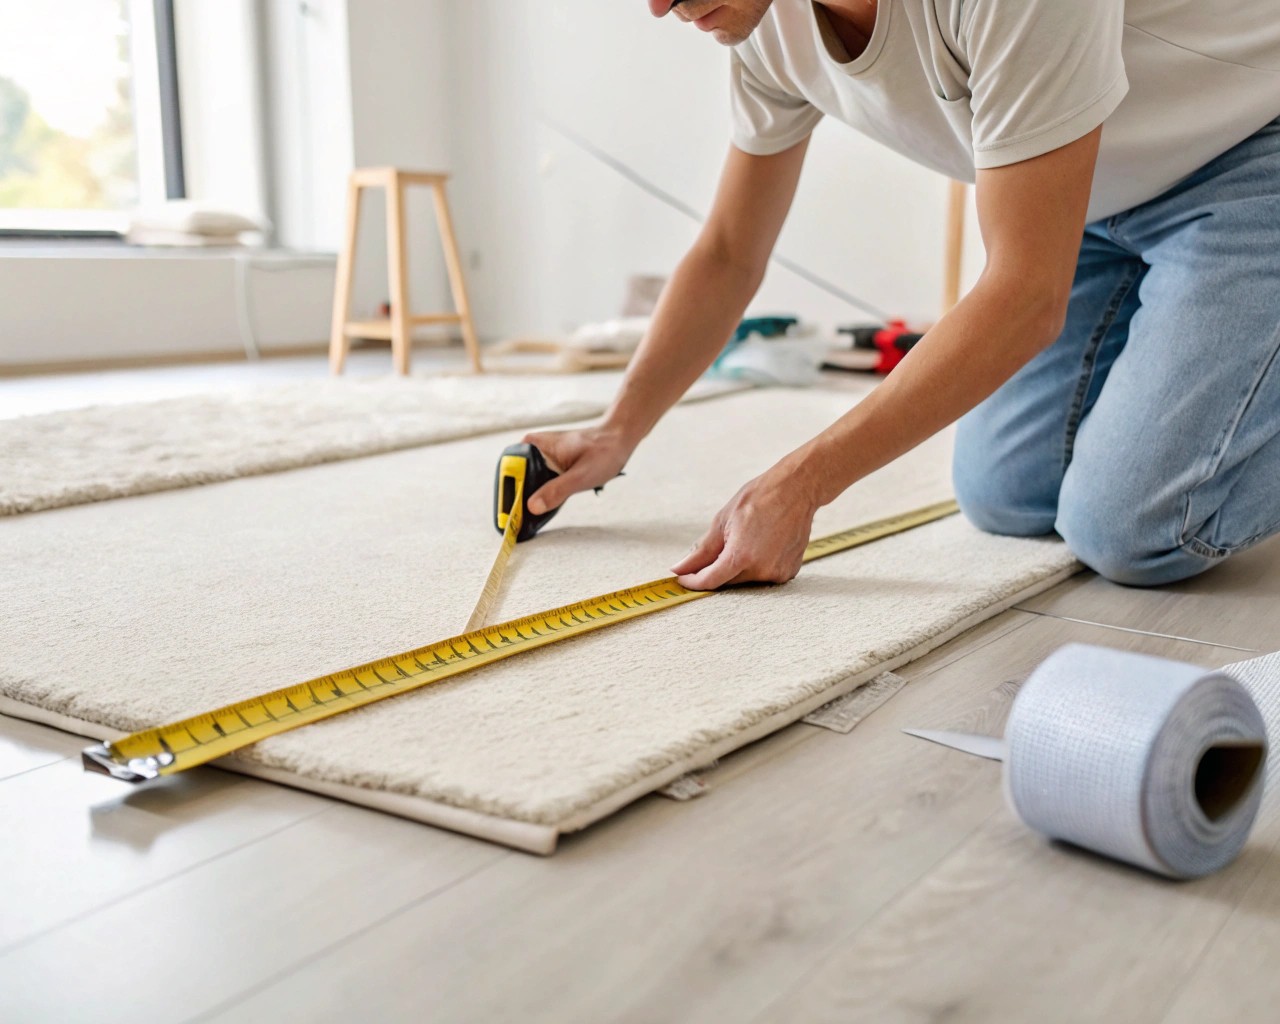
Calculate square dimensions by measuring your rug and determining how many squares will fit evenly across both dimensions. For a professional appearance, aim for complete squares at the edges rather than partial cuts.
Example calculations for common rug sizes:
- 2′ x 6′ runner: 4″ x 4″ squares create 6 x 18 grid
- 5′ x 8′ area rug: 10″ x 10″ squares create 6 x 9.6 grid
- 8′ x 10′ large rug: 16″ x 16″ squares create 6 x 7.5 grid
Phase 2: Template Creation
Create sturdy templates from posterboard cut to your calculated square size. You’ll need 10-15 templates to maintain workflow efficiency without waiting for paint to dry between applications.
Layout verification: Before painting, arrange paper templates across your rug in the desired checkerboard pattern to ensure proper fit and visual balance.
Phase 3: Paint Preparation
Mix your paint-softener combination thoroughly until you achieve a slightly thickened, uniform consistency. The mixture should flow smoothly but not be watery.
Consistency check: Proper mixture will:
- Blend completely without separation
- Maintain slight thickness (like heavy cream)
- Flow evenly from brush without dripping
Phase 4: Painting Technique
Application method: Hold templates firmly against the rug surface while dabbing paint into exposed areas. Use a stippling motion rather than brushing to work paint into the fiber weave.
Coverage approach:
1. Apply light initial coat to establish square boundaries
2. Build up color density with additional light applications
3. Work systematically across the rug to maintain wet edges
4. Allow natural irregularities—they add handmade charm
Phase 5: Drying and Finishing
Drying requirements: Allow 24-48 hours for complete drying before normal use. Ensure adequate ventilation and avoid walking on the rug during this period.
Optional sealing: For high-traffic areas, consider applying fabric-safe sealant once paint has fully cured.
Color Combinations That Work
Classic Approaches
| Color Pairing | Best For | Style Impact |
|---|---|---|
| Black & White | Modern, traditional spaces | Bold, timeless statement |
| Beige & White | Neutral décors | Subtle, sophisticated elegance |
| Navy & Cream | Coastal, nautical themes | Refined maritime appeal |
Contemporary Options
- Sage & Cream: Earthy, organic feel perfect for natural décors
- Terracotta & Ivory: Warm, southwestern-inspired aesthetic
- Charcoal & Light Gray: Sophisticated monochromatic approach
Bold Statements
For personality-driven spaces, consider vibrant combinations like emerald and white, or dusty rose and cream. Remember that high-contrast pairings create more dramatic visual impact, while tonal variations offer subtler sophistication.
Troubleshooting Common Issues
Paint Penetration Problems
Symptom: Color appears uneven or patchy
Solution: Ensure fabric softener ratio is adequate; natural fibers need more moisture to accept paint evenly
Stiffness After Drying
Symptom: Rug feels rigid or scratchy
Cause: Insufficient fabric softener in mixture
Prevention: Test mixture on rug corner before full application
Bleeding or Smudging
Symptom: Colors run together at square boundaries
Solution: Work with lighter paint loads and ensure templates lie flat against textured surfaces
Cracking or Peeling
Symptom: Paint surface shows stress marks
Cause: Too rapid drying or improper surface preparation
Prevention: Allow gradual drying away from direct heat sources
Design Variations and Creative Extensions
Scale Considerations
Square size dramatically impacts visual effect. Small squares (4-6 inches) create intricate, detailed patterns ideal for smaller spaces, while large squares (12+ inches) deliver bold, contemporary statements suited to spacious rooms.
Pattern Alternatives
- Diamond orientation: Rotate traditional squares 45 degrees for dynamic visual interest
- Graduated sizing: Vary square dimensions across the rug for artistic effect
- Border integration: Add solid borders to frame the checkered field
- Color progression: Create ombré effects within the checkered pattern
Mixed Media Approaches
Combine painted squares with stenciled motifs, or integrate metallic accents for luxury appeal. Some designers successfully incorporate multiple natural fiber textures within single checkered designs.
Maintenance and Longevity
Cleaning protocol: Vacuum regularly using low suction settings. For spot cleaning, use mild soap solutions and blot rather than scrub to preserve paint integrity.
Expected lifespan: Properly executed painted rugs maintain appearance for 3-5 years with normal use, longer in low-traffic areas.
Touch-up strategy: Keep small quantities of mixed paint-softener combination for future repairs, though color matching can be challenging after extended periods.
Cost Analysis and Value Proposition
Project Economics
| Component | Typical Cost | Value Note |
|---|---|---|
| Base rug (thrifted) | $10-30 | Natural fibers essential |
| Paint (quart) | $15-25 | Covers multiple projects |
| Fabric softener | $3-5 | Key ingredient for flexibility |
| Total Investment | $28-60 | Compare to $200-800 retail |
The economic advantage becomes even more compelling when considering customization value—you’re creating exactly what you envision rather than compromising with available retail options.
Final Thoughts
Painting your own checkered rug represents more than a DIY project; it’s an opportunity to create something uniquely yours while developing valuable skills in color theory, pattern design, and surface preparation. The process requires patience and attention to detail, but the satisfaction of walking on your custom creation makes every careful brushstroke worthwhile.
Whether you’re refreshing a faded vintage find or transforming a basic jute rug into a designer-worthy centerpiece, this technique offers endless possibilities for personal expression. Start with simple color combinations and standard patterns, then let your growing confidence guide you toward more adventurous designs.
Remember, the beauty of handmade pieces lies partly in their subtle imperfections—embrace the organic irregularities that make your painted rug unmistakably yours.
