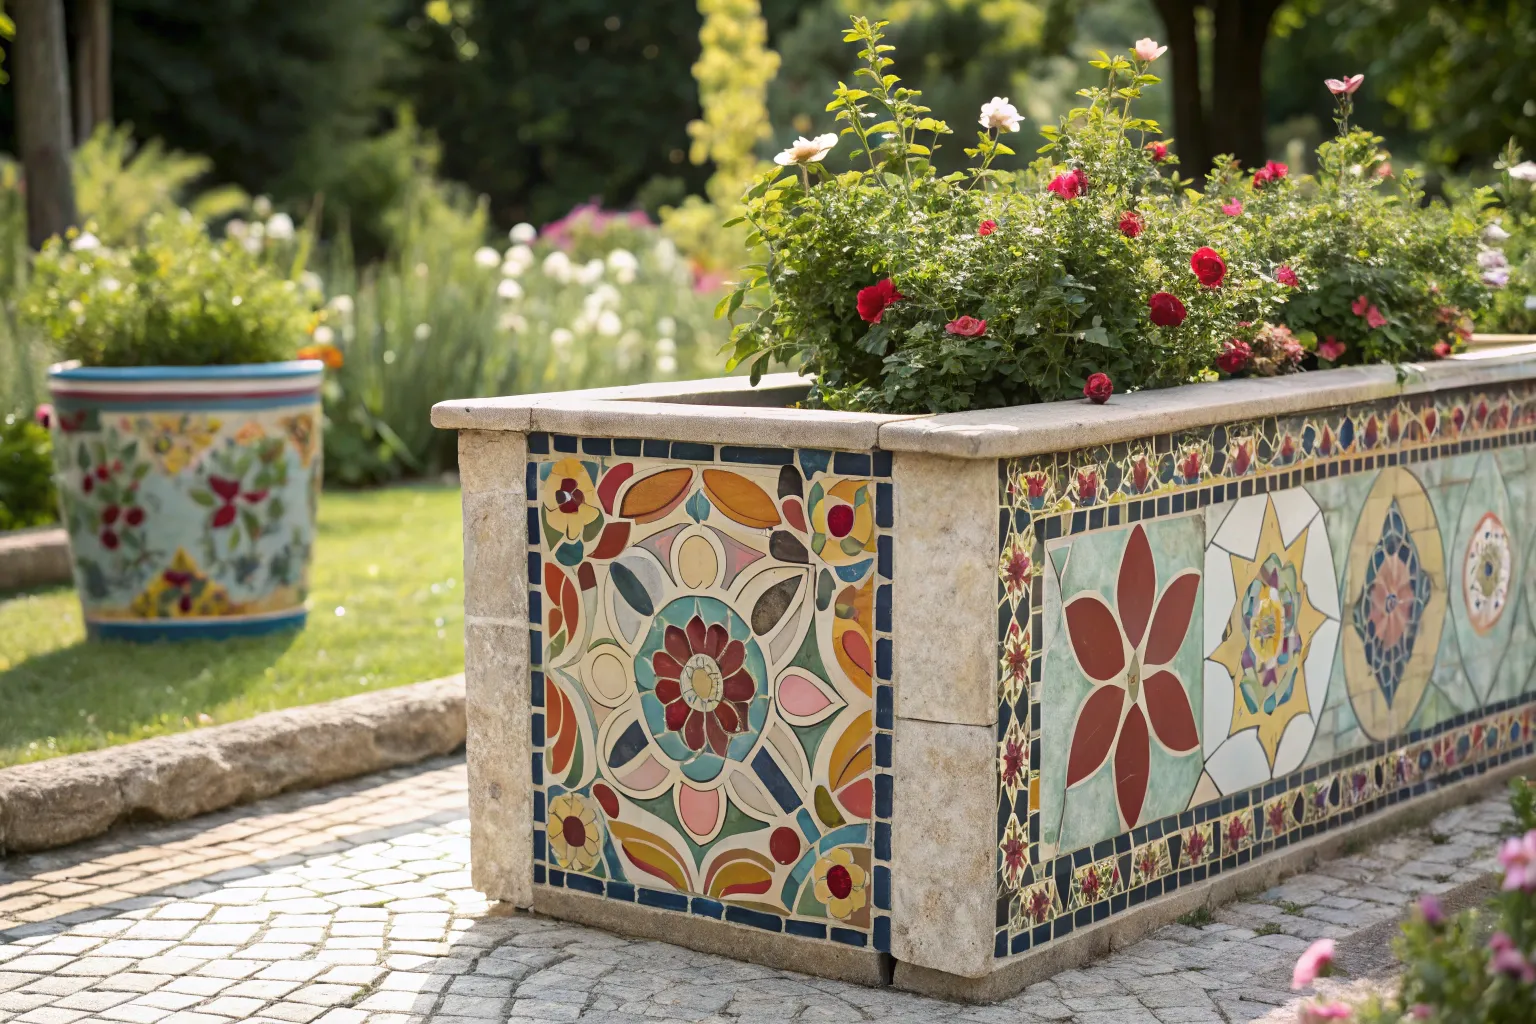
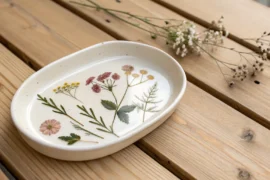
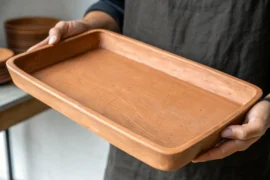
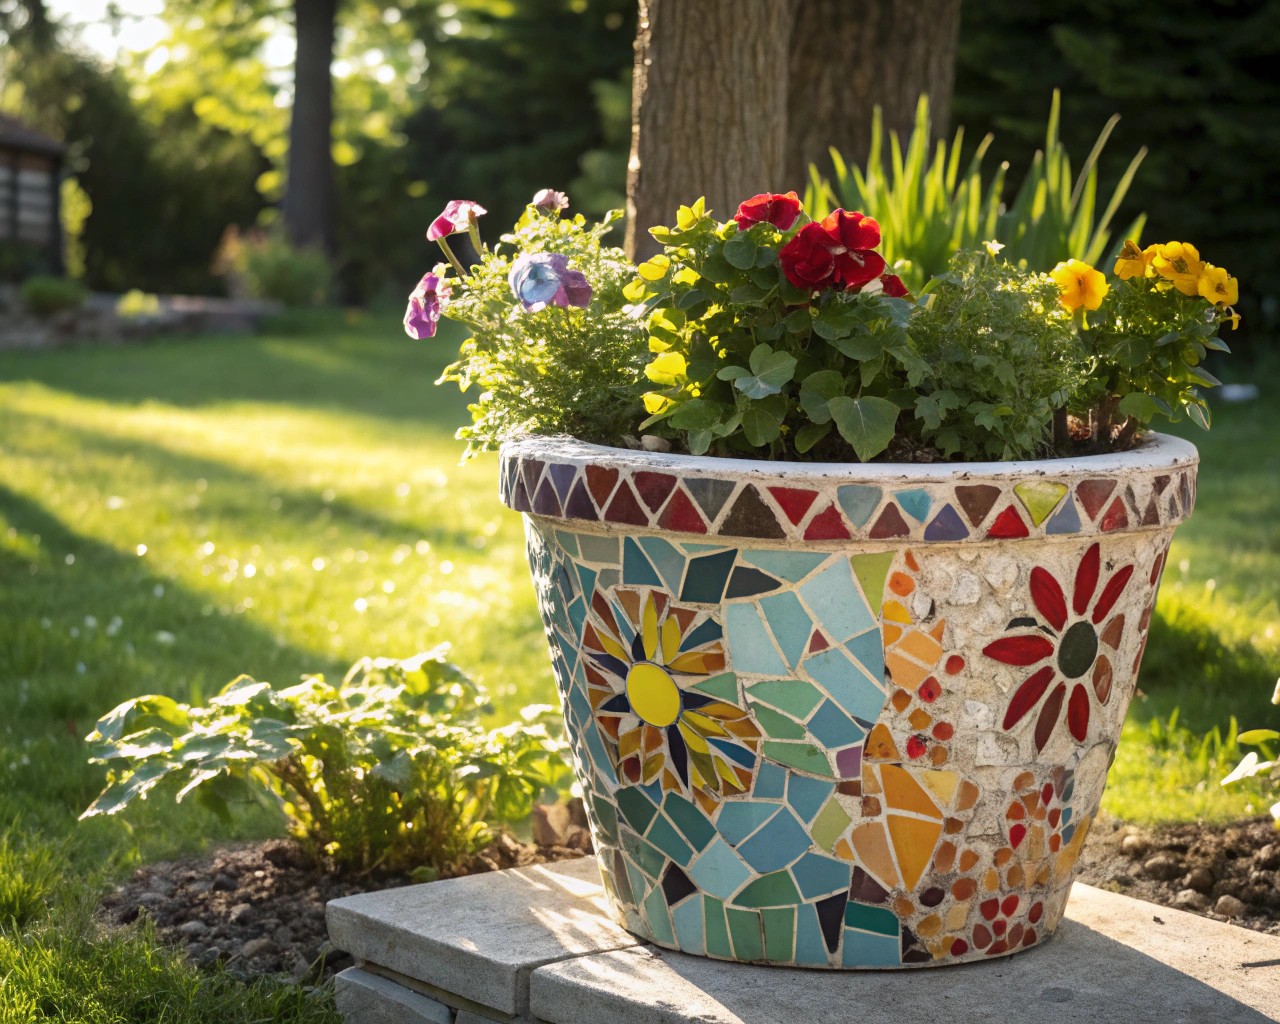
Transform ordinary planter boxes into stunning garden focal points with this comprehensive guide to creating decorative mosaic borders. Whether you’re enhancing a simple terra cotta pot or building an entirely new planter box, mosaic borders offer timeless elegance and weather-resistant beauty that perfectly frames your favorite plants.
Why Mosaic Borders Make the Perfect Planter Frame
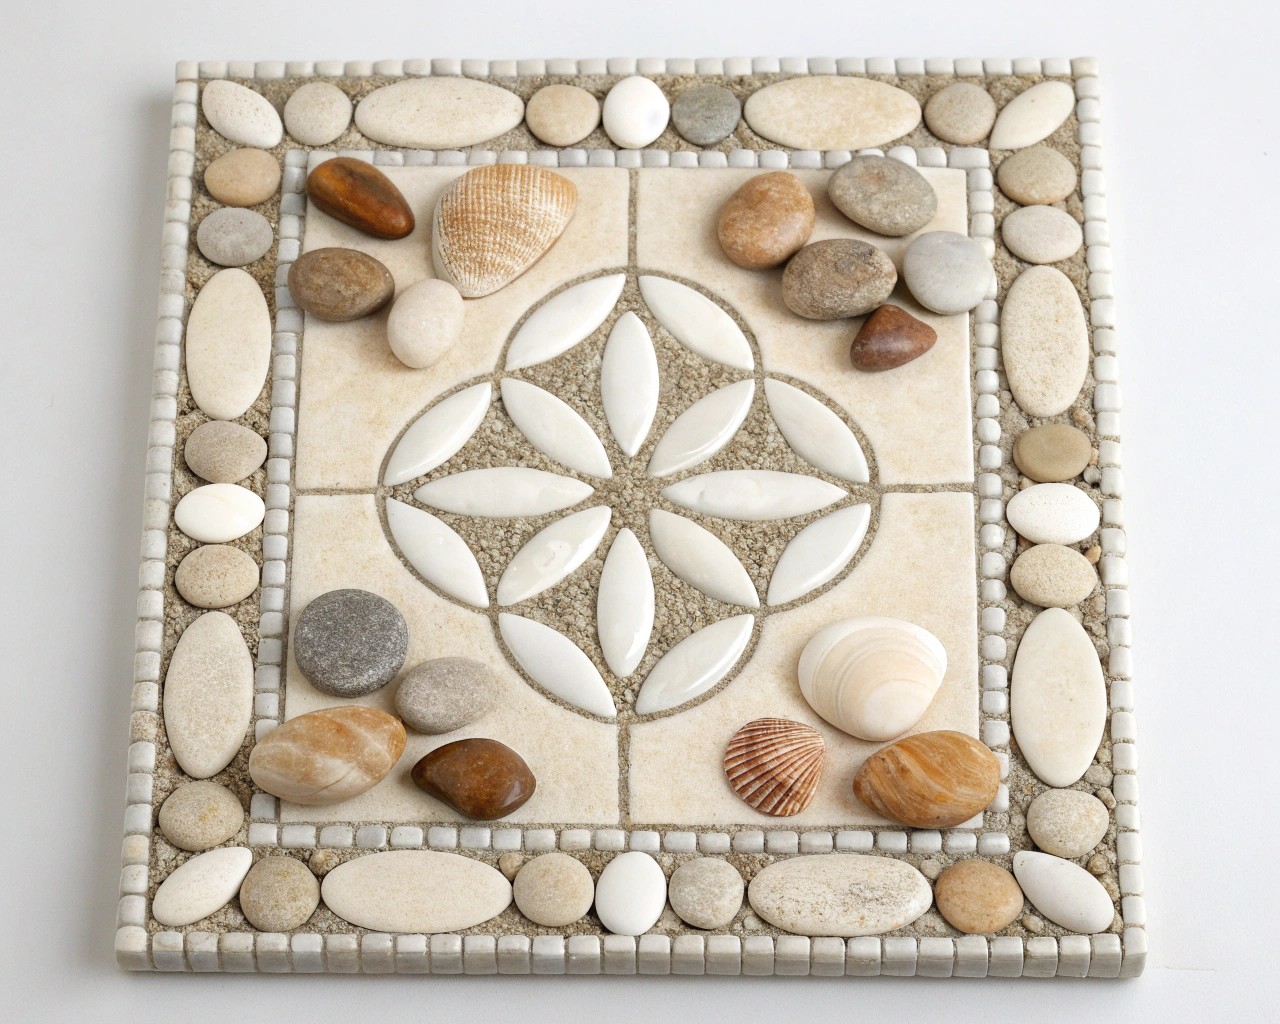
Mosaic borders possess a unique ability to elevate any planter from mundane to magnificent. Unlike temporary decorative solutions, a well-crafted mosaic border becomes a permanent feature that weathers beautifully over time. The technique dates back to ancient civilizations, where repeating patterns were considered both artistic and symbolic—representing unity, infinity, and balance.
I’ve found that mosaic borders work particularly well on planters because they create visual definition without overwhelming the plants themselves. The border acts as a sophisticated frame, drawing attention to both the container and its contents while adding texture and color that complements rather than competes with your garden design.
Essential Materials and Tools
Basic Materials Checklist
For the Mosaic Tiles:
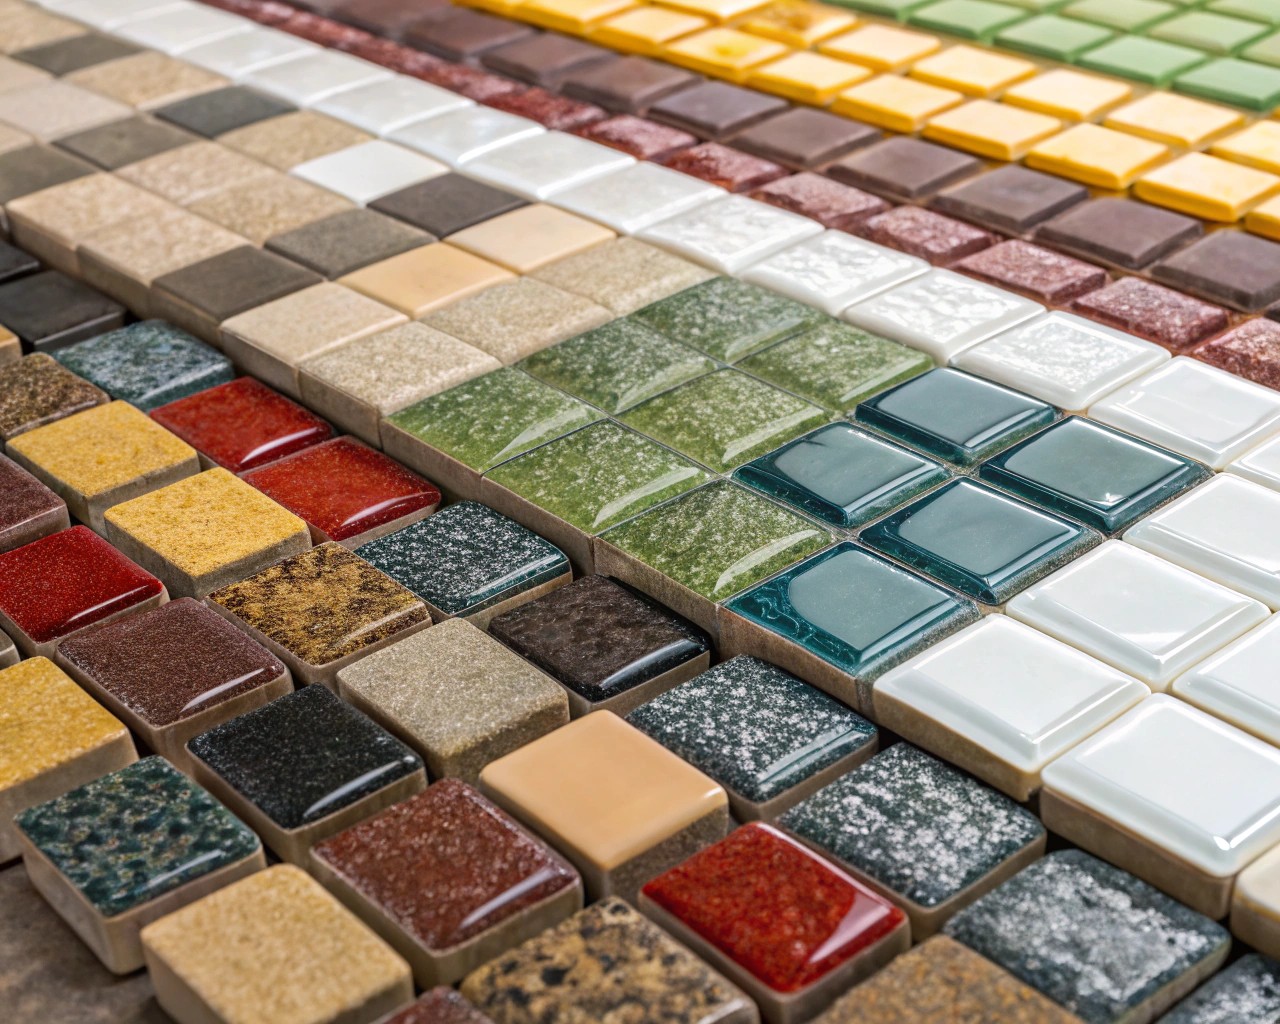
- Ceramic tiles (most versatile and beginner-friendly)
- Glass mosaic tiles (for added brilliance and light reflection)
- Natural stone pieces (for rustic, organic appeal)
- Broken pottery or china (for unique, upcycled character)
Adhesives and Setting Materials:
- Thin-set mortar (cement-based, ideal for outdoor use)
- Tile adhesive (white colored for glass mosaics)
- Grout (sanded for gaps larger than 1/8 inch)
- Grout sealer (essential for weatherproofing)
Essential Tools:
- Ceramic tile nippers (for cutting ceramic tiles)
- Wheeled glass nippers (if working with glass)
- Mosaic tweezers (for precise placement)
- Steel picks or dental tools (for adjustments)
- Grout float or putty knife
- Sponges and cleaning cloths
- Safety equipment (goggles, gloves, dust mask)
Design Planning and Inspiration
Classic Border Patterns
Geometric Patterns: Simple squares, diamonds, or rectangular patterns create clean, modern lines that complement contemporary garden designs. These work particularly well with monochromatic color schemes.
Flowing Designs: Wave patterns, vine motifs, or organic curves soften the rigid lines of planter boxes and create visual movement. These designs work beautifully with natural stone or earth-toned ceramics.
Traditional Motifs: Greek key patterns, arabesque designs, or botanical borders add historical elegance and work exceptionally well with formal garden settings.
Color Theory for Garden Harmony
When selecting colors for your mosaic border, consider the relationship between your tiles and the surrounding environment. Cool blues and greens create harmony with foliage, while warm oranges and reds provide striking contrast. Earth tones—browns, creams, and muted greens—blend seamlessly with natural garden materials and age gracefully over time.
Step-by-Step Installation Guide
Phase 1: Surface Preparation
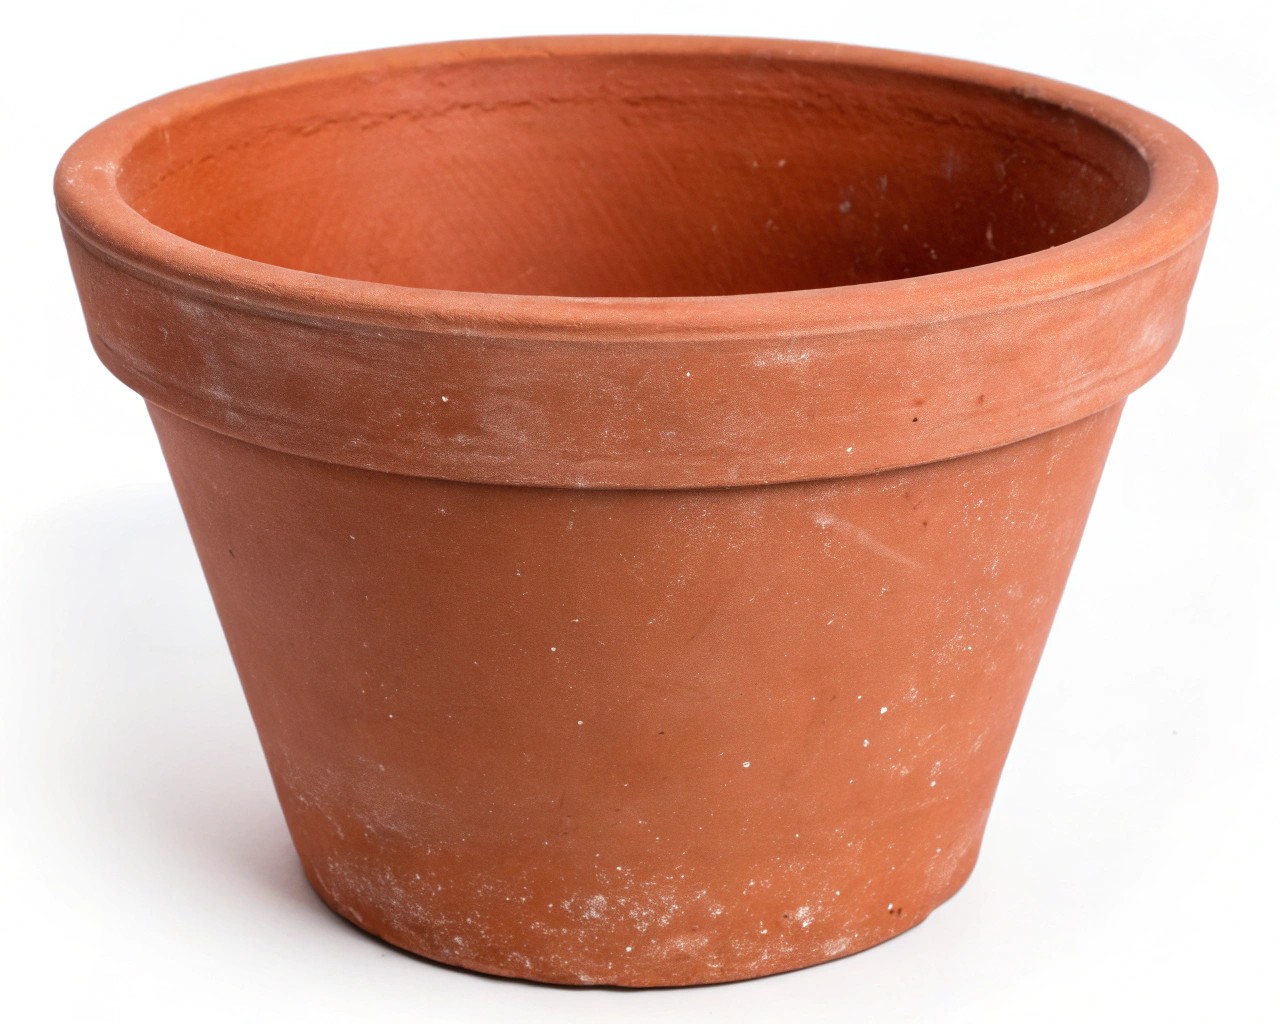
For Terra Cotta Pots:
1. Clean the pot thoroughly and allow to dry completely
2. Apply pot sealer if desired (optional but recommended for longevity)
3. Lightly sand smooth areas to create better adhesion
For Wooden Planter Boxes:
1. Score the surface in a crosshatch pattern with a utility knife
2. Apply multiple coats of exterior-grade sealant
3. Allow 24-48 hours curing time before proceeding
Phase 2: Design Layout
Before applying any adhesive, arrange your tiles in the desired pattern. This “dry fitting” stage allows you to make adjustments and ensures proper spacing. Use masking tape to mark key reference points and maintain consistent alignment.
Phase 3: Tile Application
Mixing Adhesive:
For outdoor projects, mix thin-set mortar according to manufacturer specifications. Work with small batches to prevent premature setting. The consistency should resemble thick peanut butter.
Application Technique:
1. Apply adhesive using the “back buttering” method—spread adhesive on the back of each tile rather than the surface
2. Press tiles firmly, maintaining consistent spacing
3. Remove excess adhesive immediately to prevent grout problems
4. Work in manageable sections to maintain working time
Phase 4: Grouting Process
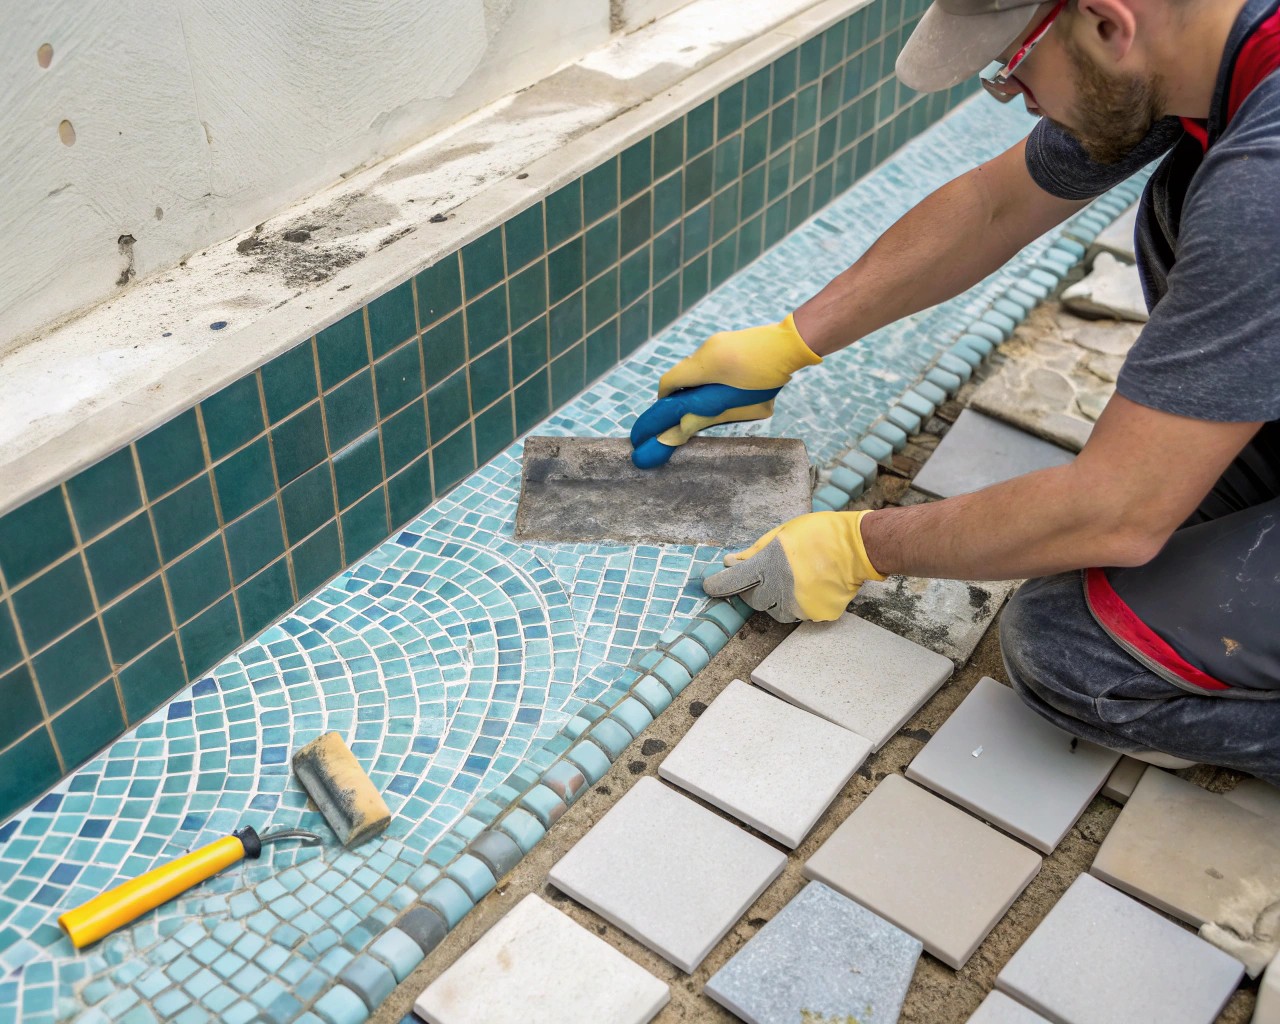
Allow tiles to set for at least 24 hours before grouting. Mix grout according to package directions, achieving a consistency similar to thick cake frosting.
Grouting Steps:
1. Apply grout diagonally across tiles using a float
2. Work grout deep into all gaps, eliminating air bubbles
3. Remove excess grout with damp sponge in circular motions
4. Allow initial set (10-15 minutes), then clean tile surfaces
5. Final polish with clean, dry cloth after 20-30 minutes
Phase 5: Sealing and Protection
After grout cures completely (48-72 hours), apply grout sealer for maximum weather protection. Use a brush or spray application, ensuring complete coverage of all grout lines while avoiding tile surfaces.
Advanced Techniques and Professional Tips
Creating Dimensional Interest
Consider varying tile heights slightly to create subtle texture changes. This technique, called “floating,” uses extra adhesive to elevate certain tiles, creating shadow patterns that add visual depth.
Managing Complex Curves
When working around curved planter edges, score tiles partially before breaking to achieve better conformity to the curve. Small ceramic tiles naturally adapt to gentle curves better than large pieces.
Color Blending Strategies
Create sophisticated color transitions by gradually shifting from one hue to another across the border. This technique works particularly well with glass tiles, which reflect and refract light beautifully.
Weather Resistance and Longevity
Material Selection for Climate
Hot, Sunny Climates: Choose UV-resistant materials and light colors to prevent fading and heat absorption.
Cold, Wet Climates: Prioritize frost-resistant materials and ensure proper drainage to prevent freeze-thaw damage.
Coastal Areas: Use materials resistant to salt spray and consider additional sealing for extended protection.
Maintenance Schedule
| Maintenance Task | Frequency | Key Points |
|---|---|---|
| Visual inspection | Monthly | Check for loose tiles or grout damage |
| Light cleaning | Bi-weekly | Soft brush and mild soap solution |
| Deep cleaning | Seasonally | Pressure washing (low pressure) if needed |
| Grout sealing | Annually | Reapply sealer to maintain weather protection |
| Professional assessment | Every 5 years | Consider re-grouting if needed |
Troubleshooting Common Issues
Grout Discoloration
Prevention remains the best strategy—use high-quality, stain-resistant grout and seal promptly. For existing stains, gentle scrubbing with baking soda paste often proves effective.
Tile Movement or Loss
Usually indicates inadequate surface preparation or poor adhesive mixing. Remove affected tiles, clean thoroughly, and reinstall with proper technique.
Efflorescence (White Residue)
This mineral deposit formation is common with cement-based materials. Regular cleaning with mild acidic solutions (white vinegar) typically resolves the issue.
Design Variations for Different Planter Styles
Contemporary Rectangular Planters
Clean geometric patterns with neutral colors complement modern architecture. Consider monochromatic schemes with subtle texture variations.
Traditional Round Pots
Flowing, organic patterns work beautifully with curved surfaces. Radial designs that emanate from the center create dynamic visual interest.
Large Statement Planters
Bold patterns and contrasting colors can support larger scale designs. Consider incorporating multiple pattern elements or creating themed narratives.
Budget-Friendly Approaches
Recycled Material Sources
Transform broken dishes, old tiles, or thrift store finds into unique mosaic elements. This approach not only reduces costs but creates one-of-a-kind character.
Partial Border Treatments
Focus mosaic borders on key visual areas—the upper rim or front-facing sections—rather than covering entire planters.
Mixed Media Integration
Combine purchased tiles with natural materials like pebbles or shells to stretch your budget while adding textural interest.
Safety Considerations
Working with mosaic materials requires attention to safety protocols. Always wear safety glasses when cutting tiles. Use dust masks during grinding or cutting operations. Ensure adequate ventilation when working with adhesives and sealers.
Keep first aid supplies readily available—mosaic work occasionally results in minor cuts from sharp tile edges. Work in well-lit conditions to maintain precision and safety.
Seasonal Timing and Planning
Spring Installation: Ideal for new projects, allowing full summer for curing and settling before winter weather.
Summer Work: Focus on maintenance and repair tasks. Avoid working during extreme heat, which can cause adhesives to set too quickly.
Fall Preparation: Apply final sealer coats and complete weatherproofing before winter freeze-thaw cycles.
Winter Planning: Use indoor time for design planning and material sourcing for spring projects.
Long-Term Care and Enhancement
A well-maintained mosaic border will enhance your garden for decades. Regular attention to grout condition and prompt repair of any damage ensures longevity. Consider your mosaic border as a living element of your garden design—one that can be modified or expanded as your garden evolves.
The beauty of mosaic work lies not only in its visual impact but in its permanence and durability. Unlike many garden decorating solutions, a properly installed mosaic border becomes more beautiful with age, developing a patina that speaks to the timeless nature of this ancient art form.
Your completed mosaic border will transform an ordinary planter into a distinctive garden feature that reflects your personal style while providing years of enduring beauty. The investment of time and care in proper installation pays dividends in both aesthetic appeal and lasting satisfaction.

