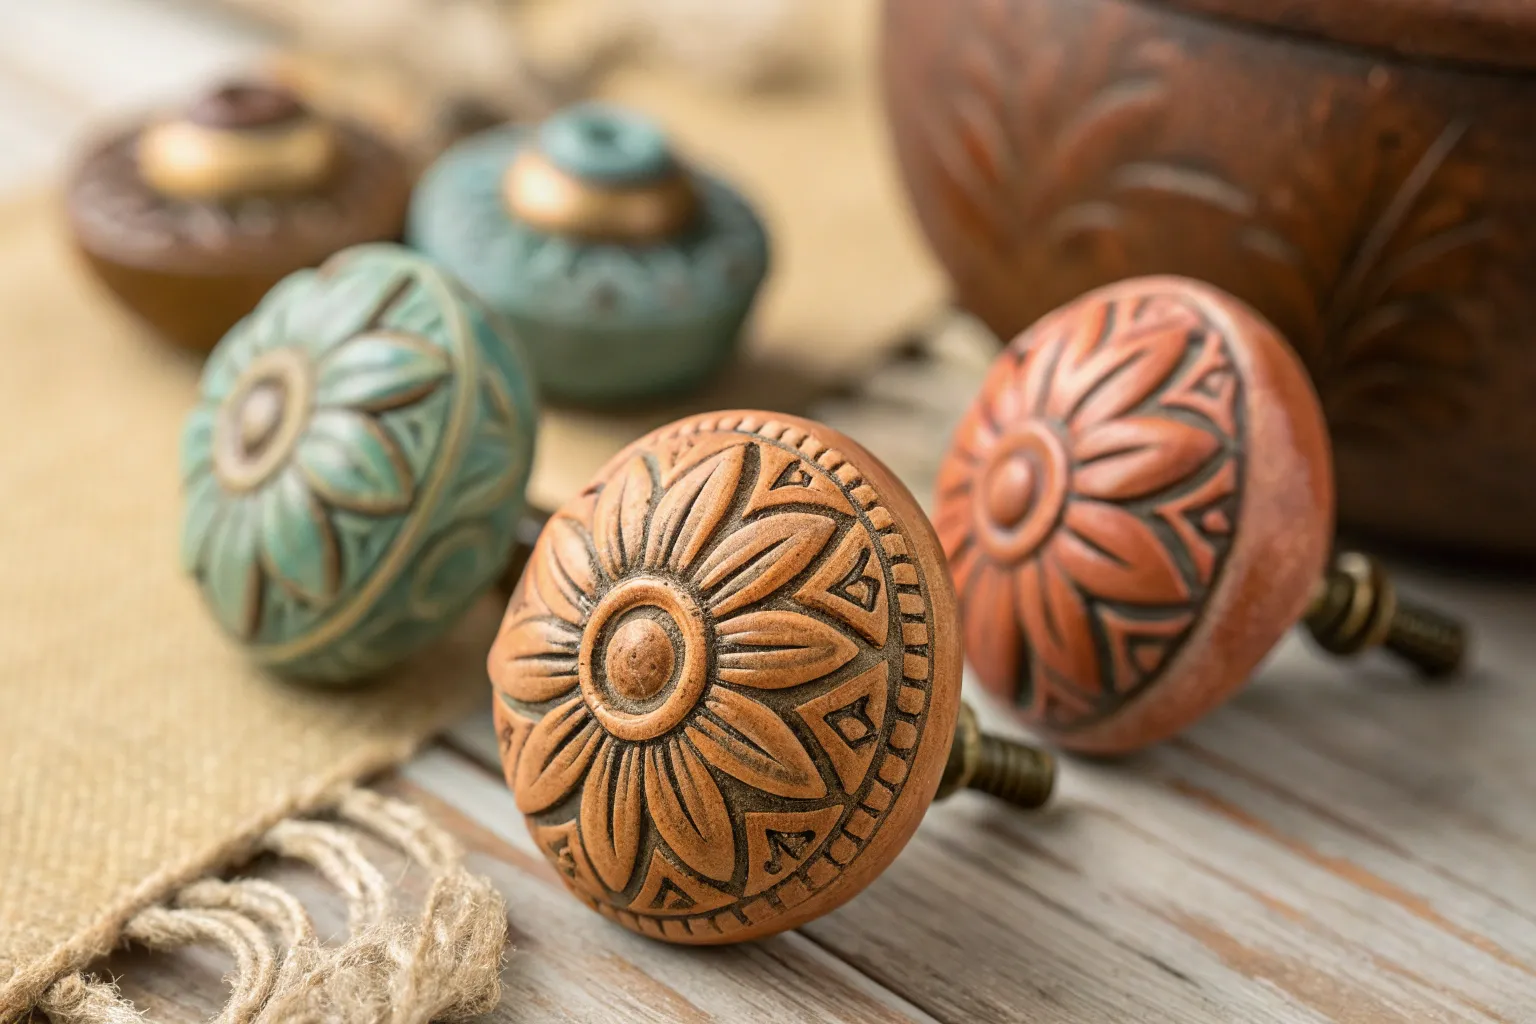
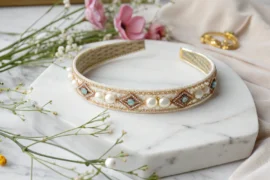
Creating custom cabinet hardware from soft clay transforms functional elements into personal expressions of style. This adaptable medium allows you to craft unique knobs that perfectly complement your home’s aesthetic while offering the satisfaction of handmade details.
Why Clay Knobs Deserve Your Attention
Custom clay knobs offer exceptional versatility in design and finish options. Unlike mass-produced hardware, clay allows you to create pieces that reflect your exact vision—from subtle geometric forms to whimsical sculptural elements. Homeowners increasingly seek personalized touches in their spaces, and hardware serves as the jewelry of furniture. Clay knobs bridge the gap between affordability and uniqueness, delivering visual impact at minimal cost.
Essential Materials and Tools
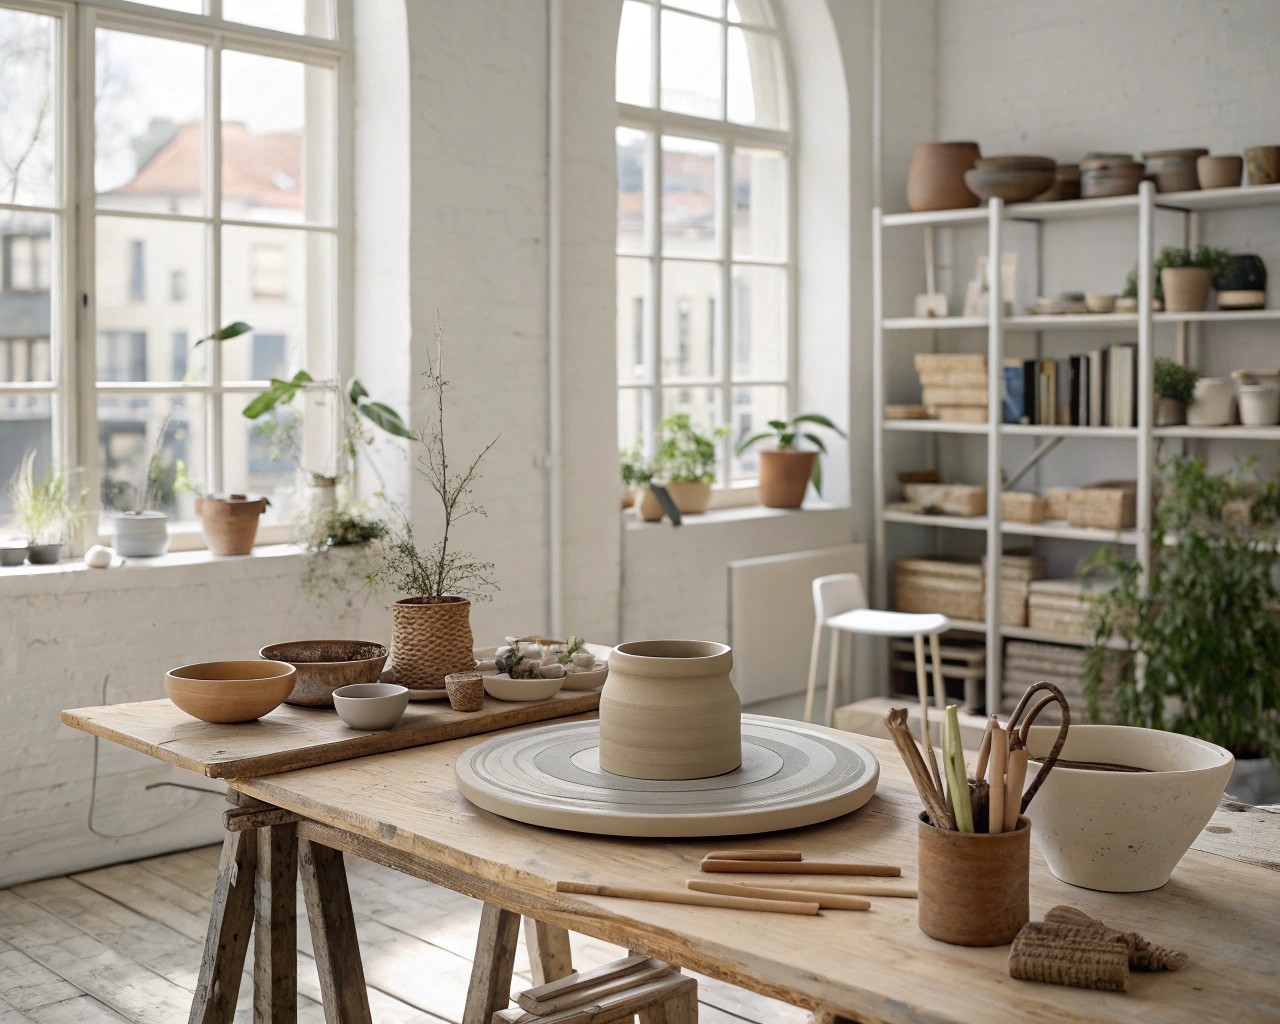
Clay Selection:
- Polymer clay: Durable, holds fine details, cures in a home oven
- Air-dry clay: Budget-friendly, cures at room temperature (requires protective finish)
Primary Tools:
- Acrylic roller or clay-dedicated rolling guide
- Sharp craft knife
- Sculpting tools or household alternatives (toothpicks, dowels)
- Simple templates or cookie cutters for shapes
- Oven thermometer for accurate temperature checks
Hardware Components:
- Screw-in knob bases or wood screws (length matching drawer thickness)
- Strong clear-drying adhesive
- Fine-grit sandpaper (220–400 grit)
Finishing Supplies:
- Acrylic paints (optional)
- Clear sealant or glaze
- Soft brush for sealant application
Conditioning Your Clay: The Foundation of Success
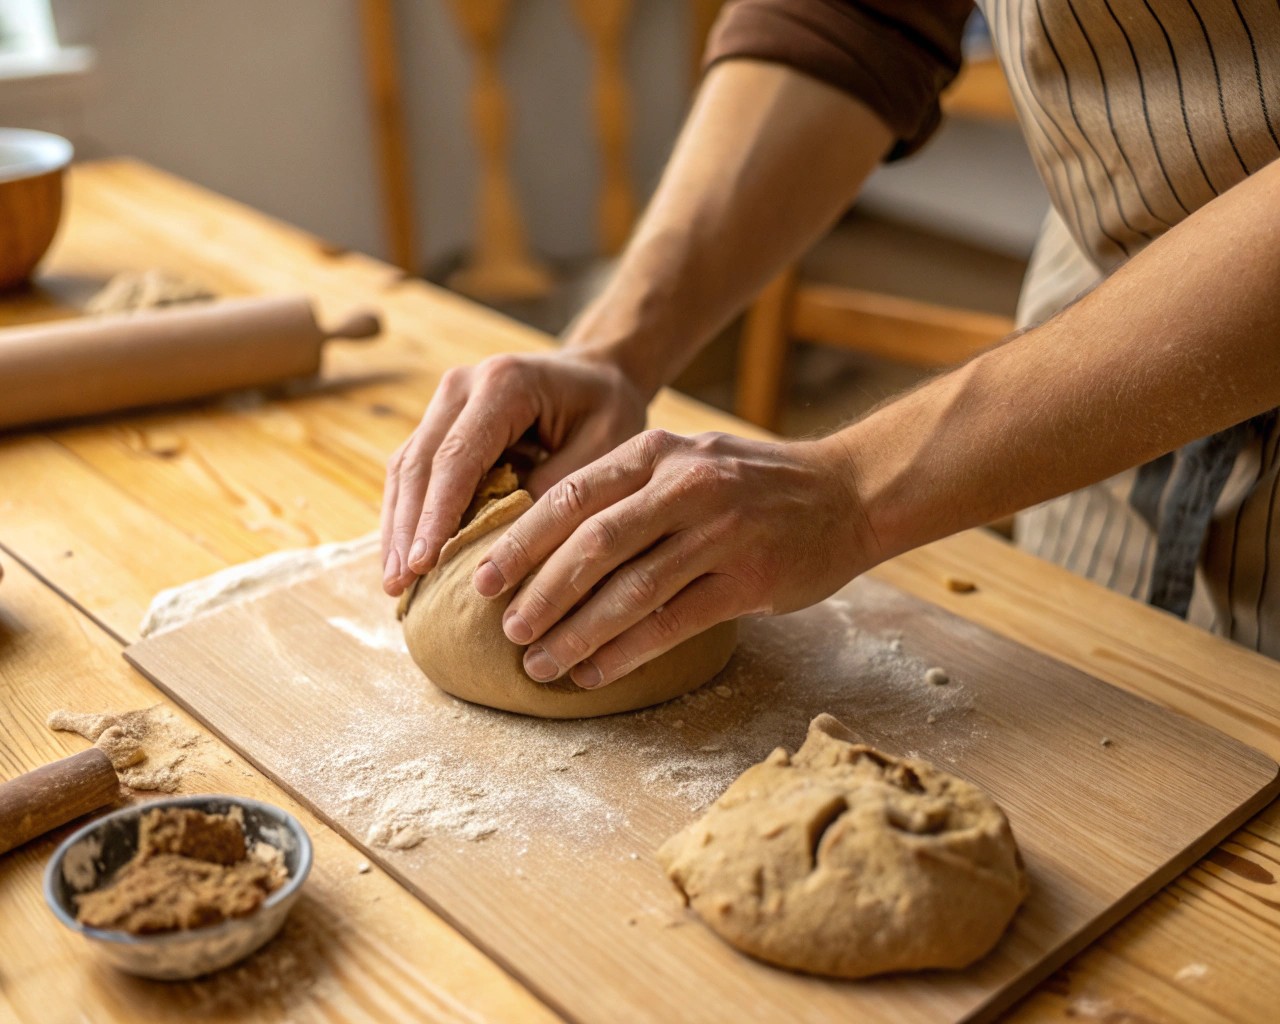
Proper clay conditioning ensures uniform workability and final strength.
- Warm the clay by rolling it in your hands or placing it in a slightly warm spot.
- Press and fold repeatedly, rolling into a thick “snake,” then a ball.
- Continue until the clay feels smooth, flexible, and free of cracks.
- Test by bending a small section—well-conditioned clay bends without crumbling.
For stiffer blocks, feed evenly sized pieces through a dedicated clay roller or a thick setting on a pasta machine, folding between passes until fully pliable.
Design Approaches and Inspiration
Geometric Minimalism
- Square & Hexagon: Roll clay to ¼ inch thickness, cut with templates, then sand edges after curing.
- Cylinder: Roll uniform logs, slice to size, add subtle texture with simple stamps or tool markings.
Organic & Natural Themes
- Leaf Impressions: Press fresh leaves into clay, remove before curing for veined patterns.
- Stone-Like Marble: Twist together small bits of earth-tone clays until partially blended for natural variegation.
Playful Character Designs
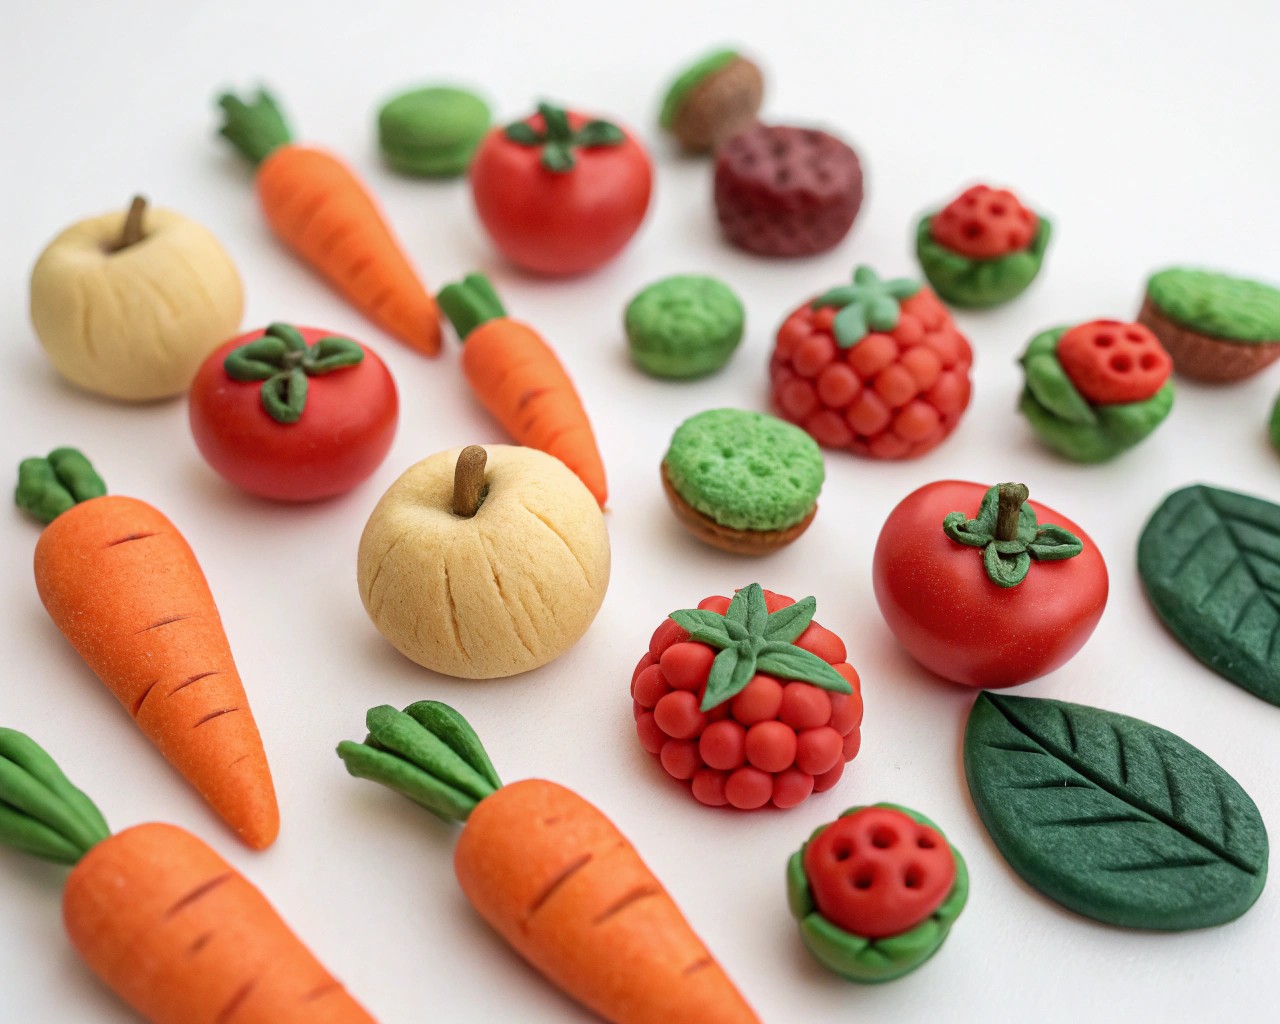
- Mini Fruits & Veggies: Pinch and blend colored clays into tiny produce shapes.
- Abstract Forms: Let clay guide you—pinch, twist, and sculpt freeform pieces that speak to your style.
Step-by-Step Construction Process
1. Plan & Template
- Determine knob diameter (1–1.5 inches) and projection (¾ inch).
- Cut cardboard templates marking screw-hole center.
2. Shape & Detail
- Roll clay into a ball sized slightly larger than final form.
- Flatten one side for the grip, keeping rounded edges.
- Add texture with fabric, stamps, or improvised tools.
- Press a matching knob base or screw head into the back to create a snug cavity.
3. Cure Properly
- Preheat oven to 275 °F using a separate thermometer.
- Bake knobs on a parchment-lined sheet for 30 minutes per ¼ inch thickness.
- Tent with foil to prevent scorching while allowing heat circulation.
- Cool fully before handling.
Professional Finishing Techniques
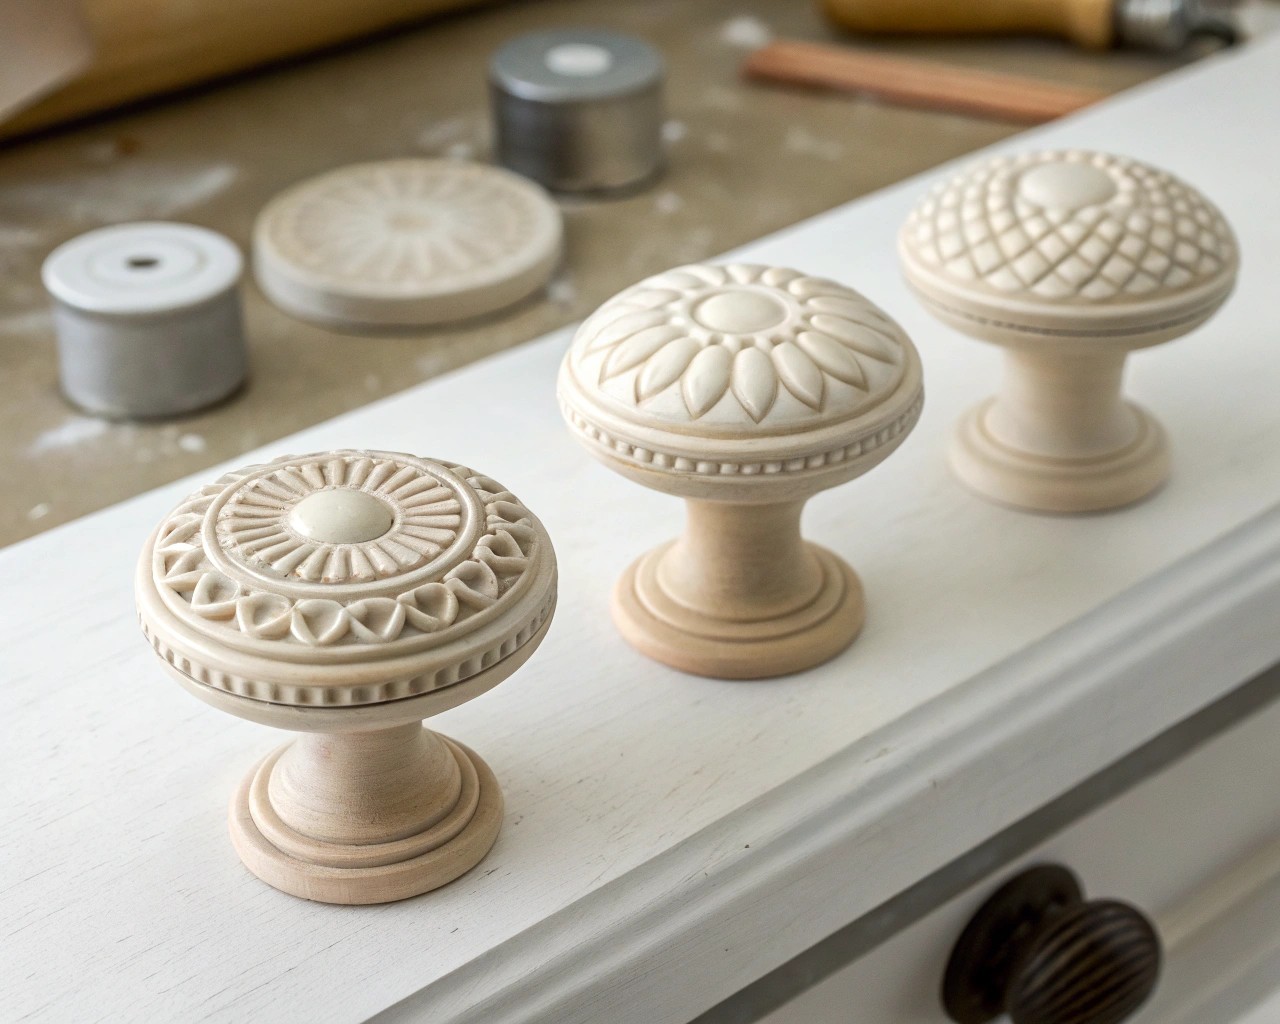
- Sanding: Wet-sand starting at 220 grit, progress to 400 grit for smoothness.
- Buffing: Use a soft cloth or gentle buffing tool to enhance shine.
- Sealant: Apply thin coats of clear sealant, allowing 4–6 hours drying between layers.
Installation Methods
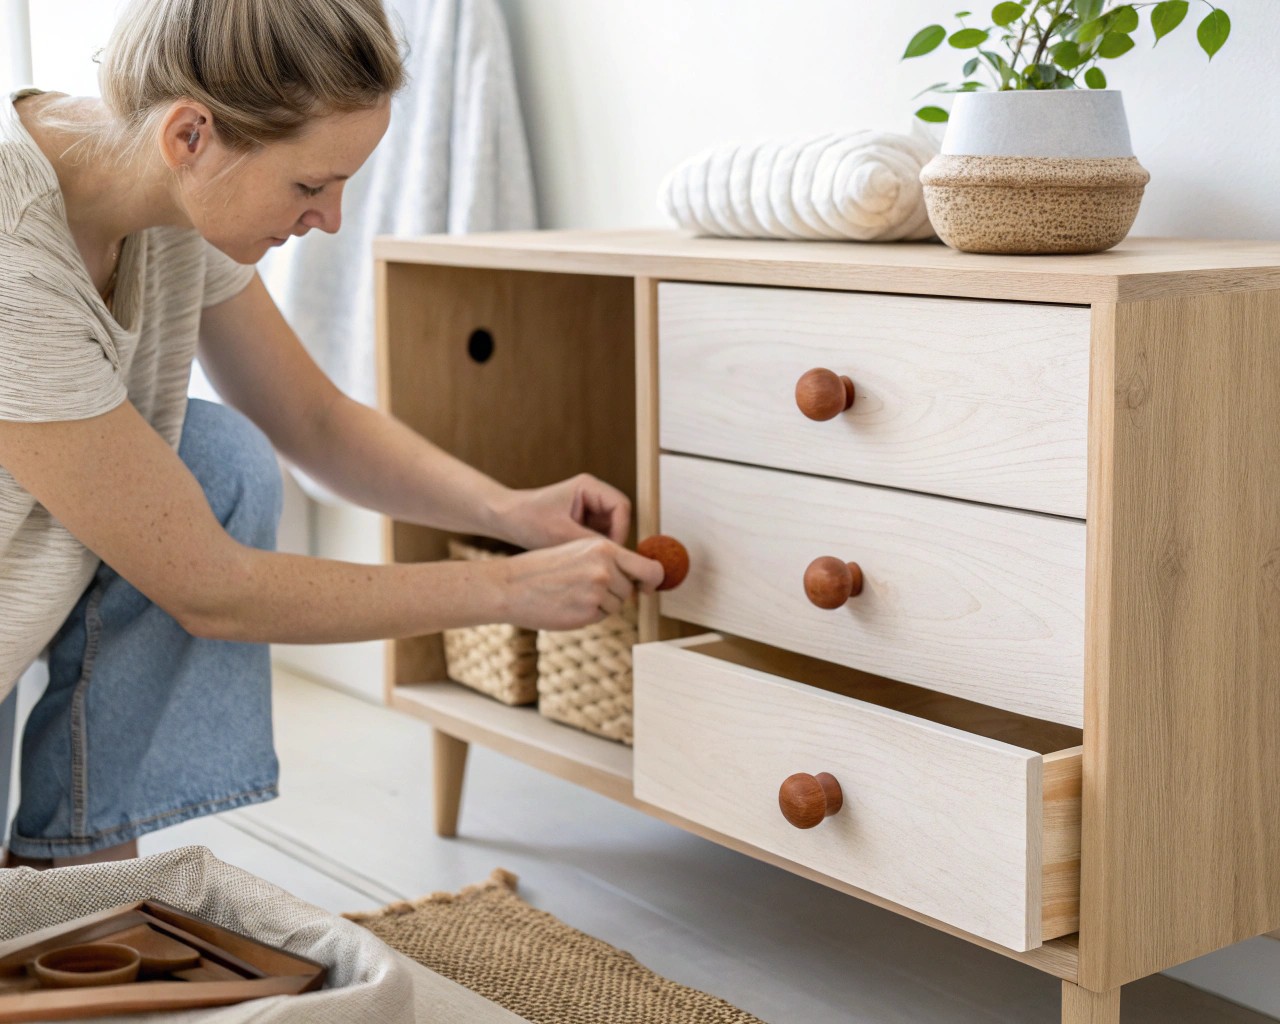
- Direct Screw: Drill pilot hole in cured clay for wood screw, then install from inside drawer.
- Adhesive Base: Bond clay piece to an existing knob base with clear-drying adhesive.
Use a drilling template for consistent placement. Verify alignment with a straightedge before drilling, and tighten screws with care to avoid clay cracking.
Troubleshooting & Tips
- Cracks While Shaping: Recondition clay until pliable.
- Underbaked Pieces: Extend baking time rather than increasing temperature.
- Surface Flaws: Lightly sand after curing; repaint or reseal as needed.
- Loose Mounting: Ensure screw length matches material; use backing washers to distribute pressure.
Maintenance & Longevity
- Wipe clean with mild soap and soft cloth—avoid abrasives.
- Check tightness quarterly; reapply sealant every 3–5 years.
- Keep spare clay recipes or samples for future matching and expansions.
By mastering these techniques, you can elevate your furniture with handcrafted clay knobs that reflect your personal style, enhance daily interactions, and bring a bespoke touch to every drawer you open.

