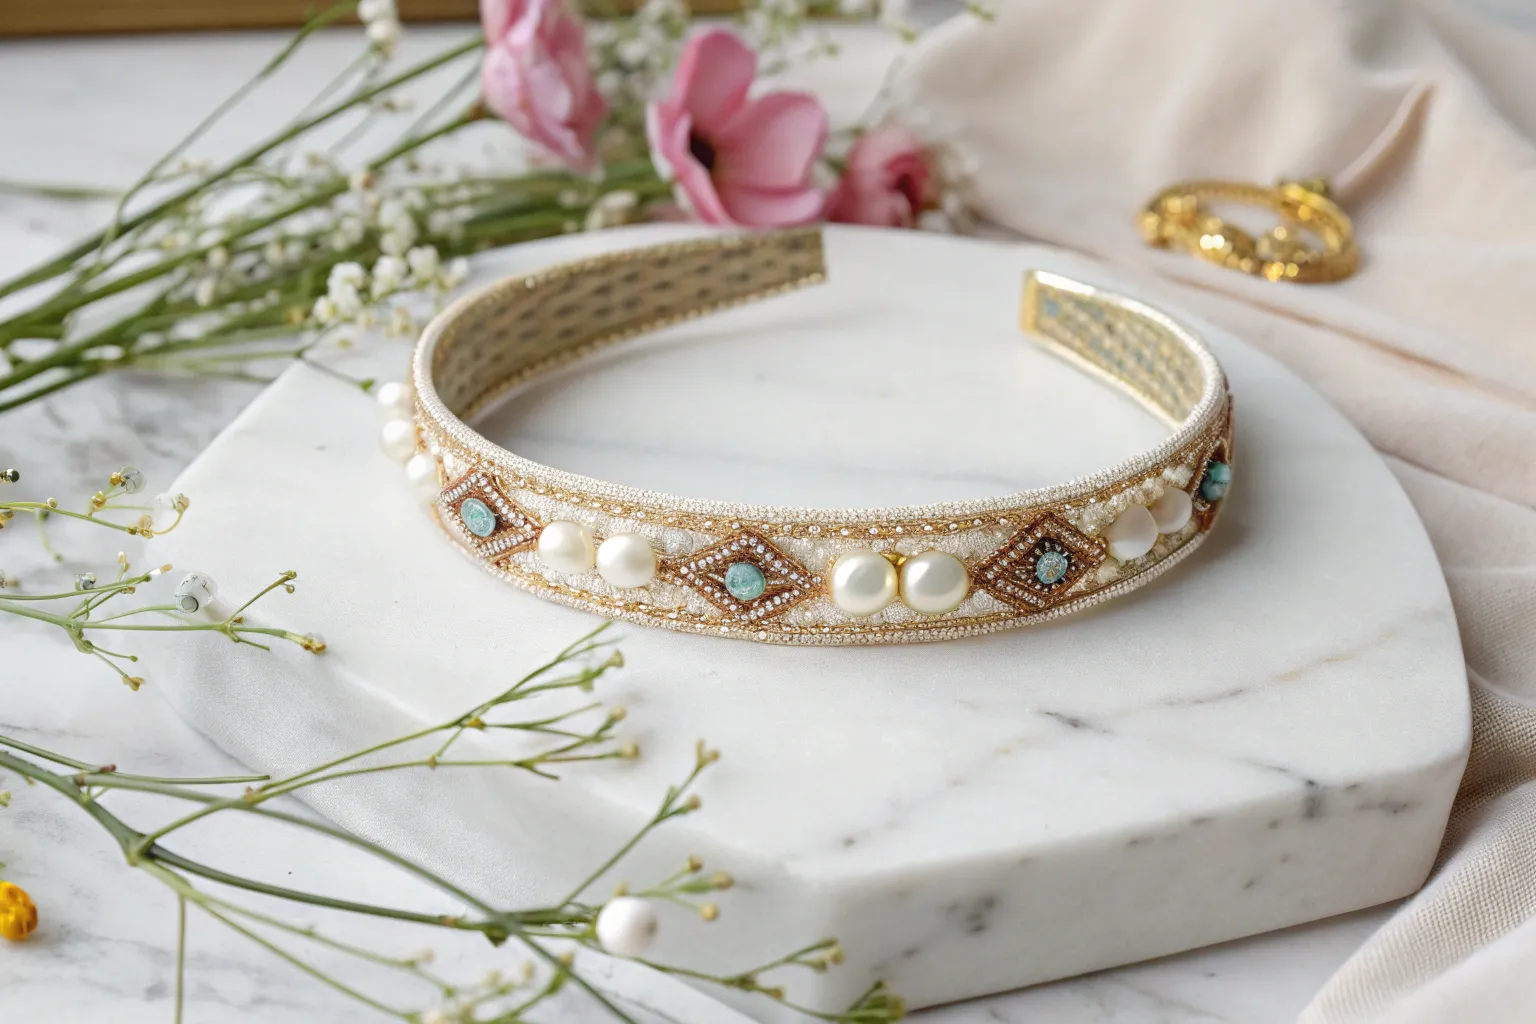
Transform yourself into a divine vision with this enchanting headband that bridges ancient mythology and contemporary style. This sophisticated DIY project combines time-honored craftsmanship with modern materials to create an accessory that’s both ethereal and wearable.
Understanding the Greek Goddess Aesthetic
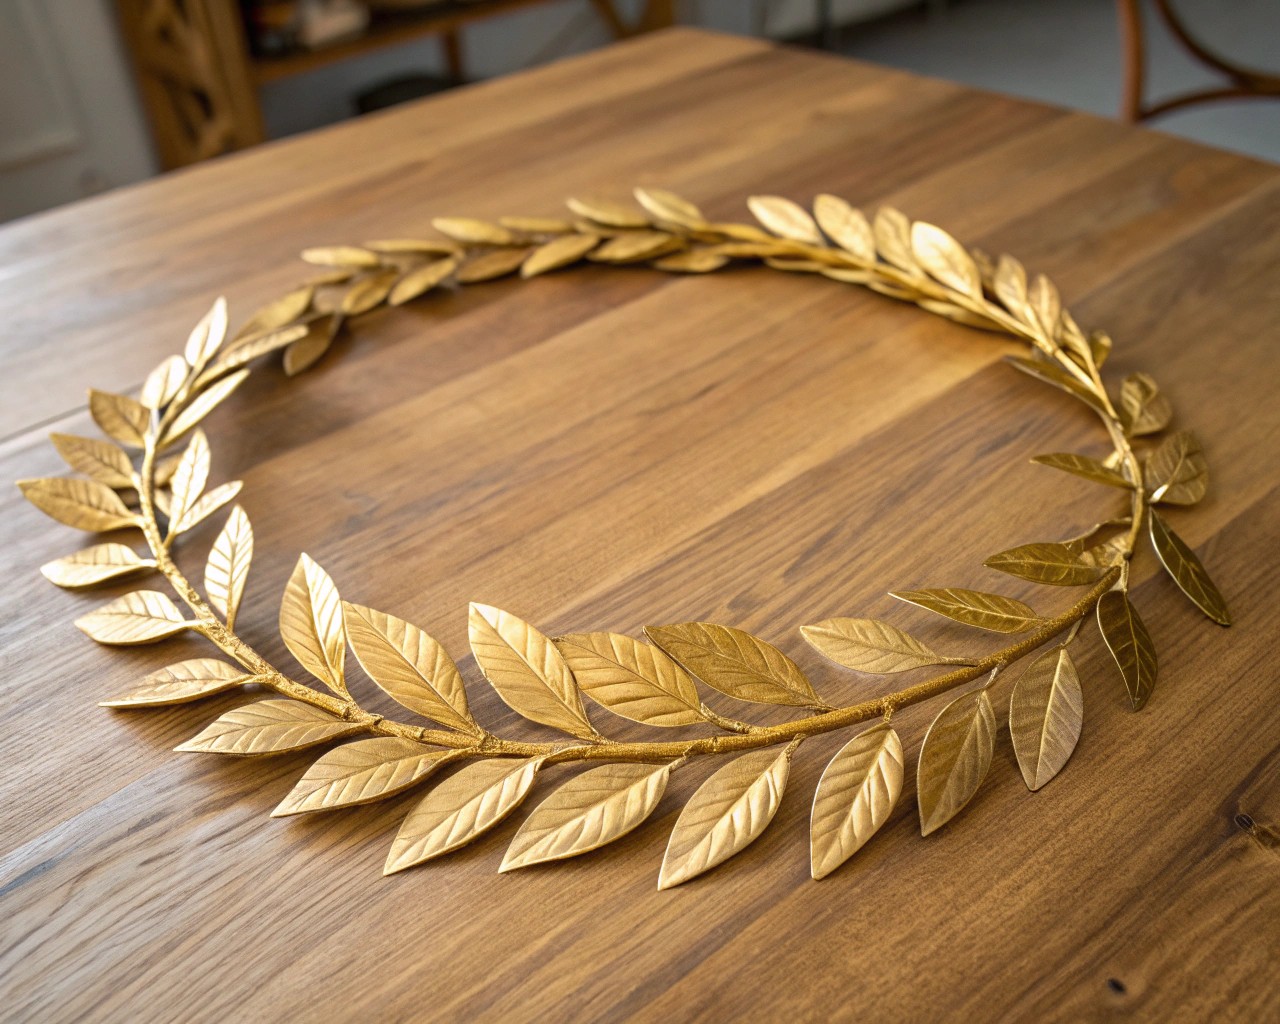
The ancient Greeks elevated hair accessories to an art form, using laurel wreaths, golden circlets, and delicate leaf crowns to denote status, celebrate victories, and honor the gods. Greek goddesses were traditionally depicted wearing continuous, flowing leaf patterns that symbolized eternity, wisdom, and divine connection. Modern interpretations of these classical elements allow us to capture that timeless elegance while adapting the design for contemporary wear.
The key to achieving an authentic Greek goddess look lies in understanding the symbolic significance behind traditional motifs. Laurel leaves represented victory and honor, olive branches symbolized peace and wisdom, while gold embodied divine light and immortality. By incorporating these elements thoughtfully, your headband becomes more than an accessory—it transforms into a statement piece that carries centuries of cultural meaning.
Essential Materials and Tools
Creating a professional-quality Greek goddess headband requires careful selection of materials that balance authenticity with practicality. Here’s your complete shopping list:
Base Materials
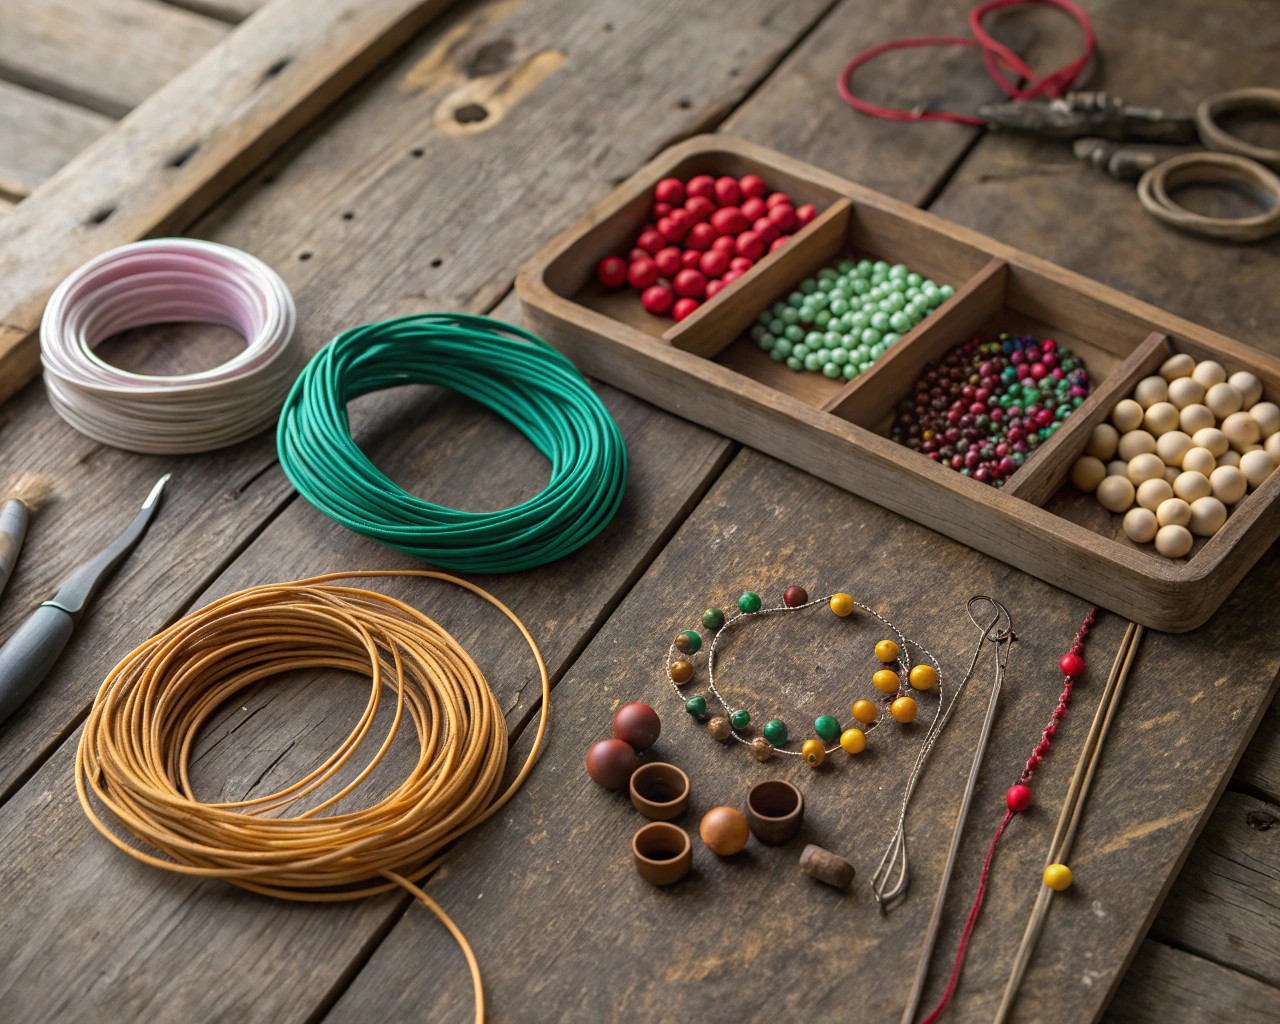
- Wire headband base (1/4 inch wide, preferably padded)
- 18-gauge craft wire (gold or copper finish)
- 26-gauge wrapping wire (gold-colored)
- Floral wire (20-gauge, green)
Decorative Elements
- Artificial golden leaves (bay, laurel, or olive leaf shapes)
- Small pearls or crystal beads (4-6mm diameter)
- Gold leaf foil or gold spray paint
- Metallic ribbon (1/2 inch wide, optional)
Adhesives and Finishes
- E6000 industrial adhesive or hot glue gun with precision tip
- Clear protective sealant (acrylic-based)
- Wire cutters and needle-nose pliers
When selecting leaves, choose varieties with realistic textures and natural curves. The best artificial leaves have subtle color variations and flexible stems that allow for natural positioning.
Step-by-Step Construction Guide
Phase 1: Preparing Your Foundation
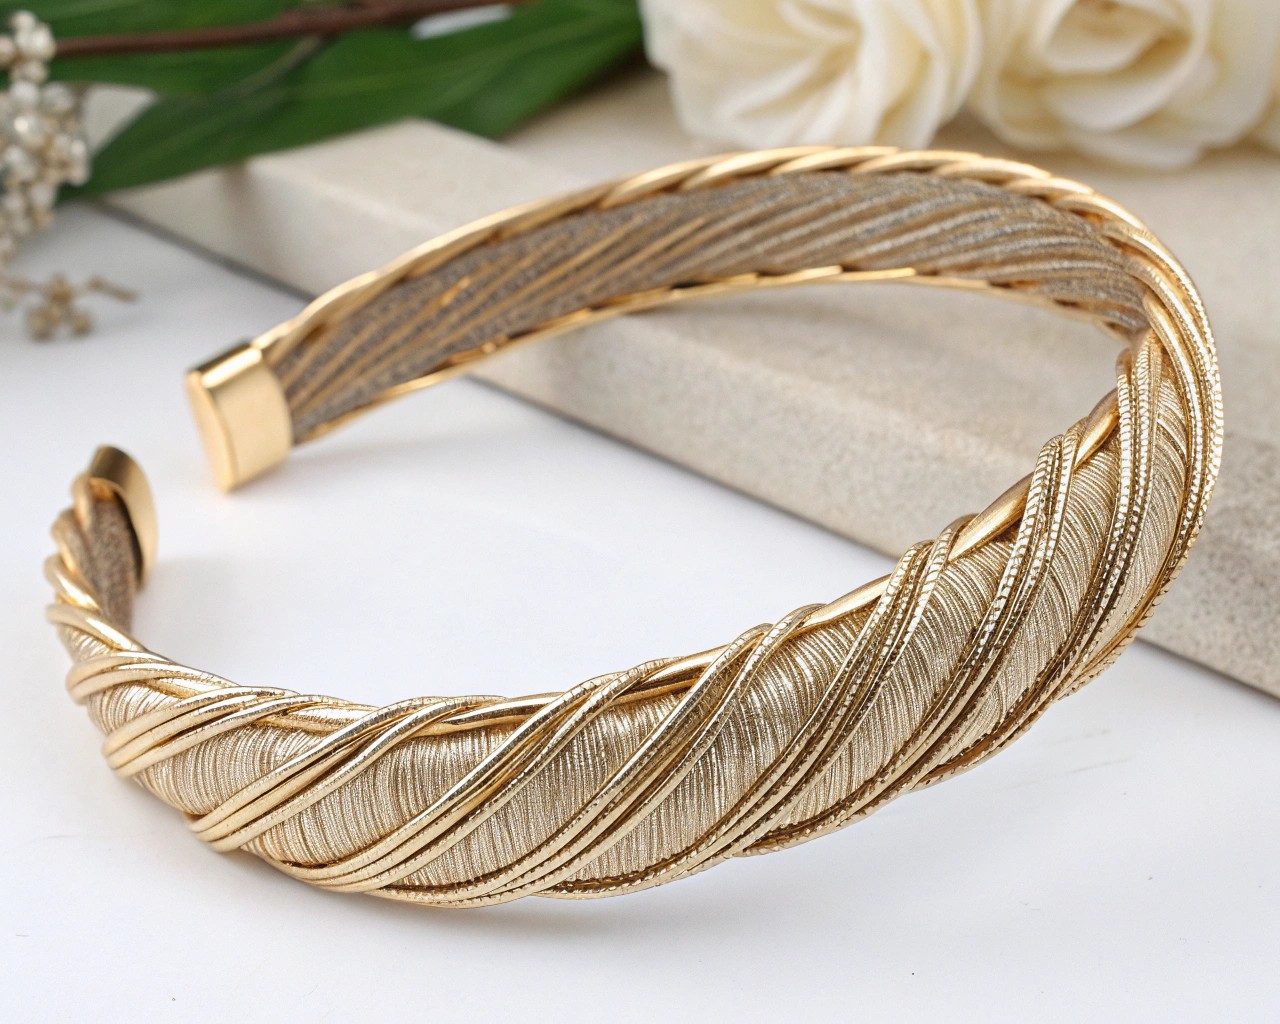
Begin by measuring your head circumference and adjusting the wire headband base accordingly. The headband should sit comfortably without pinching, leaving approximately 1 inch of space on either side of your temples.
Wrap the entire headband base with thin metallic ribbon or gold wire to create a unified color foundation. This step eliminates any visible plastic and provides better adhesion for your decorative elements. Secure the wrapping with small dots of adhesive at regular intervals.
Phase 2: Creating the Leaf Framework
Design your layout before attaching anything permanently. Arrange your leaves in a graduated pattern, with the largest pieces positioned at the front temples and gradually decreasing in size toward the back. This creates visual balance and prevents the headband from appearing top-heavy.
| Position | Leaf Size | Quantity | Angle |
|---|---|---|---|
| Front center | Large (2-3 inches) | 2-3 pieces | Upward 15° |
| Side temples | Medium (1.5-2 inches) | 4-6 pieces | Horizontal |
| Back sections | Small (1 inch) | 6-8 pieces | Downward 10° |
Start from the center front and work outward, overlapping each leaf by approximately one-third to create depth and fullness. Use small amounts of industrial adhesive at the base of each leaf stem, holding firmly for 30 seconds to ensure proper bonding.
Phase 3: Wire Wrapping Techniques
Professional-quality wire wrapping elevates your headband from craft project to heirloom piece. Begin with 6-inch lengths of 26-gauge wire for each connection point.
Create secure connections by wrapping the wire three times around the headband base, then threading through the leaf stem, and finishing with another three wraps. This technique, borrowed from jewelry making, ensures your leaves won’t shift or fall off with wear.
For added stability, create small loops in your wrapping wire every few inches. These loops serve as anchor points for pearls or additional decorative elements while distributing stress across multiple connection points.
Phase 4: Adding Pearls and Accents
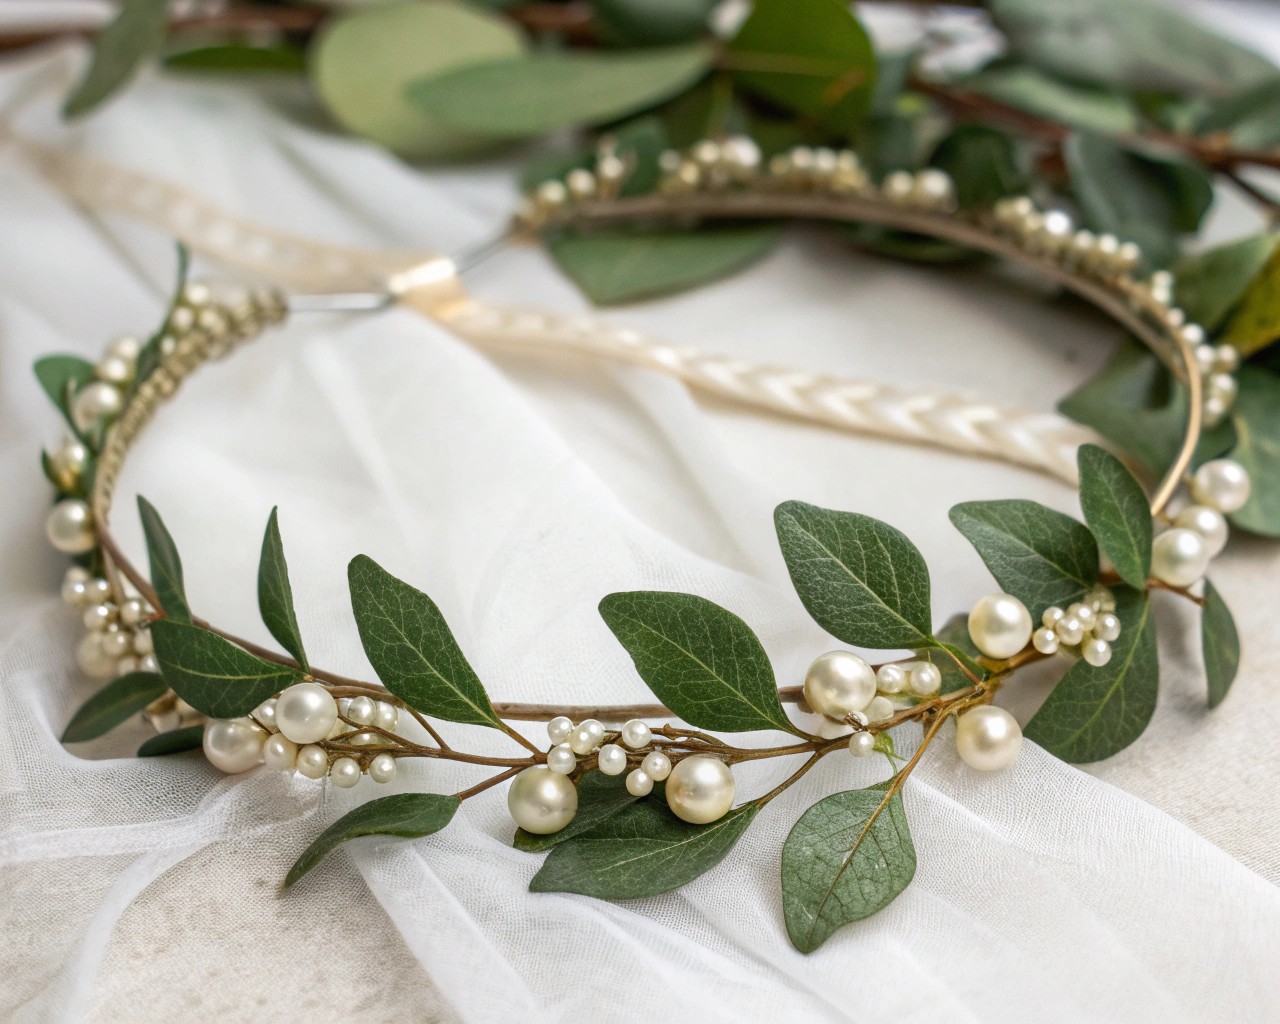
Pearls add the divine touch that transforms your headband from merely decorative to truly goddess-worthy. Space pearls irregularly rather than in perfect symmetry—this creates a more organic, natural appearance that mirrors how real jewelry would settle over time.
Thread pearls onto thin wire, creating small stems that can be wrapped around your main leaf stems. Vary the heights slightly so some pearls nestle close to leaves while others appear to float above the design.
Professional Finishing Techniques
Color Coordination and Aging
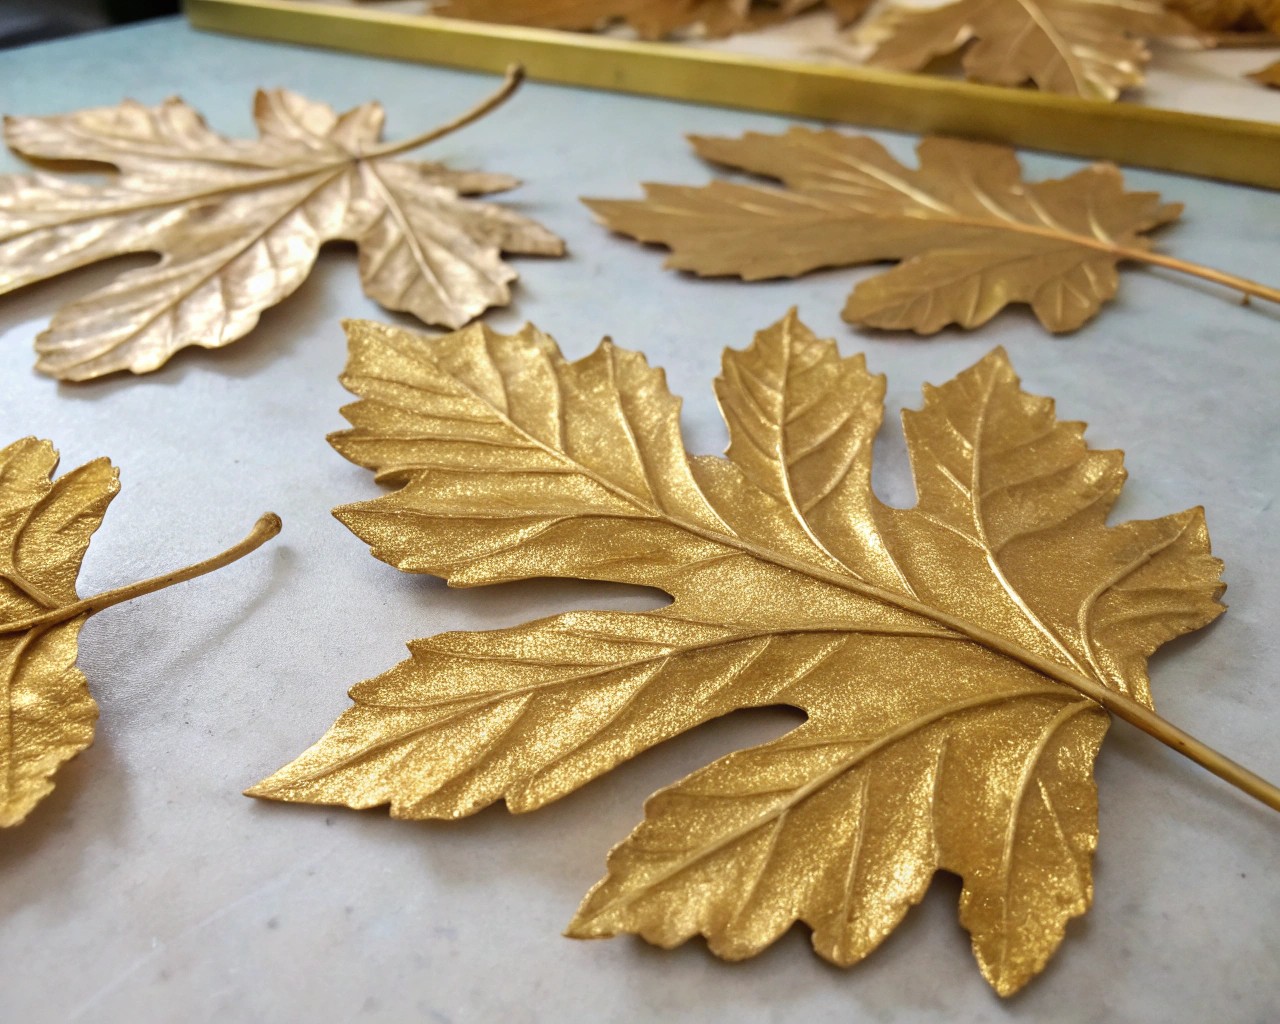
While bright gold creates immediate impact, subtle color variation produces more sophisticated results. Mix your gold tones by applying base layers in warm bronze, then highlighting raised areas with brighter gold.
To achieve an authentic aged appearance, lightly dry-brush darker gold or bronze into the recessed areas of your leaves. This technique, used in professional prop making, creates the illusion of natural patina and centuries-old craftsmanship.
Protective Finishing
Apply a thin coat of clear acrylic sealant to protect your finished headband from tarnishing and wear. Focus particularly on areas where gold leaf or paint might rub against hair or skin. Allow 24 hours for complete curing before wearing.
Styling and Safety Considerations
Modern Styling Applications
Your Greek goddess headband adapts beautifully to various contemporary settings. For casual wear, pair it with flowing bohemian dresses or simple white tops. The headband adds instant sophistication to basic outfits while maintaining wearability.
Formal occasions call for more dramatic styling. Consider coordinating with metallic jewelry, flowing fabrics, and sandals that echo ancient Greek aesthetics. The key is balance—let your headband be the focal point while other elements provide subtle support.
Safety and Comfort Guidelines
Always prioritize wearer safety when crafting costume accessories. Ensure all wire ends are properly tucked and wrapped to prevent scratching. Sharp elements should be filed smooth and positioned away from the scalp.
Test your headband for extended wear comfort before important events. The piece should feel secure without causing pressure points or headaches after several hours of wear. Consider adding thin foam padding beneath the headband base if needed.
Maintenance and Storage
Store your headband in a padded box or soft cloth bag to prevent tangling and damage. Avoid exposing it to excessive humidity, which can cause adhesives to weaken over time.
For cleaning, use a soft, dry brush to remove dust and debris. Avoid water or chemical cleaners, which may damage metallic finishes or loosen decorative elements.
Advanced Variations and Customization
Goddess-Specific Adaptations
Each Greek goddess had distinct attributes that can inspire unique headband variations:
Athena-inspired designs incorporate owl motifs and olive branches, symbolizing wisdom and strategic warfare. Use darker bronze tones with silver accents to reflect her armored aesthetic.
Aphrodite variations emphasize roses, doves, and mother-of-pearl elements. Soft golds with pink undertones and delicate pearl clusters capture her romantic essence.
Artemis themes feature crescent moons and hunting symbols. Silver and white metals work beautifully, often combined with natural elements like small pinecones or acorns.
Contemporary Fusion Elements
Modern interpretations can blend classical motifs with contemporary design elements. Consider incorporating geometric patterns inspired by Greek key designs, or mixing traditional gold with rose gold and copper for a multi-tonal effect.
LED micro-lights can be subtly integrated into the design for special events, creating an ethereal glow that enhances the divine aesthetic while remaining tastefully modern.
This Greek goddess headband represents more than just a fashion accessory—it’s a wearable piece of art that connects contemporary style with ancient symbolism. Through careful material selection, professional construction techniques, and thoughtful finishing, you create not just a headband, but a crown worthy of modern divinity. The techniques mastered here can be adapted for countless variations, allowing you to explore different goddesses, time periods, and personal interpretations while maintaining the sophisticated craftsmanship that elevates DIY projects to professional quality.
