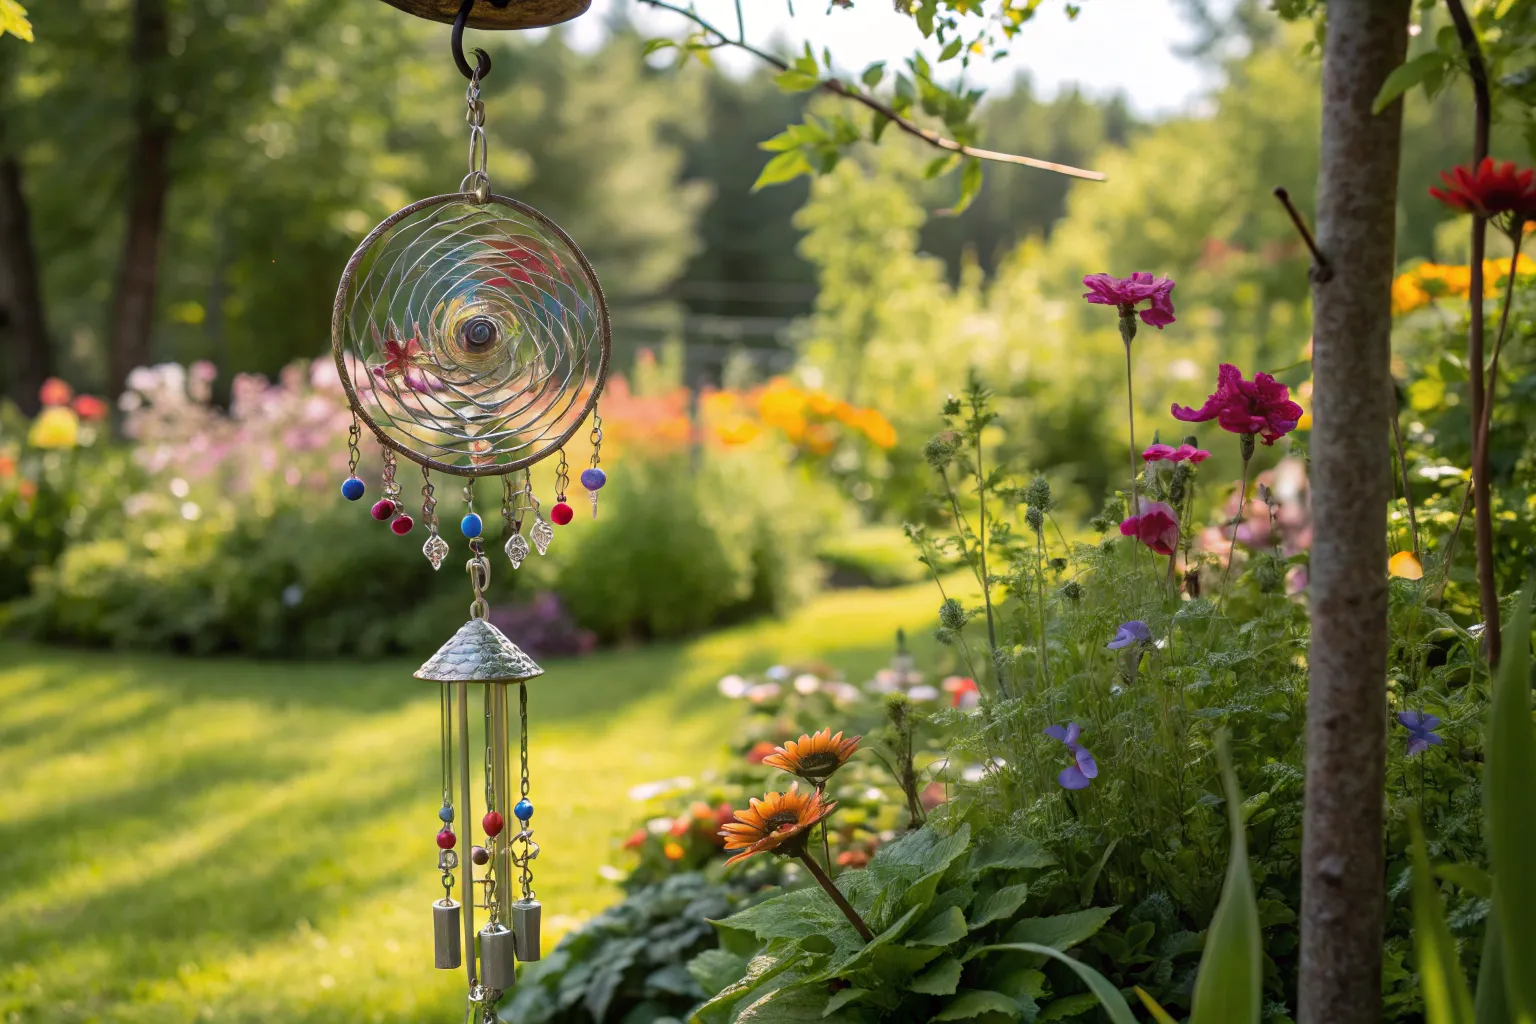
Repurposing everyday aluminum cans into mesmerizing wind catchers transforms discarded materials into dynamic garden art that dances gracefully with every breeze. These sustainable sculptures not only reduce waste but create stunning kinetic displays that captivate visitors while celebrating the intersection of environmental consciousness and creative expression.
Understanding the Science Behind Wind Catchers
Wind catchers, also known as wind spinners or kinetic sculptures, harness aerodynamic principles to create continuous motion. The Bernoulli effect plays a crucial role in their functionality – as air flows around the curved surfaces of the tin blades, differences in air pressure create rotational forces. For optimal performance, the spinner requires proper balance distribution, where the center of gravity aligns perfectly with the axis of rotation.
The aluminum material from soda and food cans offers ideal properties for wind catchers:
- Lightweight yet durable – responds to gentle breezes while withstanding weather exposure
- Malleable metal – easily shaped and manipulated without specialized tools
- Corrosion-resistant – aluminum naturally forms a protective oxide layer
- Reflective surface – creates dynamic light patterns throughout the day
Essential Materials and Tools
Primary Materials
| Item | Quantity | Purpose |
|---|---|---|
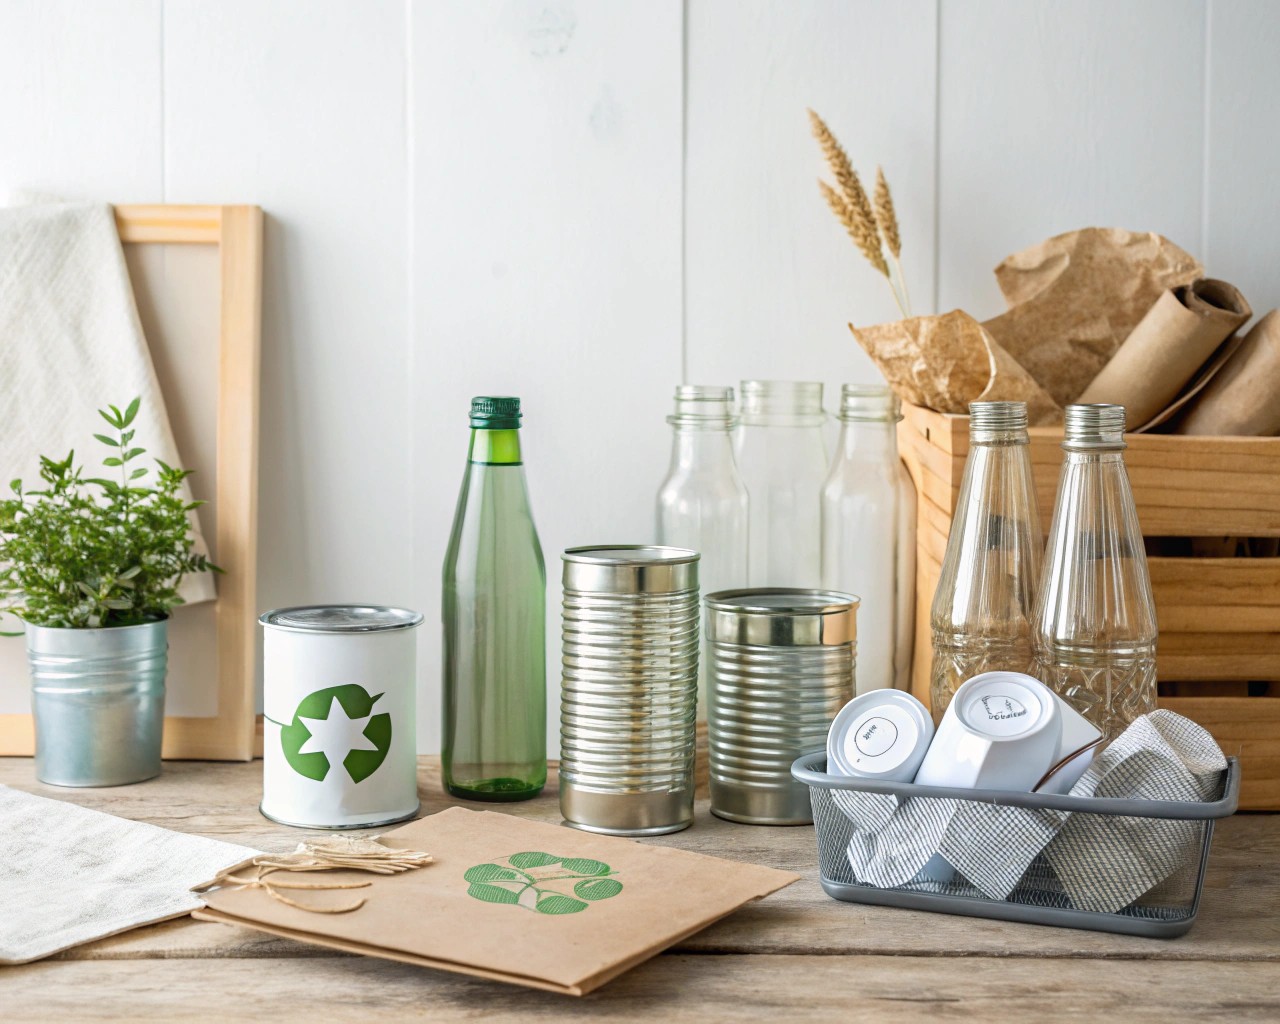
| Aluminum cans (food/beverage) | 2-3 cans | Main spinner body and blades |
| 16-gauge galvanized wire | 12-15 inches | Central support axis and hanging mechanism |
| Fishing swivel (size 5 or larger) | 1 piece | Smooth rotation bearing |
| Decorative beads | 4-6 pieces | Weight distribution and visual appeal |
| Weather-resistant polyurethane spray | 1 can | Protection against UV and moisture |
Essential Tools
- Heavy-duty kitchen scissors – for cutting aluminum (safer than utility knives)
- Long-nose pliers – for precise bending and crimping
- Combination pliers – for wire cutting and manipulation
- Bradawl or nail – for creating clean holes
- Metal file or sandpaper – for smoothing sharp edges
- Safety equipment – cut-resistant gloves and safety glasses
Step-by-Step Construction Process
Phase 1: Preparation and Safety

Begin by thoroughly cleaning all aluminum cans with dish soap and hot water to remove sticky residues. This step prevents attracting insects and ensures proper paint adhesion if decorating later. Always wear cut-resistant gloves when handling aluminum edges – while modern cans have smoother edges than older versions, caution remains essential.
Professional Tip: For easier handling during construction, I recommend the freezing technique. Fill cans halfway with water and freeze for several hours. This creates a stable interior form that prevents crushing during cutting.
Phase 2: Creating the Spinner Structure
Step 1: Remove Can Tops
Using kitchen scissors, cut around the rim where the can begins to narrow, creating a clean cylindrical form. Remove any sharp metal fragments with a file.
Step 2: Mark and Cut Blade Sections
Wrap masking tape around each can and mark 12 equal sections using a ruler and marker. The precision here directly impacts the spinner’s balance and performance. Cut from the top edge to within ¼ inch of the bottom, creating 12 spokes.
Step 3: Shape the Blades
Press your thumb against the bottom of each spoke before bending outward to prevent crimping. This technique, developed through extensive experimentation, maintains the blade’s structural integrity while achieving optimal aerodynamic curvature.
Phase 3: Advanced Assembly Techniques
Step 4: Create Mounting Points
Using a bradawl, punch holes in the bottom center of both cans. The hole diameter should accommodate your wire gauge while maintaining structural strength.
Step 5: Form Blade Tips
Fold approximately ¼ inch of each blade tip using long-nose pliers. This creates the connection points and adds aerodynamic efficiency to the design.
Step 6: Connect Spinner Halves
Overlap corresponding blade tips from each can and crimp together using pliers. Work systematically around the circle, ensuring consistent overlap distances for proper balance.
Balancing and Optimization
Understanding Balance Dynamics
A properly balanced wind catcher exhibits minimal drift when rotated by hand. To test balance, hold the completed spinner by its center wire and gently rotate. The spinner should come to rest slowly without favoring any particular position.
Correcting Imbalances
If the spinner consistently settles in the same position, identify the heavy side – this area will always rotate to the bottom. To correct imbalances:
- Bend adjustment technique: Locate the two lowest blades and gently bend them upward
- Weight redistribution: Add small amounts of tape or remove material from heavy areas
- Iterative testing: Make small adjustments and retest until balance improves
Wind Response Optimization
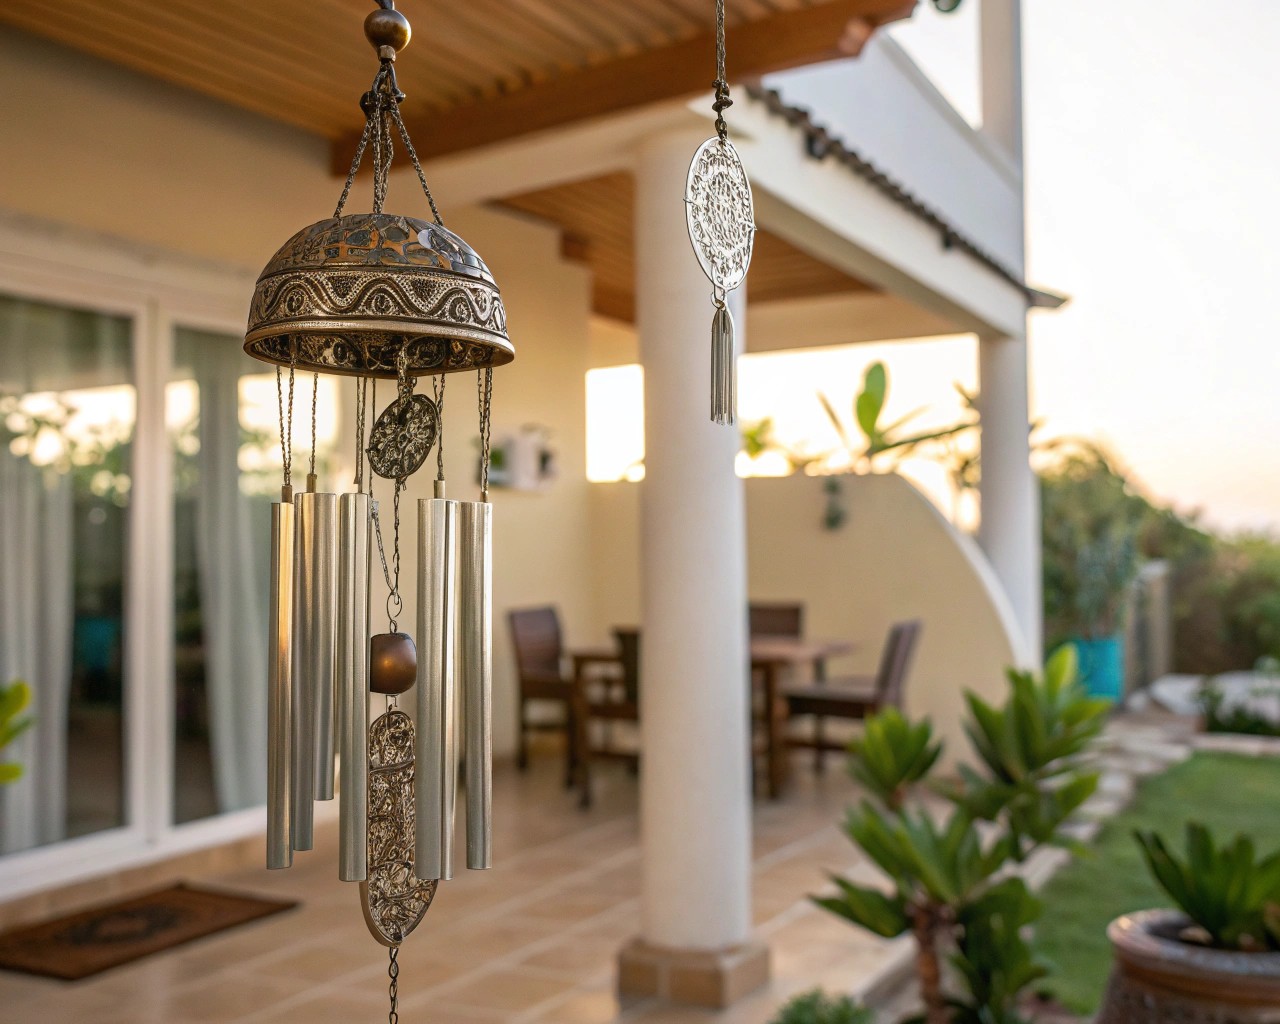
Position your wind catcher in locations with consistent airflow but avoid areas with turbulent winds that could damage the delicate balance. I’ve observed that spinners perform best in transitional zones between open areas and partial shelter, where wind flow remains steady but not overwhelming.
Finishing and Protection Techniques
Weather Protection Methods
Aluminum naturally resists corrosion, but additional protection extends lifespan significantly. Apply clear polyurethane coating using these professional techniques:
| Step | Process | Benefit |
|---|---|---|
| Surface Preparation | Clean with mineral spirits | Ensures coating adhesion |
| First Application | Light, even spray coat | Base protection layer |
| Drying Period | Allow complete cure (24 hours) | Maximum durability |
| Second Application | Apply second protective coat | Enhanced weather resistance |
UV Protection Considerations
For wind catchers installed in high-sun exposure areas, consider UV-resistant clear coatings specifically formulated for metal surfaces. This prevents fading and maintains the aluminum’s reflective properties that create those captivating light patterns.
Creative Design Variations
Multi-Tier Configurations
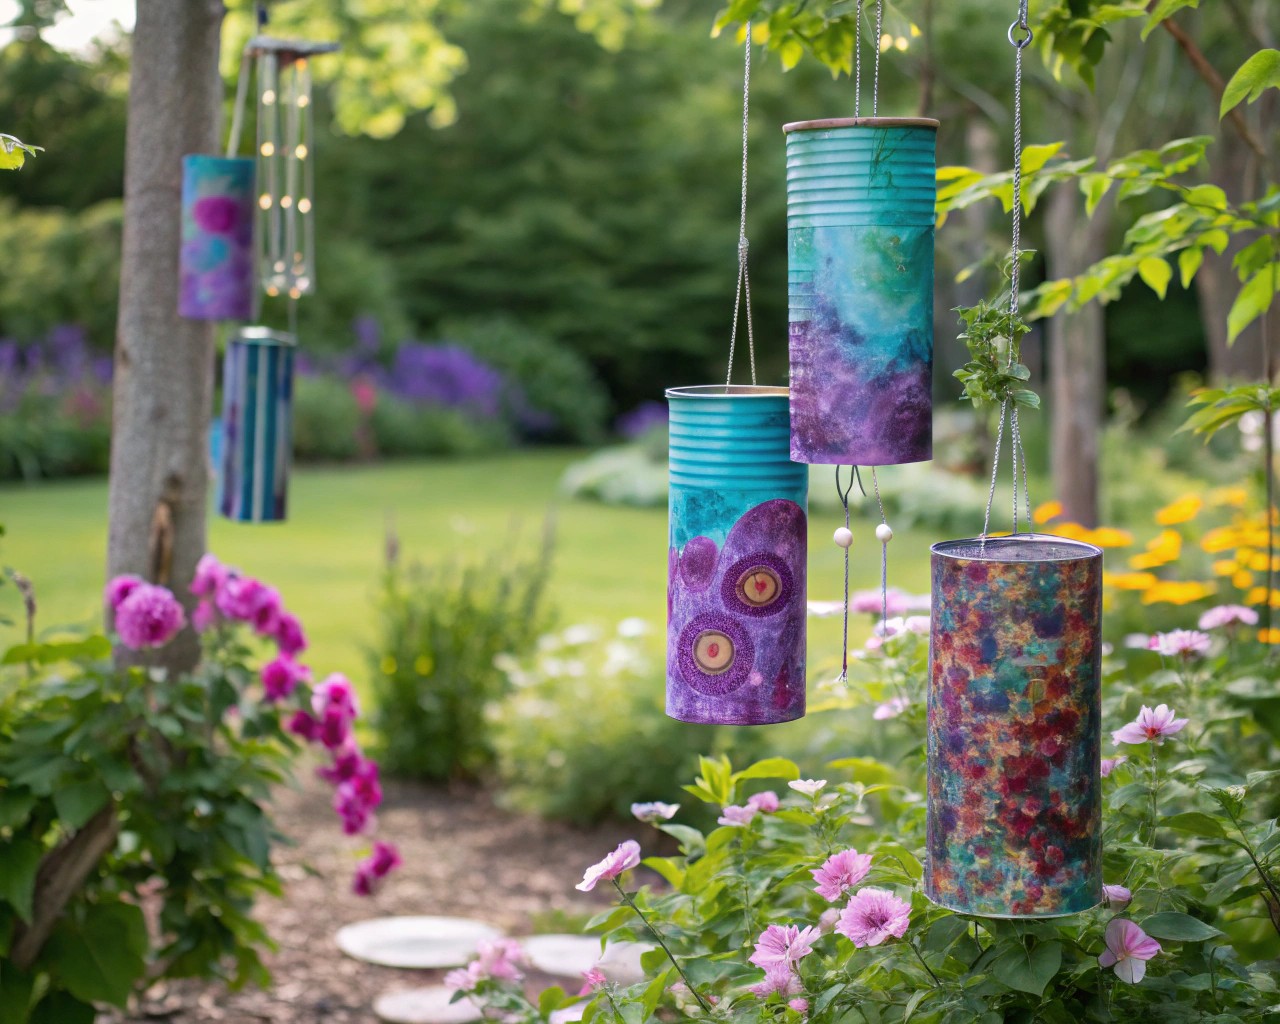
Advanced practitioners can create stacked wind catchers by threading multiple spinners on a single wire axis, separated by decorative beads. This technique requires careful spacing – typically 6-8 inches between spinners – to prevent interference while maintaining individual rotation capabilities.
Color and Pattern Integration
While natural aluminum offers timeless appeal, decorative treatments can enhance visual impact:
- Alcohol ink applications create translucent color effects
- Automotive wax provides subtle enhancement while adding protection
- Etched patterns using stencils and etching cream create permanent designs
Size Optimization Strategies
Experiment with different can sizes for varied effects. Tall beer cans (16-24 oz) create larger, more dramatic spinners with slower, more graceful rotation patterns. Standard soda cans produce faster-spinning, more energetic displays suitable for smaller garden spaces.
Installation and Maintenance
Optimal Placement Guidelines
Wind catchers require strategic positioning for maximum effectiveness. Select locations with:
- Consistent breeze patterns – avoid dead air pockets near buildings
- Visual accessibility – position where movement can be appreciated
- Structural support – ensure mounting hardware can handle wind loads
- Maintenance access – allow for periodic cleaning and inspection
Seasonal Care Protocols
Spring Preparation: Inspect for winter damage, clean accumulated debris, and apply fresh protective coating if needed.
Summer Maintenance: Monthly cleaning with soft cloth and mild soap maintains optimal performance. Check bearing points for smooth operation.
Winter Protection: In harsh climates, consider temporary removal or provide windbreaks during severe weather. Ice accumulation can create dangerous imbalances.
Troubleshooting Common Issues
Rotation Problems
Symptom: Spinner fails to rotate in moderate winds
Diagnosis: Check for obstructions, examine bearing wear, verify balance
Solution: Clean bearings, adjust balance, lubricate moving parts with light machine oil
Symptom: Irregular or wobbling motion
Diagnosis: Imbalanced weight distribution or damaged blades
Solution: Implement systematic balance correction using the bend-adjustment technique
Durability Concerns
Symptom: Premature wear or corrosion
Diagnosis: Insufficient weather protection or harsh environmental exposure
Solution: Reapply protective coatings, relocate to more suitable position, or upgrade to heavier-gauge materials
Environmental Impact and Sustainability
Creating wind catchers from recycled materials exemplifies circular economy principles by extending product lifecycles beyond their original purpose. Each spinner diverts aluminum from waste streams while creating functional art that requires no electrical power or ongoing resource consumption.
Quantified Impact: A typical DIY wind catcher repurposes 2-3 aluminum cans that would otherwise require energy-intensive recycling processes. The embodied energy savings, combined with the absence of manufacturing transportation, creates a genuinely sustainable decorative solution.
The meditative qualities of watching wind catchers also promote mindful engagement with natural forces, fostering deeper environmental awareness. This psychological benefit enhances the project’s value beyond mere recycling – it creates meaningful connections between observers and their outdoor environment.
Creating tin wind catchers from recycled materials offers an ideal entry point into sustainable crafting while producing genuinely captivating garden art. The combination of accessible materials, straightforward techniques, and impressive results makes this project suitable for creators at any skill level. Most importantly, these kinetic sculptures serve as daily reminders that beautiful, functional objects can emerge from mindful repurposing of everyday waste materials.

