Transforming an ordinary mirror into a captivating piece of abstract art is simpler than you might think. With just a few geometric shapes and some basic materials, you can create stunning mirror art that adds depth, personality, and modern elegance to any space. This comprehensive guide will walk you through everything you need to know to turn your mirror into a unique artistic statement.
What Is Abstract Mirror Art?
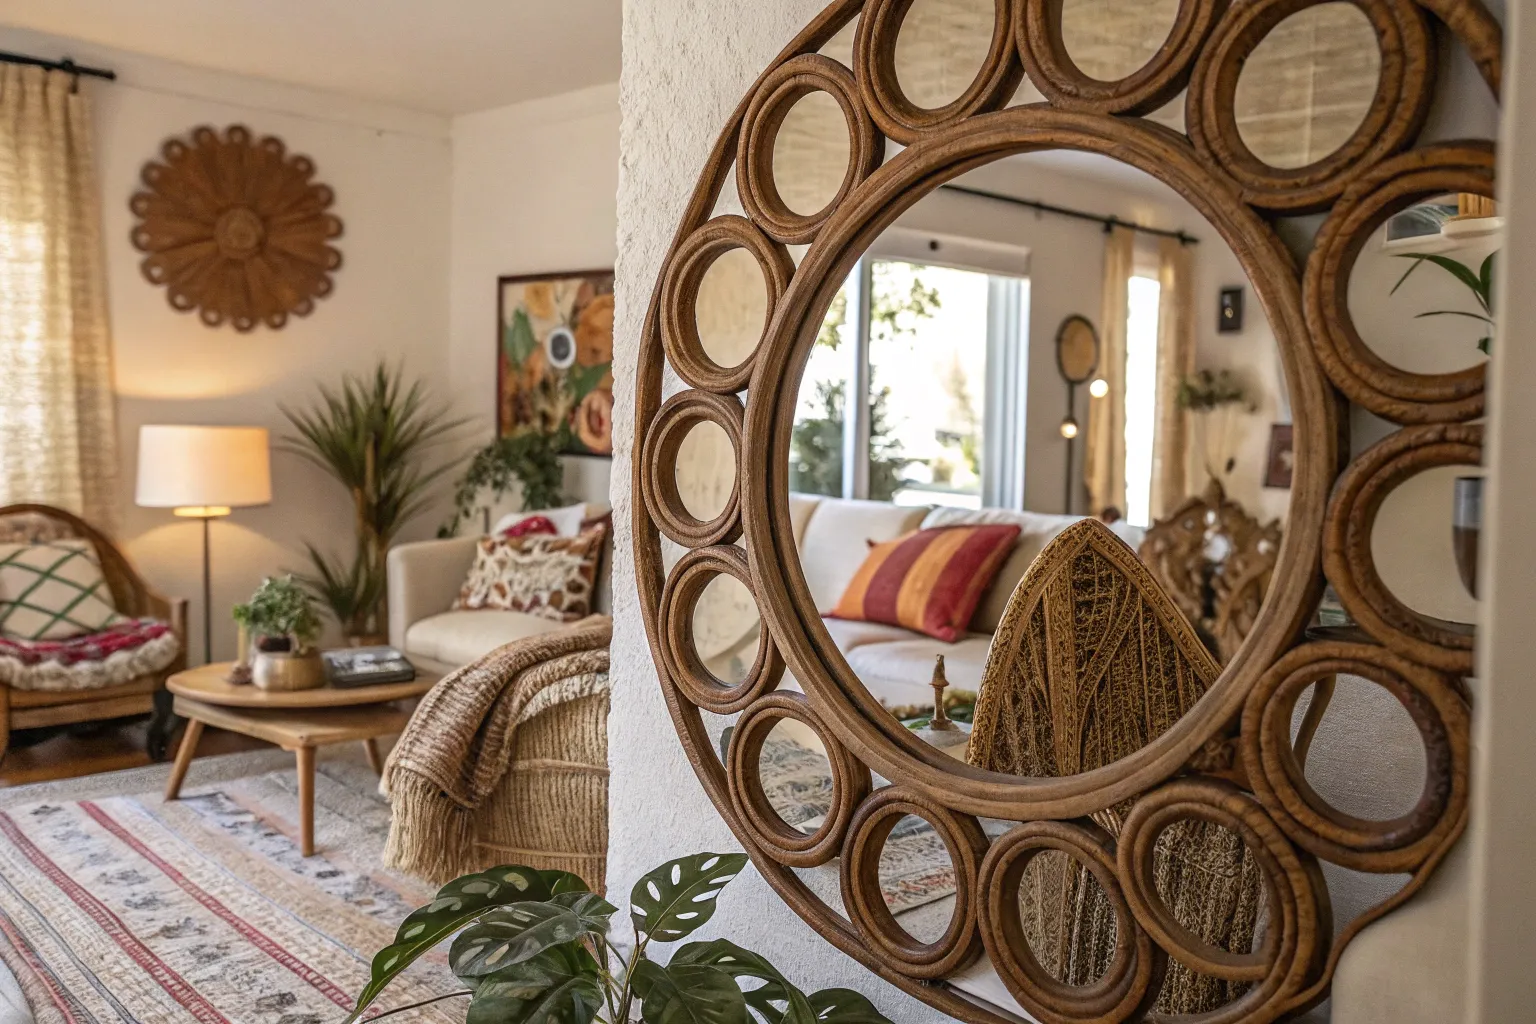
Abstract mirror art combines the reflective properties of mirrors with geometric designs and artistic elements to create pieces that serve both functional and decorative purposes. Unlike traditional representational art, abstract mirror art focuses on shapes, colors, lines, and forms to create visual interest and emotional impact. The mirror surface adds an extra dimension by reflecting light and surroundings, making your artwork dynamic and ever-changing.
The beauty of this technique lies in its versatility. Whether you prefer minimalist geometric patterns or bold, expressive designs, abstract mirror art allows you to experiment with different shapes and compositions while maintaining the practical function of your mirror.
Why Choose Geometric Shapes for Mirror Art?
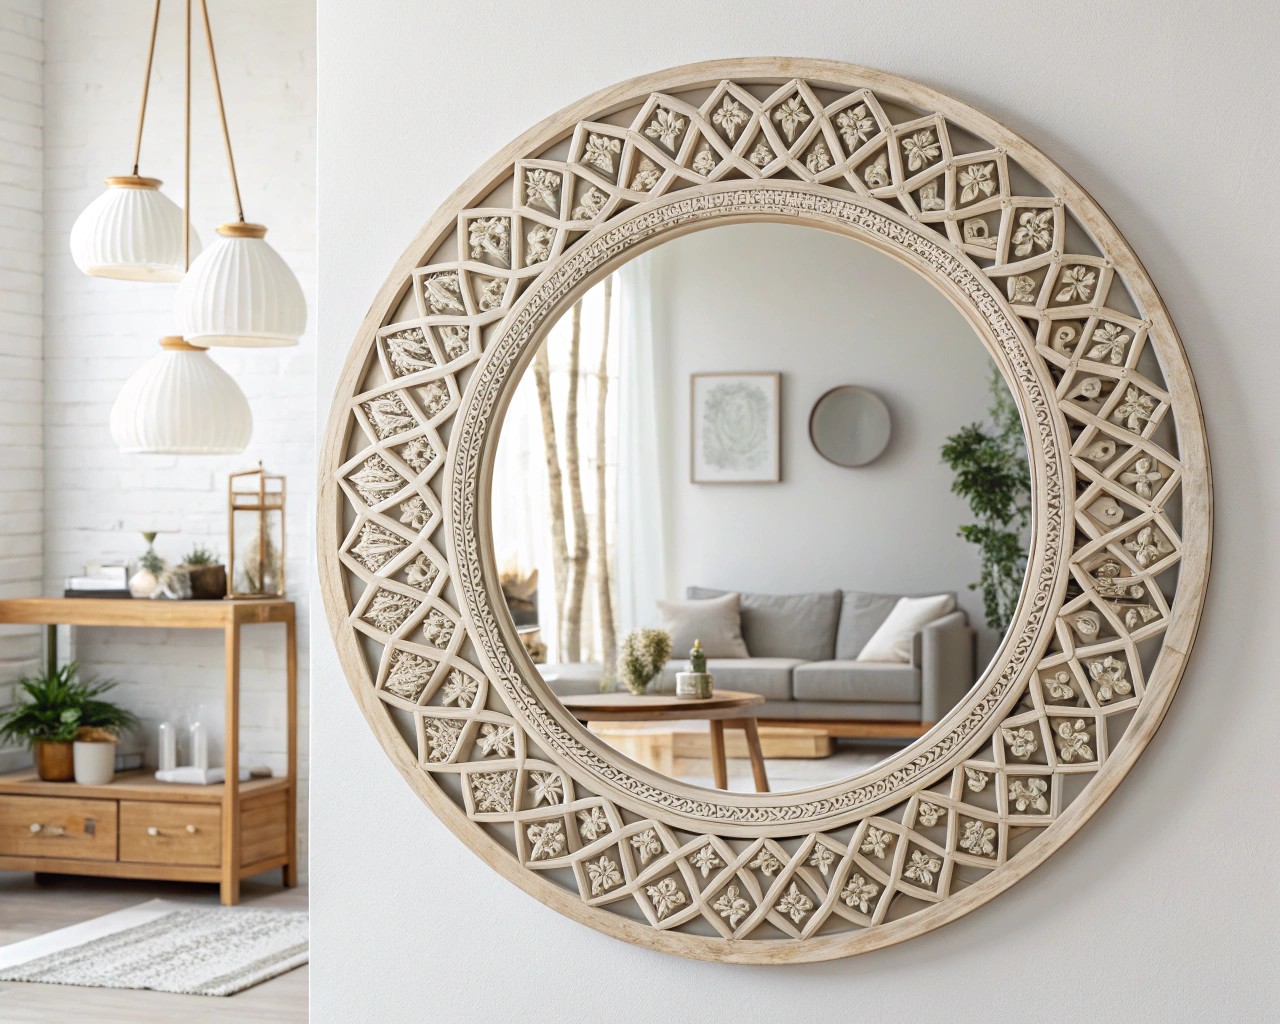
Geometric shapes are perfect for mirror art beginners and experienced crafters alike. Here’s why they work so well:
Simplicity and Impact: Basic shapes like circles, triangles, and hexagons create powerful visual statements without requiring advanced artistic skills. Their clean lines complement both modern and traditional interior design styles.
Mathematical Precision: Geometric patterns provide structure and balance, making it easier to create harmonious compositions. This precision helps ensure your finished piece looks intentional rather than random.
Trendy and Timeless: Geometric mirror designs are experiencing a major resurgence in 2024, with organic shapes and mixed materials leading current design trends. These shapes work particularly well in contemporary, minimalist, and mid-century modern spaces.
Versatile Application: From simple triangular accents to complex tessellating patterns, geometric shapes can be adapted to any skill level or design preference.
Essential Materials and Tools
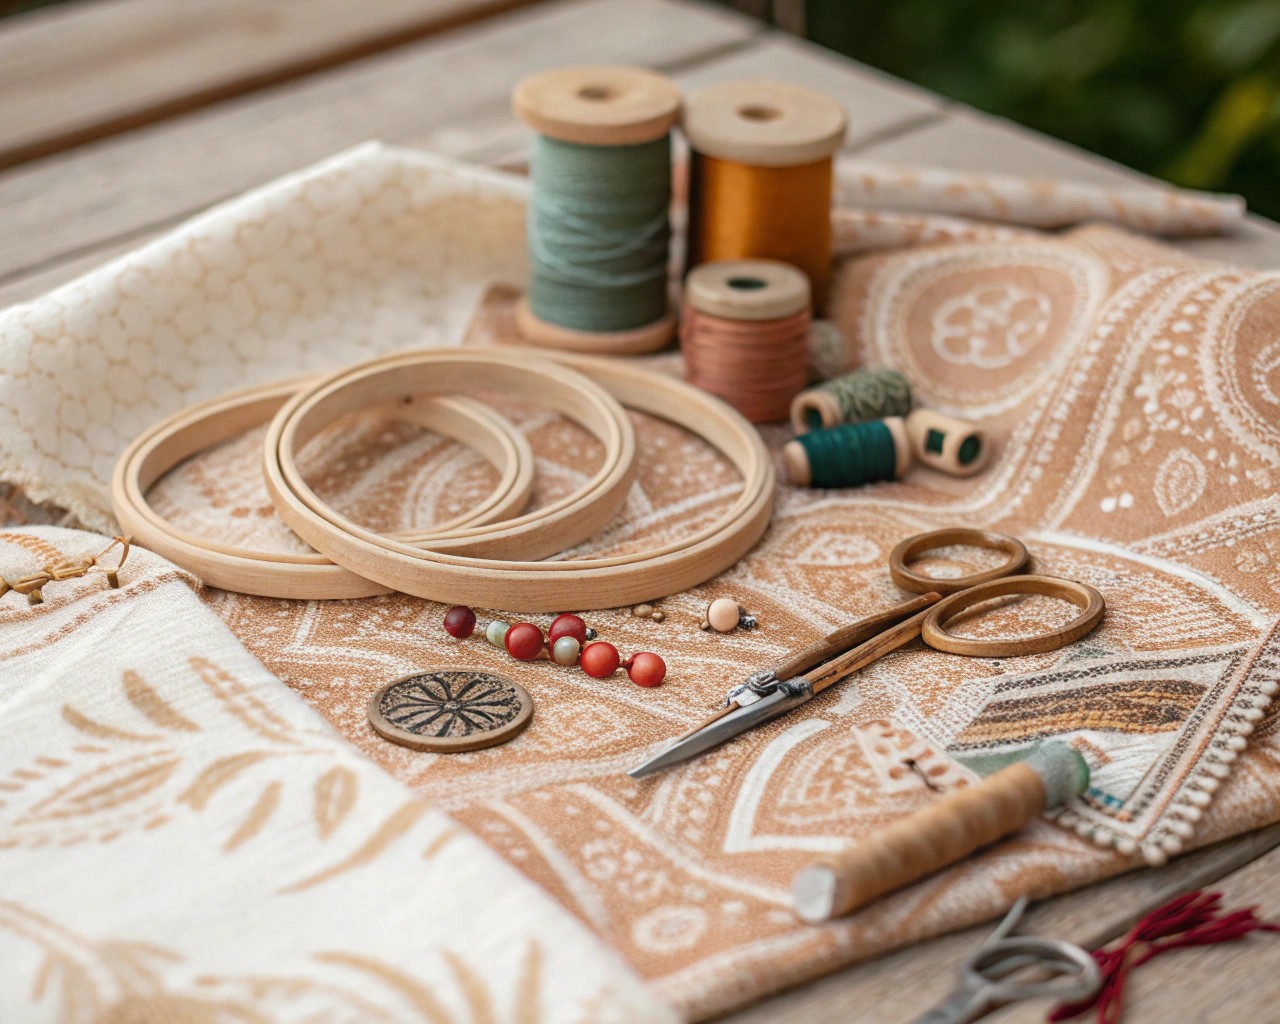
Before starting your mirror art project, gather these basic supplies:
Primary Materials
- Plain mirror (any size – start small for your first project)
- Acrylic paints in your chosen colors
- Painter’s tape for creating clean lines and protecting the mirror surface
- Fine-tip brushes and acrylic paint pens for detailed work
- Geometric templates or stencils (optional but helpful for beginners)
Preparation Supplies
- Glass cleaner and lint-free cloths for surface preparation
- Fine-grit sandpaper (220 grit) for creating paint adhesion
- Primer suitable for glass surfaces (optional but recommended)
- Drop cloths or newspaper to protect your work area
Finishing Materials
- Acrylic sealer or varnish for protection
- Nail polish remover for correcting mistakes
- Clean rags or paper towels
Safety Equipment
- Ventilation mask when using spray products
- Safety glasses when sanding
- Gloves to protect your hands
I recommend starting with a small mirror and simple shapes for your first project. This allows you to master the technique before tackling larger, more complex designs.
Step-by-Step Guide: Creating Your Abstract Mirror Art
Phase 1: Planning and Preparation
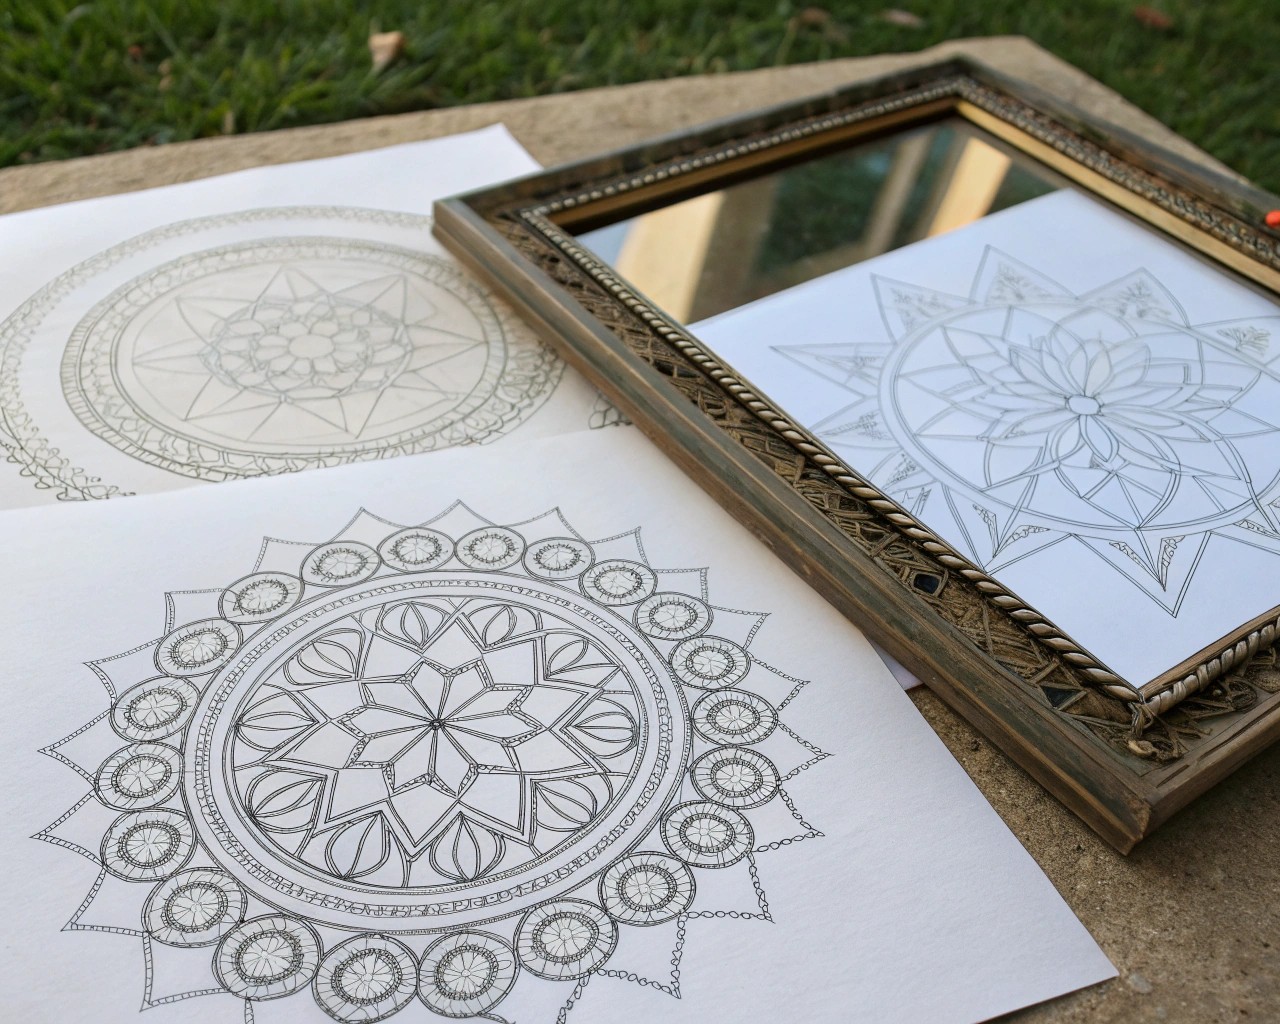
Step 1: Design Your Composition
Begin by sketching your design on paper. Consider these popular geometric patterns:
- Minimalist approach: Simple triangular or circular elements in one or two corners
- Border design: Geometric shapes forming a frame around the mirror’s edge
- Asymmetrical composition: Random placement of various shapes for a modern, organic feel
- Symmetrical pattern: Balanced arrangement of shapes for classical appeal
Step 2: Prepare Your Workspace
Set up in a well-ventilated area with adequate lighting. Lay down drop cloths to protect surfaces and ensure you have easy access to all materials. Position your mirror on a stable, flat surface where you can work comfortably from all angles.
Step 3: Clean and Prep the Mirror
Thoroughly clean the mirror surface with glass cleaner to remove any dust, fingerprints, or residue. For best paint adhesion, lightly sand the areas where you’ll be painting with fine-grit sandpaper, then wipe clean with a damp cloth.
Phase 2: Creating Your Design
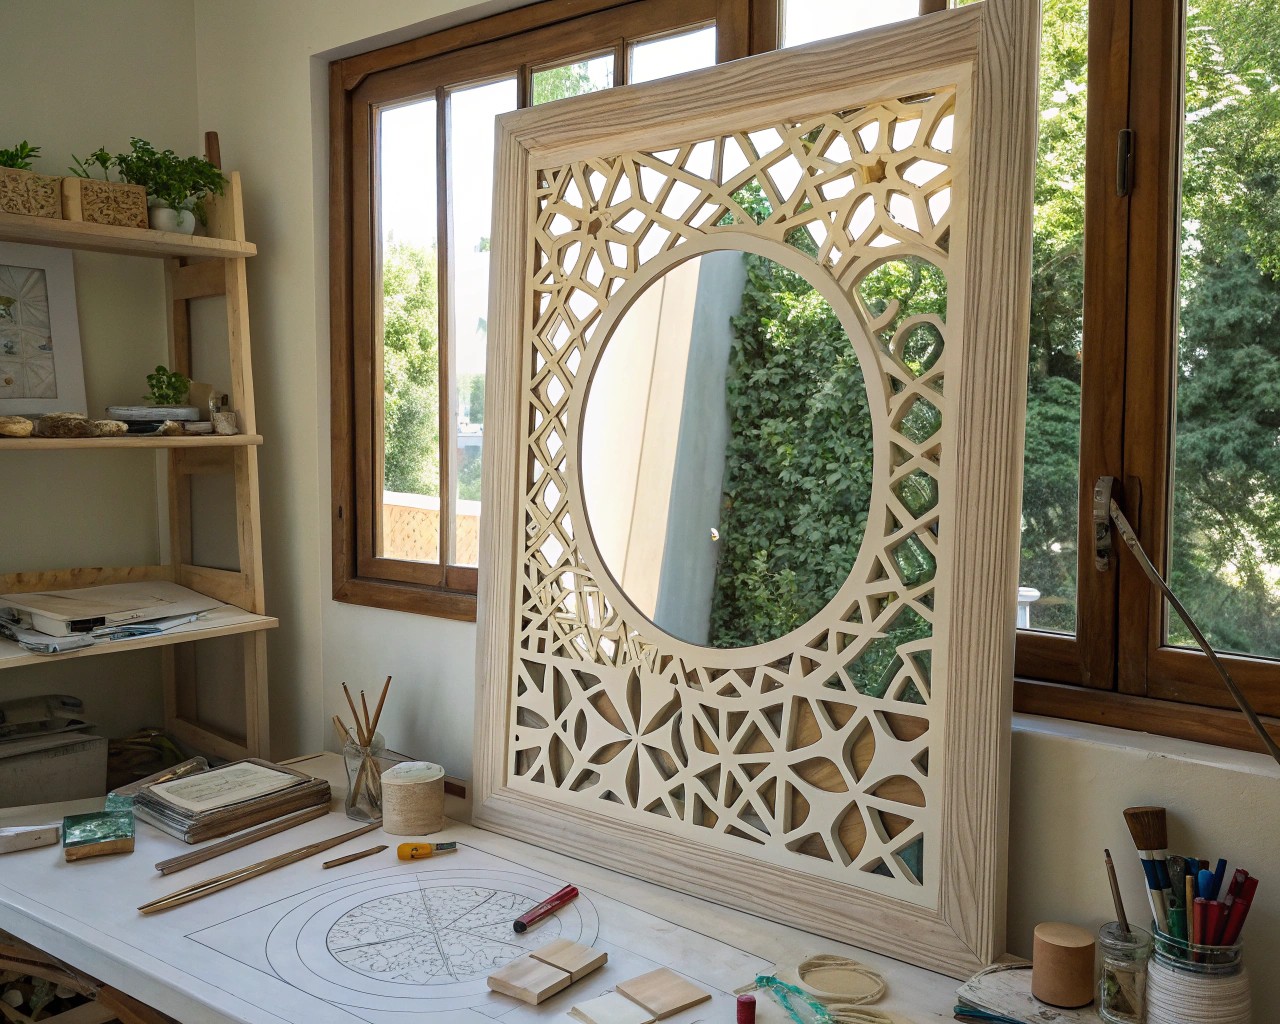
Step 4: Template Creation and Layout
If you’re using templates, cut your geometric shapes from cardboard or use printable templates. Popular shapes for beginners include:
- Circles and ovals
- Triangles (equilateral, right, or isosceles)
- Squares and rectangles
- Hexagons and octagons
- Diamond shapes
Arrange your templates on the mirror surface to test different compositions before committing to paint.
Step 5: Tape and Mask
Use painter’s tape to mask off areas you want to keep as mirror. This step is crucial for achieving clean, professional-looking edges. Take your time with this step – precise taping will make the difference between amateur and professional results.
Step 6: Apply Base Colors
Start with your lightest colors and work toward darker tones. Apply thin, even coats rather than trying to achieve full opacity in one application. For mirror surfaces, you may need 2-3 thin coats for complete coverage.
Technique Tip: When painting on mirrors, the paint stays wet longer because the surface isn’t porous. This gives you more working time but also means you need to be more careful about smudging.
Phase 3: Adding Details and Finishing
Step 7: Layer and Blend
Once your base colors are dry, add depth with additional layers, gradients, or contrasting elements. Use paint pens for fine details, outlines, or small geometric accents.
Step 8: Remove Tape and Clean Edges
Carefully remove painter’s tape while the paint is still slightly tacky to avoid peeling. Use a craft knife to score along tape edges if the paint has fully dried.
Step 9: Correct Mistakes
Clean any paint that got on the mirror surface using glass cleaner or nail polish remover. The beauty of working on glass is that corrections are usually easy to make.
Step 10: Seal and Finish
Apply a protective clear coat if your mirror will be in a high-humidity area like a bathroom. Allow everything to cure completely according to paint manufacturer instructions before handling or hanging.
Popular Geometric Pattern Ideas
Beginner-Friendly Patterns
Corner Triangles: Paint triangular shapes in two opposite corners using complementary colors. This creates visual balance while maintaining the mirror’s functionality.
Circular Frames: Create concentric circles around the mirror’s edge using painter’s tape as guides. Alternate colors or use gradient effects for added interest.
Simple Stripes: Use tape to create geometric stripe patterns along one edge or corner. This works particularly well with metallic paints for a modern look.
Intermediate Designs
Hexagonal Honeycomb: Create a honeycomb pattern using hexagonal stencils. This works beautifully as a border design or covering one section of the mirror.
Overlapping Shapes: Layer transparent colors in overlapping geometric forms to create depth and visual complexity.
Asymmetrical Composition: Combine different geometric shapes in an organic, flowing arrangement. This style is very on-trend for 2024.
Advanced Techniques
Tessellation Patterns: Create repeating geometric patterns that fit together perfectly. These require more planning but create stunning, professional-looking results.
Mixed Media Elements: Incorporate small mirror tiles, metallic leafing, or textured materials alongside painted elements.
Gradient Geometric Shapes: Use color blending techniques within geometric forms to create depth and dimension.
Color Theory and Design Principles
Understanding basic color relationships will elevate your mirror art from good to spectacular.
Choosing Your Color Palette
Monochromatic Schemes: Use different shades and tints of a single color for sophisticated, calming designs. This approach works particularly well in minimalist interiors.
Complementary Colors: Pair colors opposite each other on the color wheel (like blue and orange) for vibrant, energetic compositions.
Analogous Harmony: Use colors adjacent on the color wheel for gentle, pleasing transitions.
Neutral with Accent: Build your design around neutrals (grays, beiges, whites) with one bold accent color for focal points.
Current Color Trends for 2024
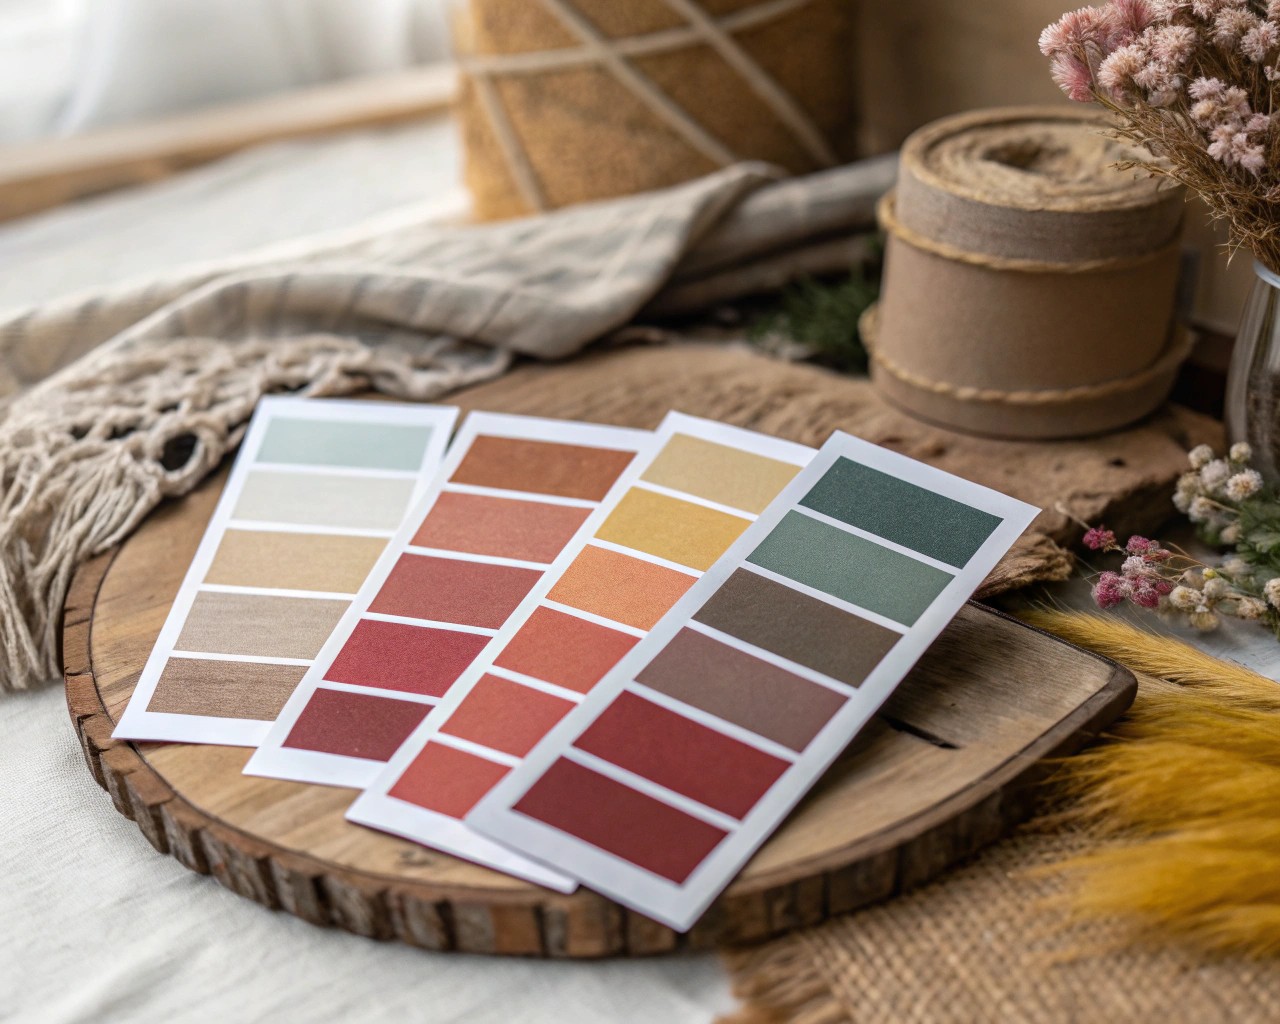
- Warm Earthy Tones: Terracotta, warm browns, and muted greens reflect the growing interest in biophilic design
- Soft Pastels: Gentle pinks, lavenders, and mint greens create calming, spa-like atmospheres
- Bold Metallics: Gold, copper, and bronze accents add luxury and warmth
- Monochromatic Blacks and Whites: Timeless elegance that works with any decor style
Troubleshooting Common Issues
Paint Won’t Stick to Mirror Surface
Solution: Ensure the mirror is completely clean and consider using a glass primer or lightly sanding the surface to create tooth for paint adhesion.
Bleeding Under Tape Lines
Prevention: Press tape edges firmly and remove while paint is still slightly wet. Use high-quality painter’s tape designed for clean removal.
Uneven Coverage
Fix: Apply multiple thin coats rather than one thick application. Allow each coat to dry completely before adding the next.
Smudging During Application
Technique: Remember that paint stays wet longer on non-porous surfaces. Work in small sections and avoid touching painted areas until fully dry.
Safety Considerations and Best Practices
Working with mirrors and paints requires attention to safety:
Ventilation: Always work in well-ventilated areas, especially when using spray paints or primers.
Protective Equipment: Wear safety glasses when sanding and use gloves to protect your hands from paints and solvents.
Mirror Handling: Be careful when moving mirrors – edges can be sharp. Consider having someone help with larger pieces.
Surface Protection: Use adequate drop cloths and protect surrounding areas from paint splatter.
Design Inspiration and Current Trends
2024 Mirror Art Trends
The mirror art landscape in 2024 is embracing several key directions:
Organic Geometric Fusion: Combining the structure of geometric shapes with flowing, natural forms. Think hexagons with softened edges or triangles with curved elements.
Maximalist Layering: Moving away from minimalism toward rich, layered compositions with multiple geometric elements.
Mixed Metallics: Incorporating multiple metallic finishes within a single piece for depth and luxury.
Sustainable Materials: Using eco-friendly paints and upcycling existing mirrors rather than buying new.
Room-Specific Applications
Living Rooms: Large geometric mirrors with bold patterns work well as focal points above sofas or mantels.
Bedrooms: Soft, organic shapes in calming colors create peaceful atmospheres.
Bathrooms: Waterproof sealers allow for creative geometric designs in high-humidity environments.
Entryways: Simple geometric accents on mirrors create welcoming first impressions without overwhelming small spaces.
Benefits Beyond Aesthetics
Creating abstract mirror art offers advantages beyond visual appeal:
Personalization: Unlike mass-produced decor, your mirror art reflects your unique taste and creativity.
Cost-Effective Decoration: Transform an inexpensive mirror into a designer-quality piece for a fraction of retail art prices.
Therapeutic Process: The meditative nature of geometric pattern creation can reduce stress and provide mindful focus.
Skill Development: Each project builds your artistic confidence and technical abilities.
Space Enhancement: Mirrors naturally make spaces feel larger and brighter, while artistic elements add personality.
Maintenance and Longevity
Proper care ensures your mirror art remains beautiful for years:
Regular Cleaning: Clean painted areas gently with mild soap solutions rather than harsh chemicals.
Touch-Up Kit: Keep small amounts of your original paint colors for minor repairs.
Environmental Considerations: Avoid placing mirrors with painted surfaces in direct sunlight, which can cause fading over time.
Seasonal Updates: The modular nature of geometric designs makes it easy to add seasonal elements or change accent colors.
Advanced Techniques for Experienced Crafters
Once you’ve mastered basic geometric mirror art, consider these advanced approaches:
Mixed Media Integration: Combine painted elements with small mirror tiles, metallic leafing, or textured materials.
Layered Transparency: Use transparent paints to create overlapping effects that interact with the mirror’s reflective properties.
Dimensional Elements: Add raised geometric shapes using modeling paste or other dimensional mediums.
Interactive Designs: Create patterns that change appearance based on viewing angle or lighting conditions.
